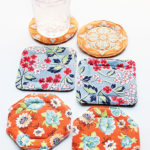
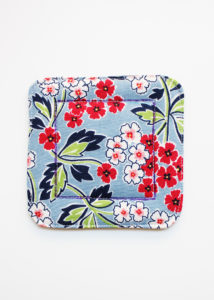
Fabric Coasters
These fabric coasters are so easy to make with this free pattern, and they are a great way to use up your fabric stash!
Cost: $10
Equipment
- Sewing Machine
- Point Turning Tool
- Washable marking pen
- Basic sewing tools (check out my must-have sewing tools here)
Materials
- Fabric Coaster Sewing Pattern download via the link in the project post
- Fabric in two patterns scraps and fat quarters are perfect
- Fusible fleece
- Coordinating thread
Instructions
- For each of the fabric coaster styles, cut the following pieces for each coaster you wish to make: 1 front fabric piece, 1 back fabric piece, 2 fusible fleece pieces.
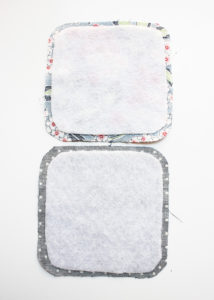
- At your ironing board, center the fusible fleece pieces on the back side of the fabric pieces, making sure there is an even border around all sides of the fleece, as shown. Making sure the fleece stays in place, carefully flip over each piece so that the right side of the fabric is visible and the fleece layer is underneath. With an iron set to the wool setting, press the fabric side for about 10 seconds, until the fleece is bonded to the fabric.
- Lay one of the fused fabric/fleece pieces right side up on your work surface. Position the other fused piece face down on the first piece, so that all of the sides are precisely aligned. Pin.
- Using a 1/4" seam, stitch the pieces together, leaving a 1.5" opening on one of the sides for turning. Note: A 1/4" seam is used for the circle and geometric coasters, as well. For the circle fabric coasters, leave a 1.5" opening for turning. For the geometric fabric coasters, leave one of the straight sides unstitched for turning.
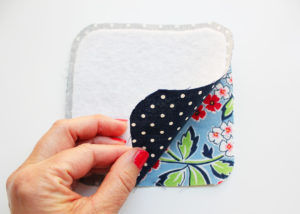
- For the square coasters, use shears to carefully make notches at each of the curved corners, as shown. For the circle coasters, make notches around the entire curved perimeter of the stitched pieces, leaving the unstitched portion of the seam (the opening you left for turning) without notches. (This will make it easier to tuck that unstitched seam into the coaster to finish later on.) For the geometric coasters, make a small notch at each of the corners.
- Turn the fabric coaster right side out, using a point turning tool to make the seam and corners nice and crisp. Tuck the unstitched edges into the opening and press everything flat. Edgestitch 1/8" from the edge of the entire outer perimeter of the pressed piece, stitching the opening closed as you go.
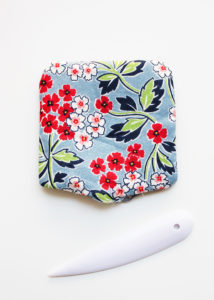
- Carefully center the Topstitch Tracing Template from the printed pattern onto the coaster and use the washable marking pen to trace around all sides of the template. Topstitch along the tracing.
- Repeat the preceding steps to create as many fabric coasters as you like. A full set of these can be made in about half an hour!