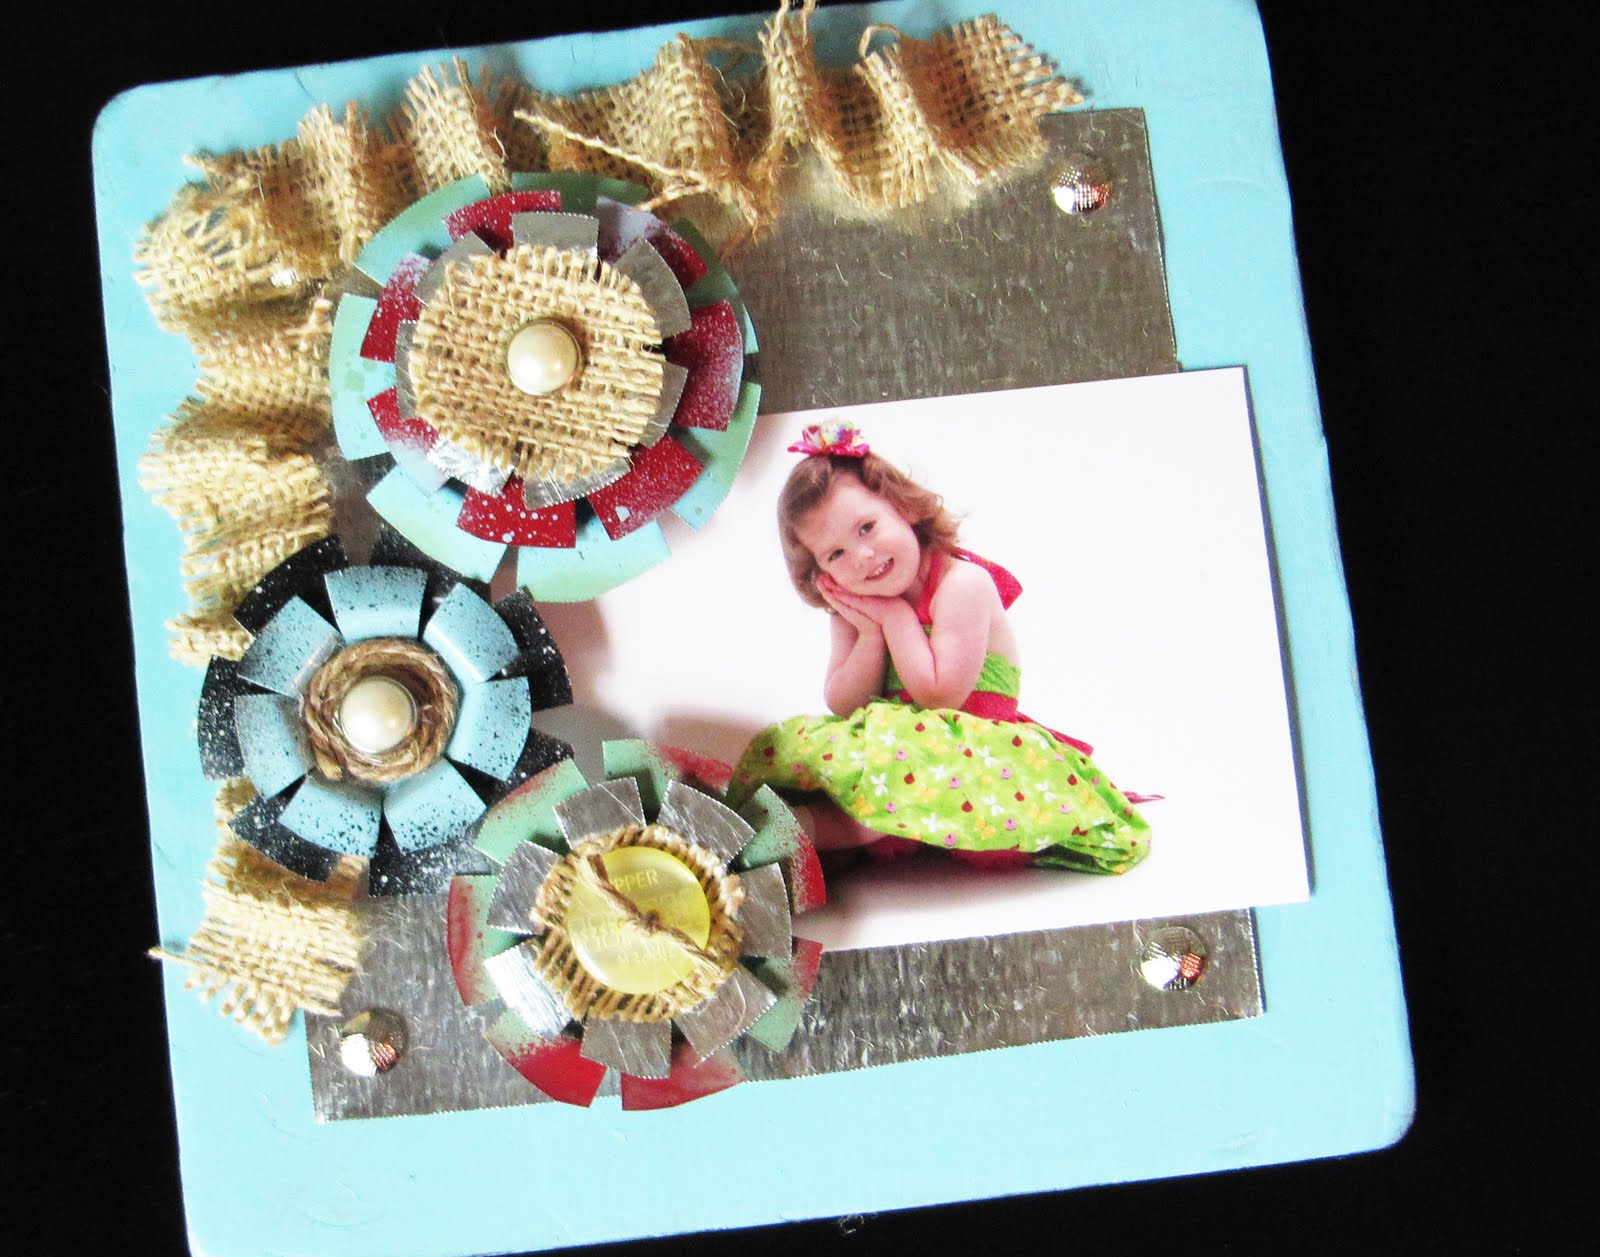
I have always loved magnetic memo boards as a stylish, yet functional, form of decor. They are perfect for displaying photos or holding notes or recipe cards. Wouldn’t this be a terrific gift to put together for a special mom or teacher in your life?


Please don’t hesitate to let me know if you have any questions!
Happy creating!

Having grown up in a home brimming with sewing notions and paintbrushes, Amy has a deep love for all things creative. On any given day, you’ll find her knee-deep in her latest creative endeavor, with projects ranging from sewing and crafts to home decor and kid-friendly ideas. Amy believes that everyone, regardless of skill level or experience, possesses the ability to create something beautiful, and Positively Splendid was born of her passion for helping others harness their innate creative potential.
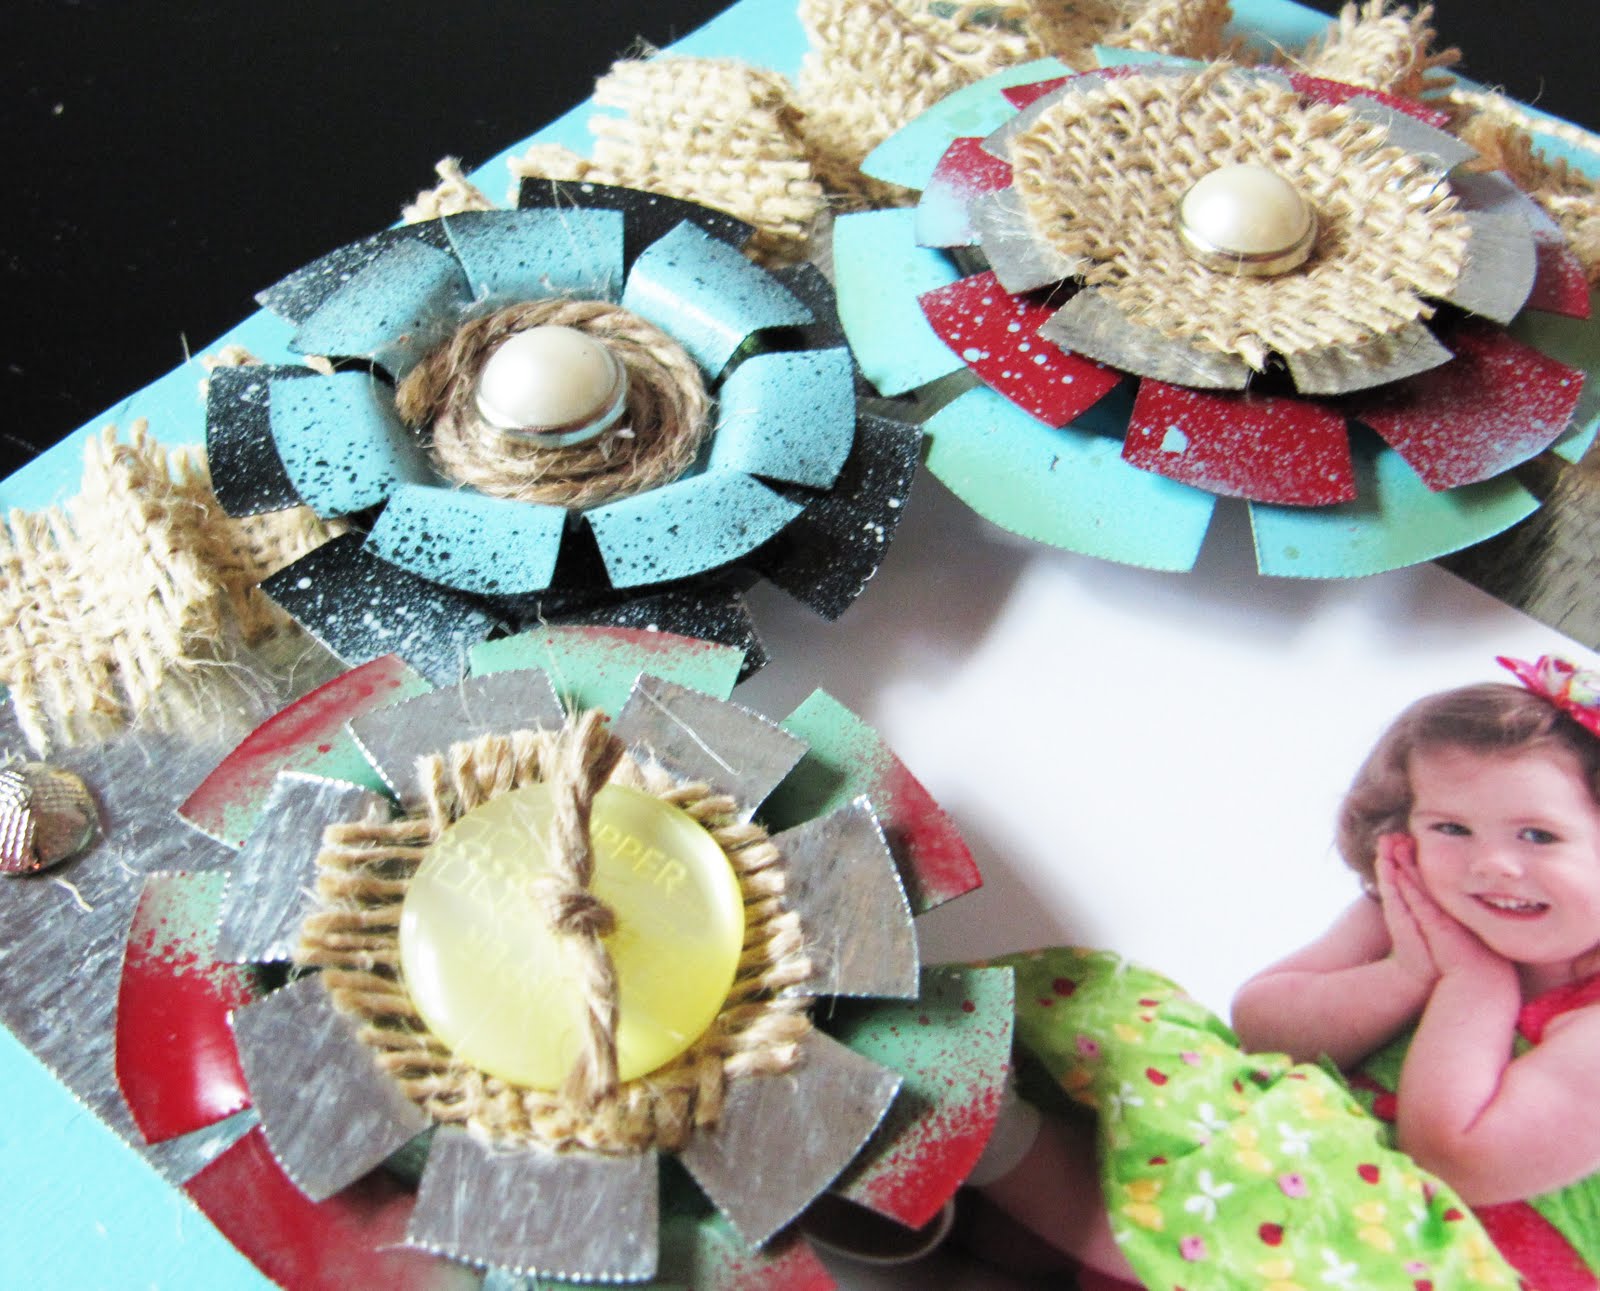
Very cute! I love the color and the burlap. I have a few of those frames in my craft cabinet too!
Cute way to use those frames!
That looks so good! I love the style of it!
I love the idea of using sheet metal! So durable. I’ll hvae to try this one, thanks for sharing!
This is a great new use of those dollar frames! I love them too but have never thought to use them as memo boards 🙂
Hi, Great pictures and instructions. Love your blog… glad i found it through the Tuesday Tag-Along over on Twee Poppets. I’m a new follower and would sincerely appreciate if you’d visit my blog. Follow if you like it: http://www.mytottravels.blogspot.com
You can also find me on Twitter http://www.twitter.com/mytotstravel and Facebook http://www.facebook.com/mytotstravel
Happy Travels,
Lilli (#88 on the list)
http://www.MyTotsTravel.com
This is too adorable!!
Visiting from Tatertots & Jello. 🙂
What a fabulous idea!! I featured this tutorial on my blog today, highlighting 3 dozen flower tutorials. Here is the link:
http://oopsey-daisy.blogspot.com/2010/04/wednesdays-wowzers-3-dozen-flower.html
Thanks for the inspiration!!
Fantastic project! It turned out beautifully.
darling! I have seen this project splashed all over the blogging/crafting world – nice job! 🙂
thanks for the sweet comment about my latest refashion! you made me smile!
That is so cute!
WOW Amy this is awesome! I love those dollar frames and have a bunch but I usually decoupage them. Hadn’t thought to make them into magnet boards!!! Thanks for the inspiration and tute!
This is by far too cute! I love Michaels dollar section too they have the cutest stuff!! Great work!
~Morgan
Meet Virginia!
Meet Virginia!
Meet Virginia!
HI there! Found you through Tuesday Blog Hop….well….even if it is Thursday! Great site. New follower 🙂
Melanie
http://www.jonathanandmelanie.blogspot.com
what a fun blog. i am really glad i found you.
greensubmarinediydesign.blogspot.com
This is beautiful…I love it. Are you going to link this up to the DIY Club blog party next Friday, 5/7?…Gorilla Glue is one of our products! And you even have a photo of the product with the project (a requirement)
That’s genius! Thanks for sharing. I actually have some of those wooden frames buried in my craft shelves somewhere because I couldn’t think of anything else to do with them. 🙂
What a great idea! I’ll have to round up some supplies and make one!
This is just genius – such an adorable way to use the frames! Thanks for the great tutorial.
Chelsea
This is darling!! I’d love for you to link up http://iheartnaptime.blogspot.com