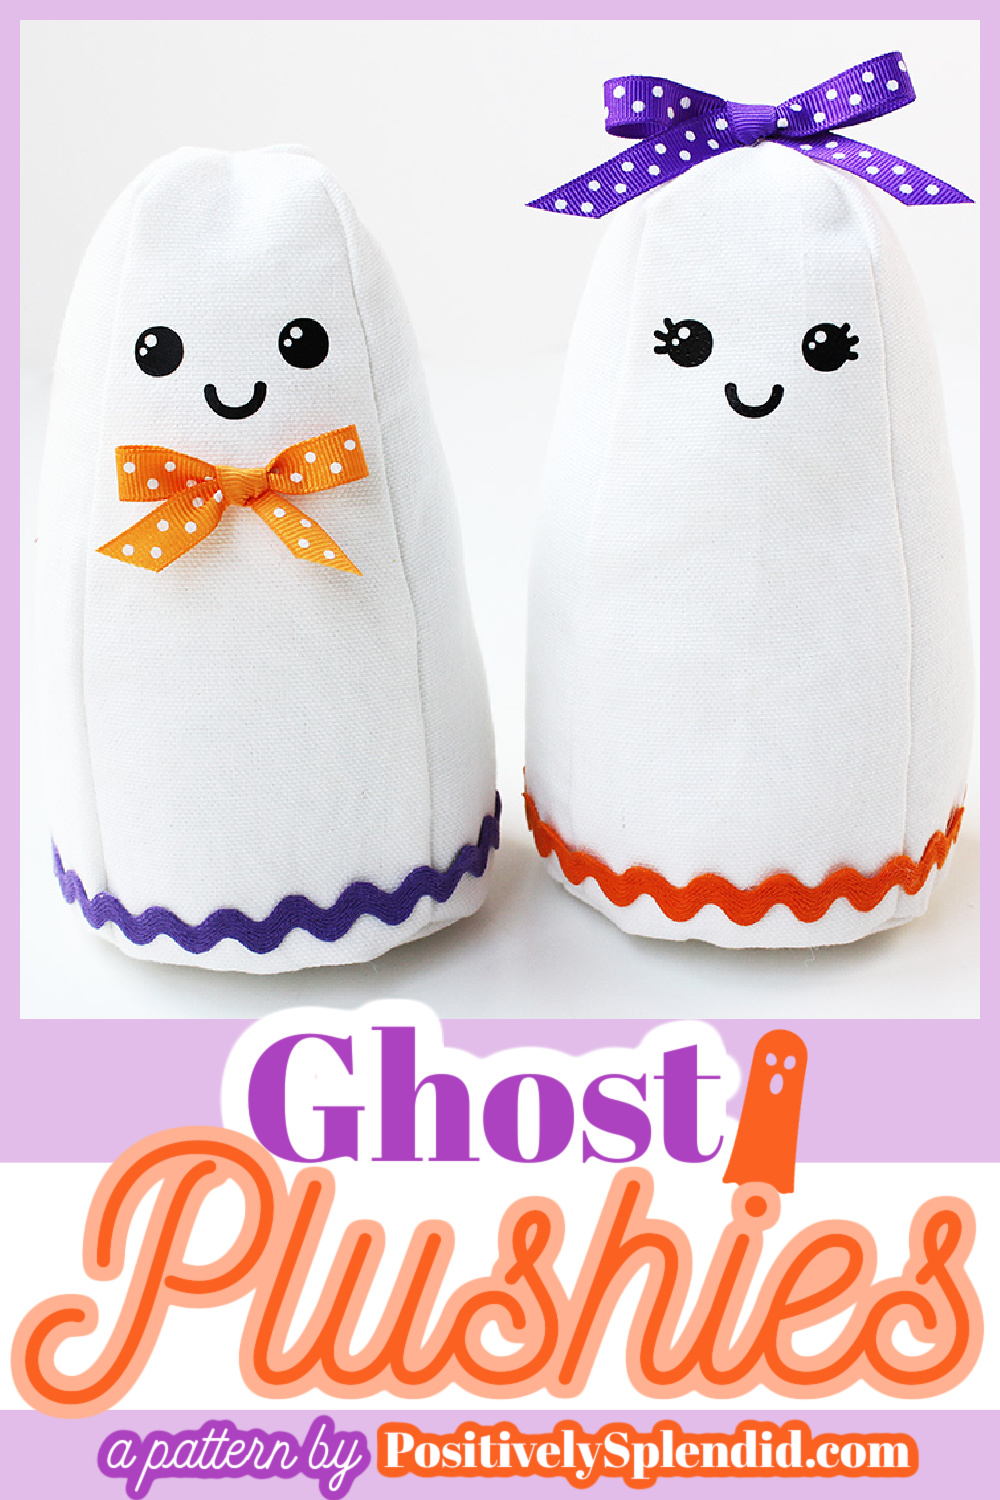
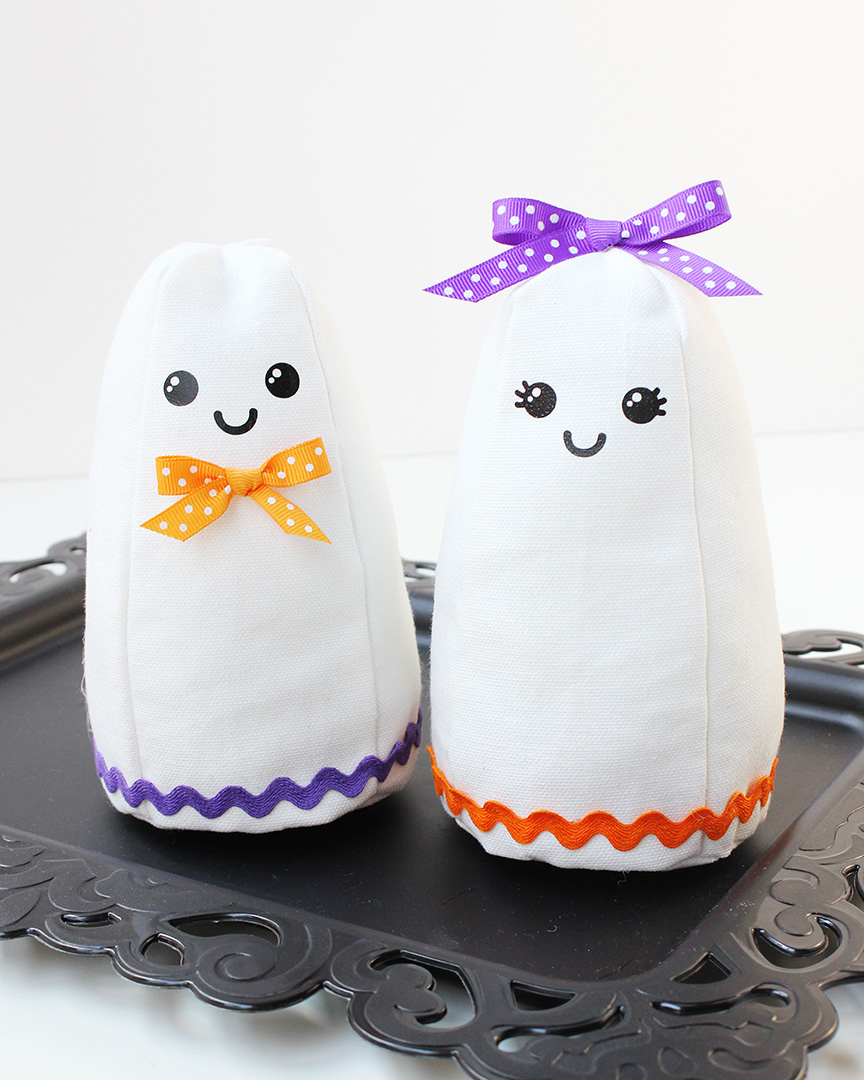
Adorable and perfect for Halloween, these ghost plushies are a fun sewing project that comes together in a snap! My free ghost plushie pattern provides all the details you need to make one (or a pair!) of your own. Grab your sewing gear, and let’s get started stitching up this adorable Halloween sewing project!
What You’ll Need to Make a Ghost Plushie
Supplies
- Ghost Plushie Pattern (available to download below)
- Heavy-weight white fabric (see my notes below in the Project Tips section for material recommendations)
- White thread
- Fiber fill
- Ribbon
- Ricrac
- Hot glue
- For adding facial features: black heat transfer or black embroidery floss or black fabric marker (see note in the Project Tips section below)
Tools
- Sewing machine
- Basic sewing tools (Check out my list of 10 Essential Sewing Tools)
- Washable marking pen
- Hand sewing needle
- Hot glue gun
- For adding facial features: Cricut or embroidery needle
Project Tips
How can I know if the pattern is printed correctly? Make sure your printer settings are set to print at 100% scale.
What kind of fabric is best for making a ghost plushie? Heavier fabrics like canvas and duck cloth are the best to ensure the white fabric has enough body to hold its shape well.
What is the best way to add facial features to my ghosts? Any facial features should be added to one of the ghost body pieces before sewing.
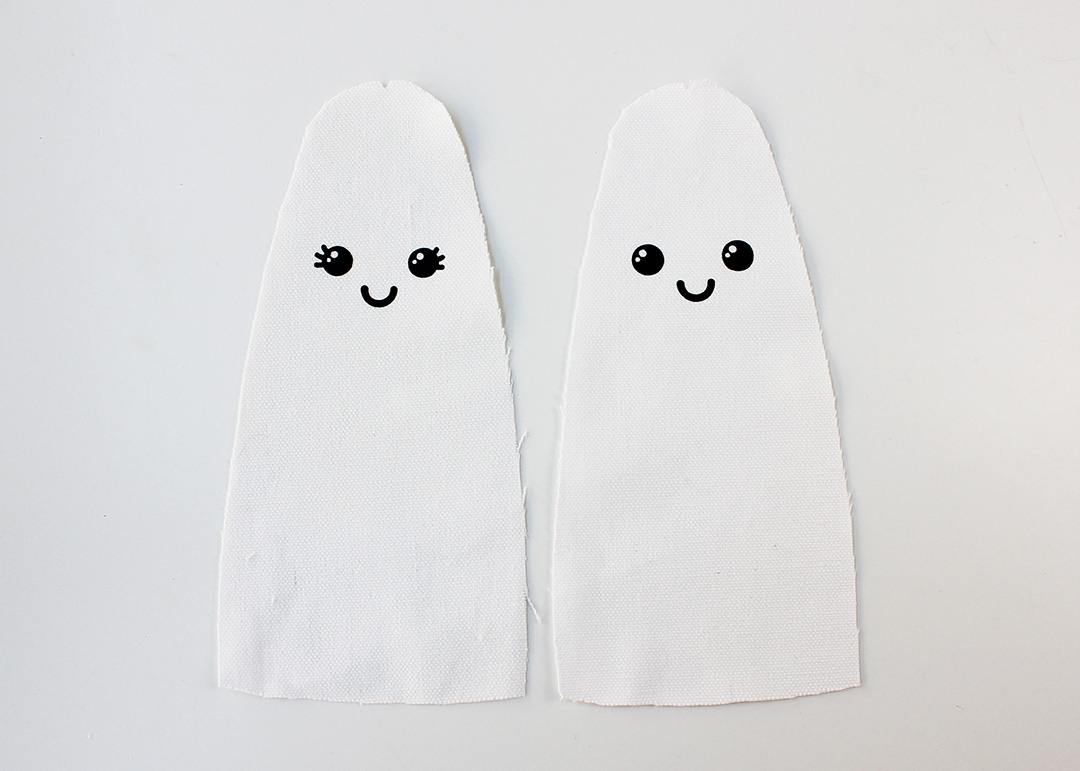
- With a Cricut: I opted to use my Cricut machine to cut out features from heat transfer vinyl using files from their library (Smiley Face #M3ACDFF54 and Feminine Happy Face #M3ACDFF62) sized down to 1.5x.75″. (I removed the cheeks from each face, and for the girl’s face, I combined the mouth of the first file with the eyes of the second file so she could have cute eyelashes.)
- Other options: Hand embroider a face onto your ghost, or draw on a face with a black fabric marker.
How to Make a Ghost Plushie
A printer-friendly version of these instructions is available for download below.
Make Your Cuts and Add Facial Features
To begin, download and print the free Ghost Plushie Pattern (available for download below). For each ghost, you will use the pattern pieces to cut:
- 4 body pieces from the white canvas
- 1 base piece from the white canvas
Note: Make sure to make a tiny notch on each of the body pieces at the mark indicated on the top center of the pattern.
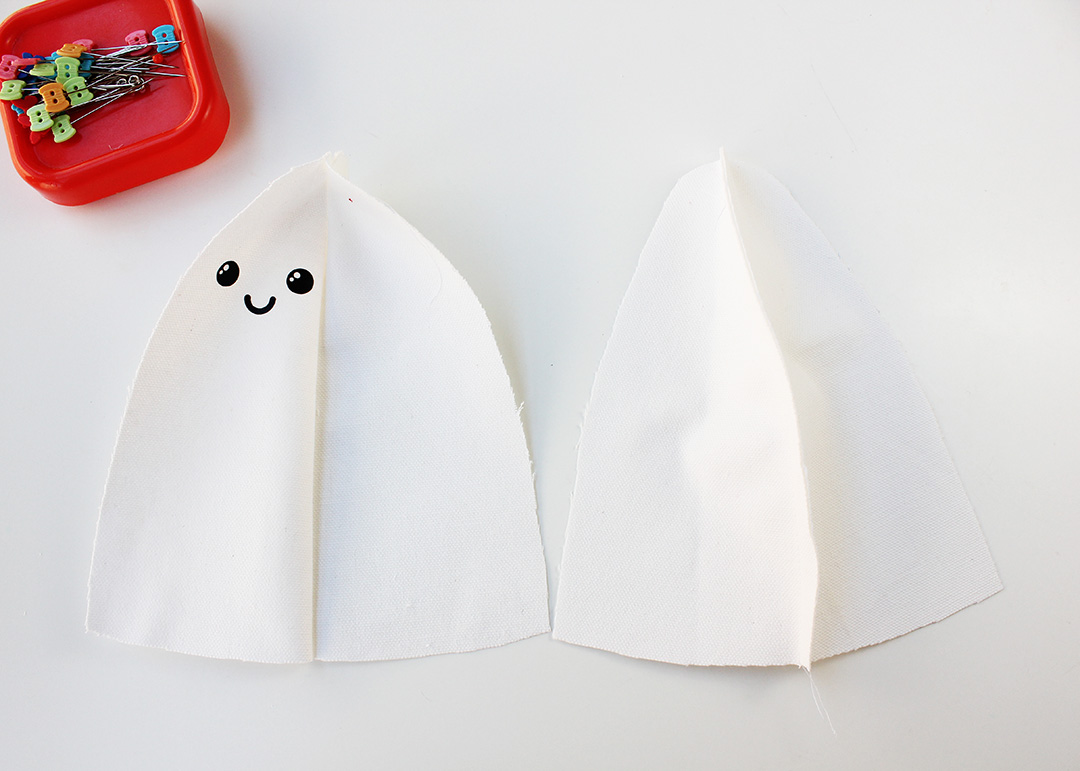
To create the face for your ghost, use iron-on heat transfer vinyl, embroidery floss, or a black fabric marker to add facial features to one of the body pieces. (See the Project Tips section below for how I added faces to my ghosts using my Cricut.)
Time to Sew!
Note: All seam allowances are 1/4″.
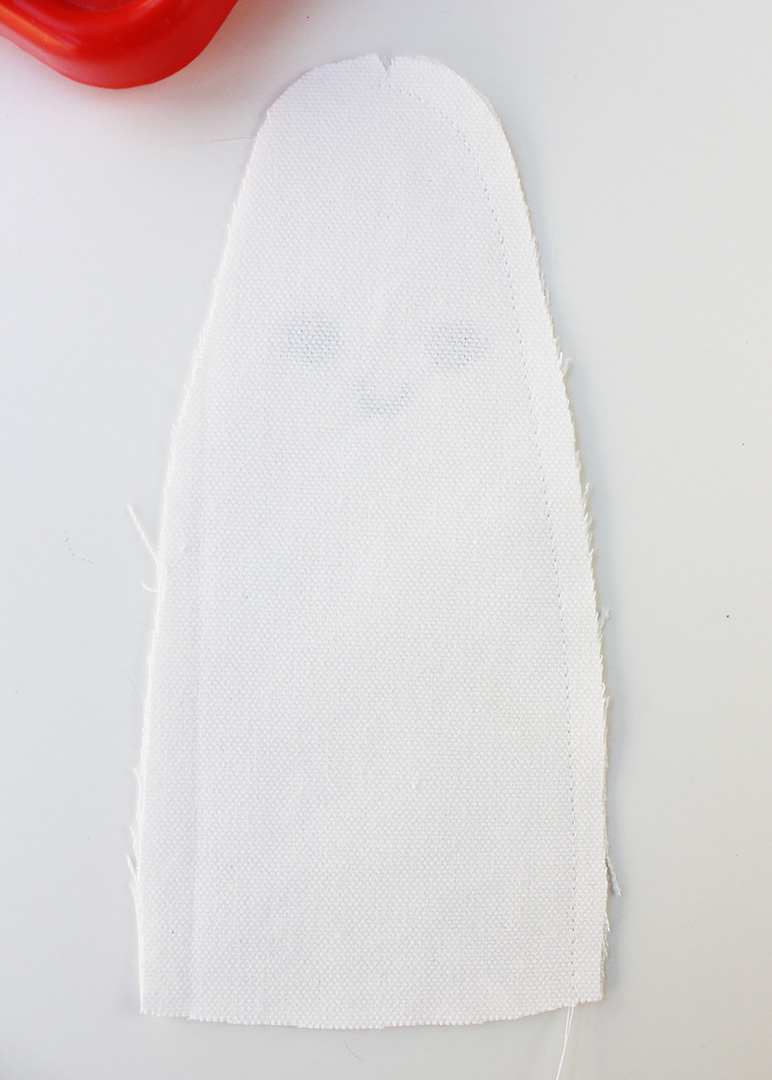
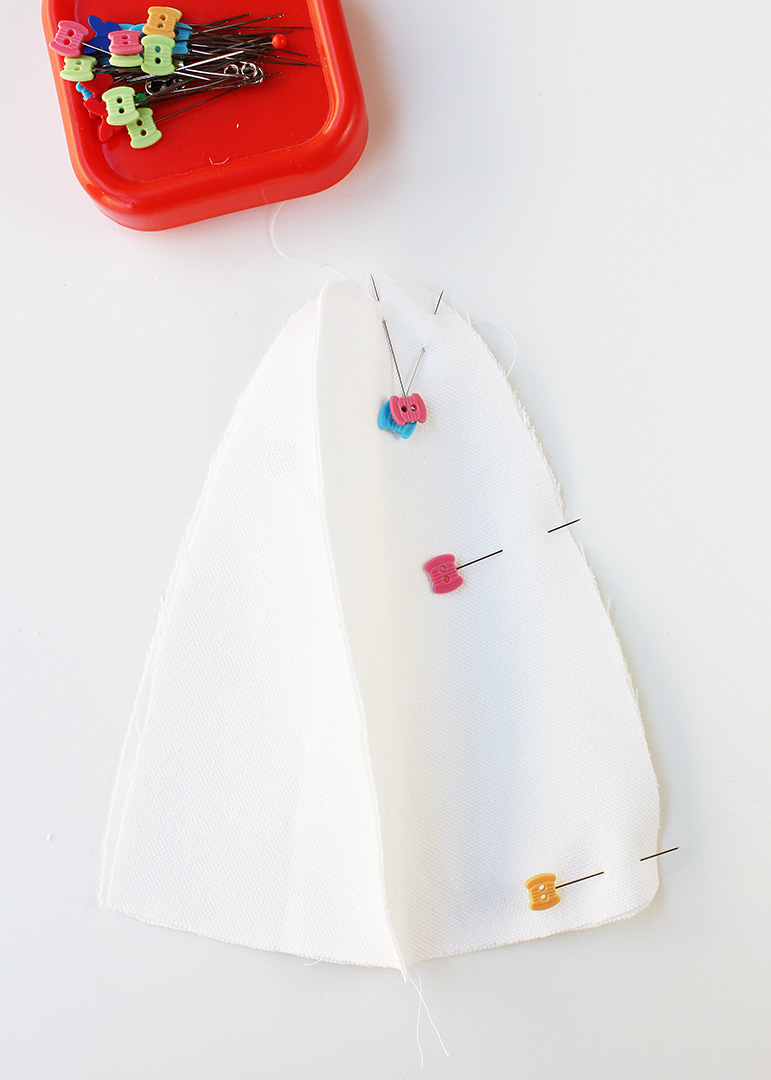
Align two of the body pieces with right sides facing, so the top notches and outer edges of the pieces are aligned. Pin.
Starting at the notch at the top of the pieces, stitch along the right side of the pinned pieces down to the bottom right-hand corner.
Repeat the steps above to stitch the remaining 2 body pieces together.
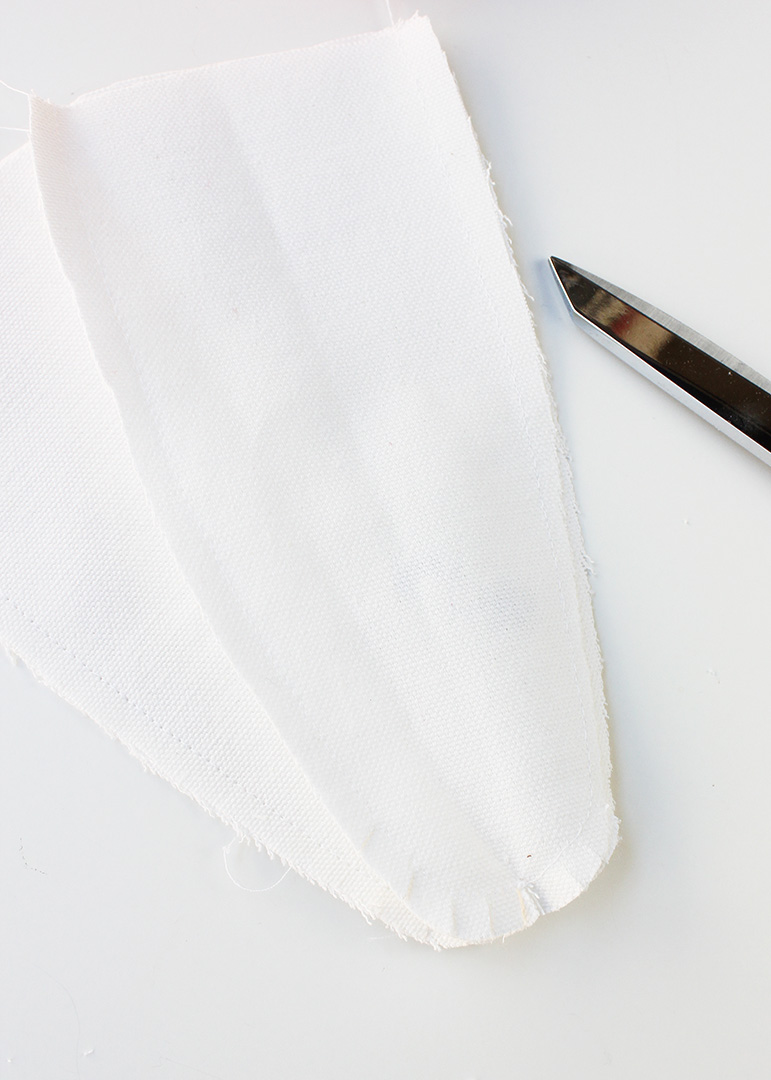
Place the two assembled pieces together, right sides facing, making sure the top seams are aligned. Pin the pieces together along the right edge. Starting at the top center seam, sew down to the lower right corner of the pinned pieces. Flip the piece over, and pin along the unstitched edges. Starting once again at the top seam, stitch down from that point to the bottom right corner.

Carefully create snips along all of the top curved edges.
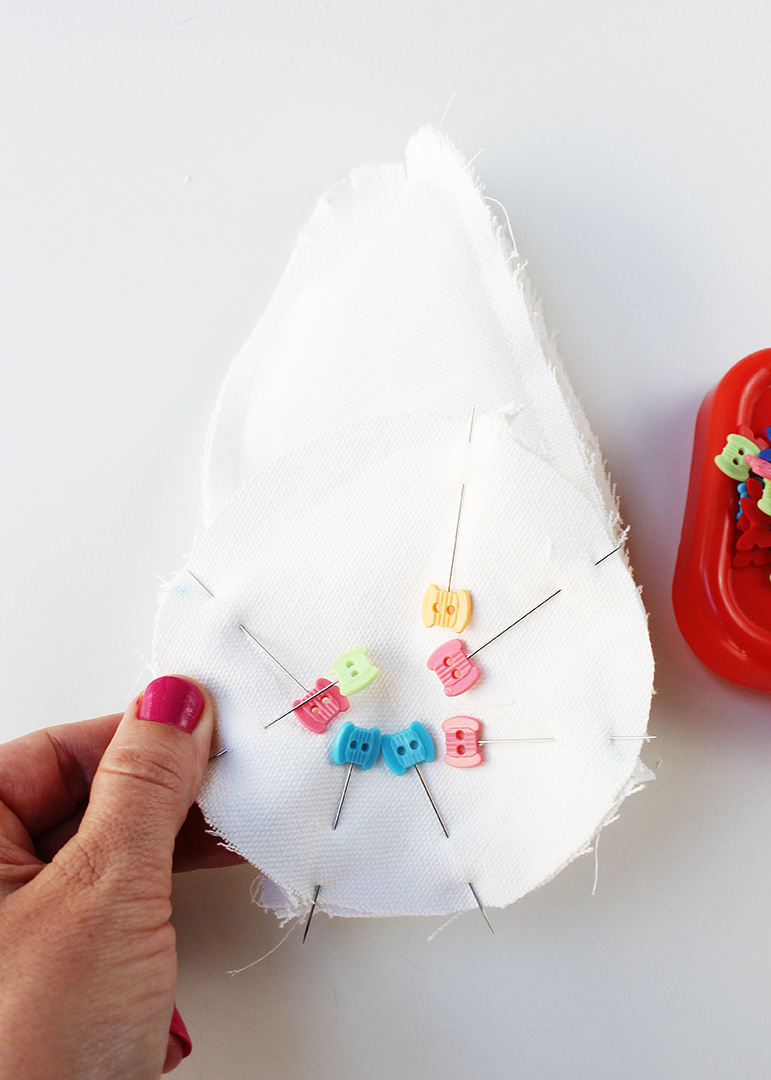
Fold the base circle piece in quarters, and press by hand to form creases. Use a washable marking pen to make small marks at the edge of the circle at each of the creases. Line up the base piece with the bottom opening so that the marks are aligned with the seams between each of the body panels. Pin into place. Stitch to affix the base to the body, leaving a 2″ opening for turning. Turn the piece right side out.
Add Filling and Finish
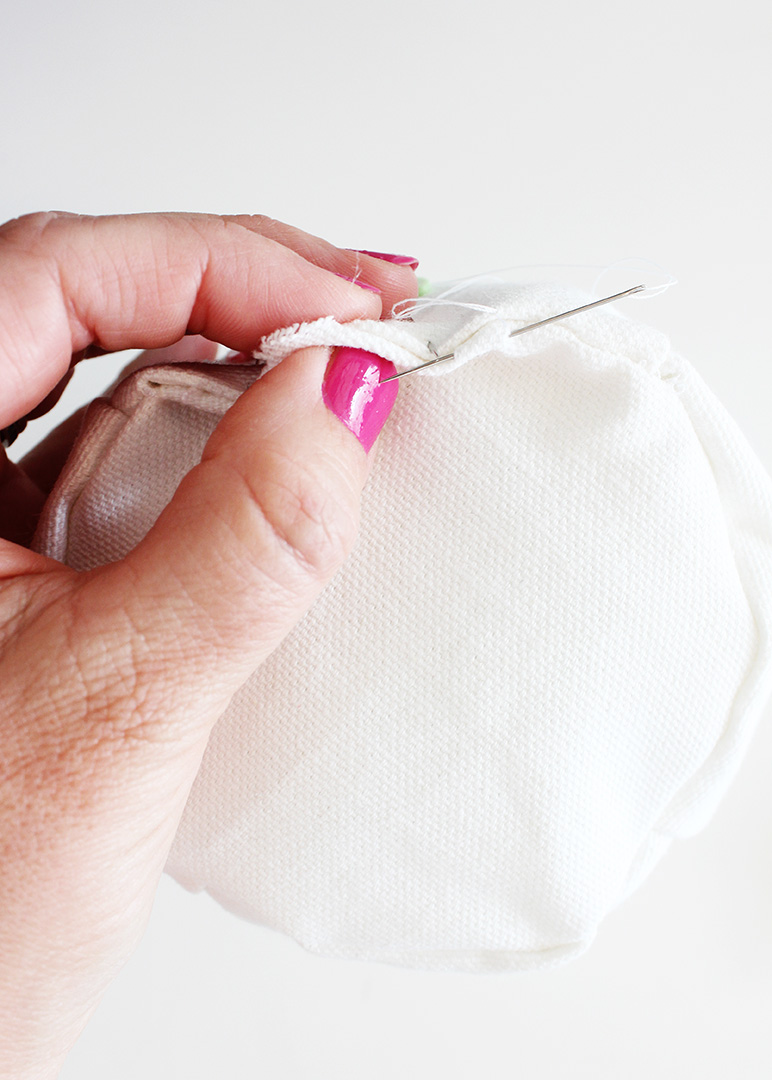
Stuff fiber fill into the ghost through the bottom opening, gradually adding small amounts of the filling a little at a time to make sure the stuffing is smooth and even.
Hand stitch the opening shut. Learn how to do this quickly and easily with my Invisible Stitch Tutorial!
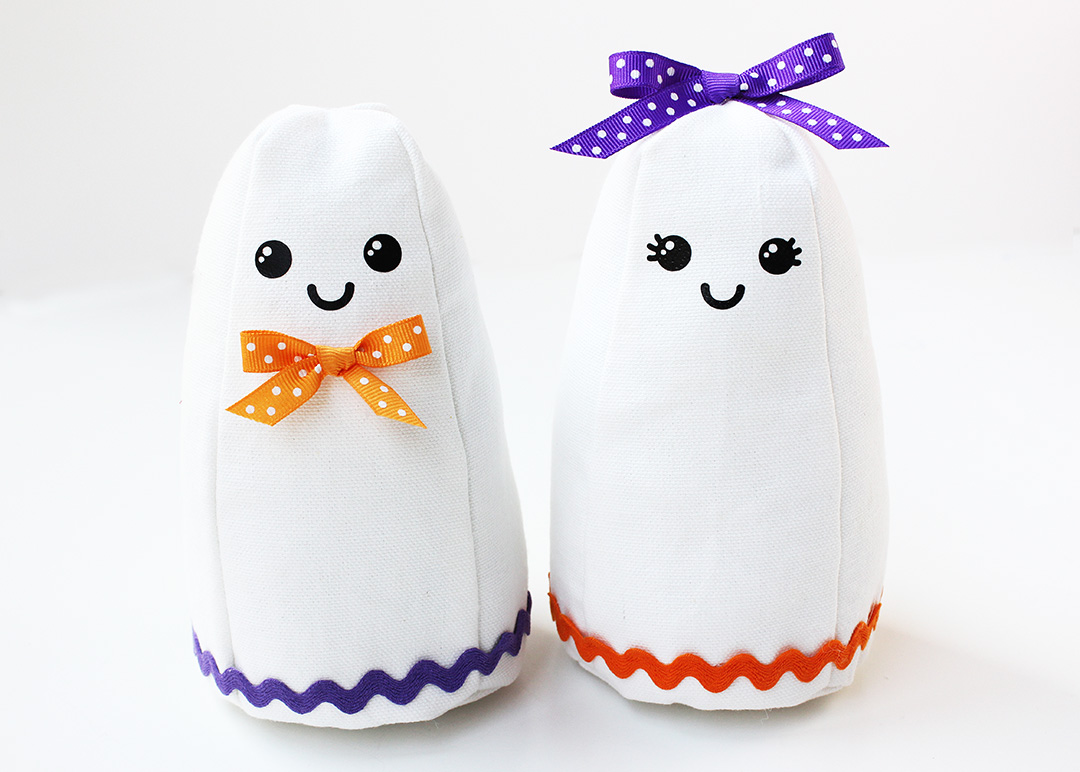
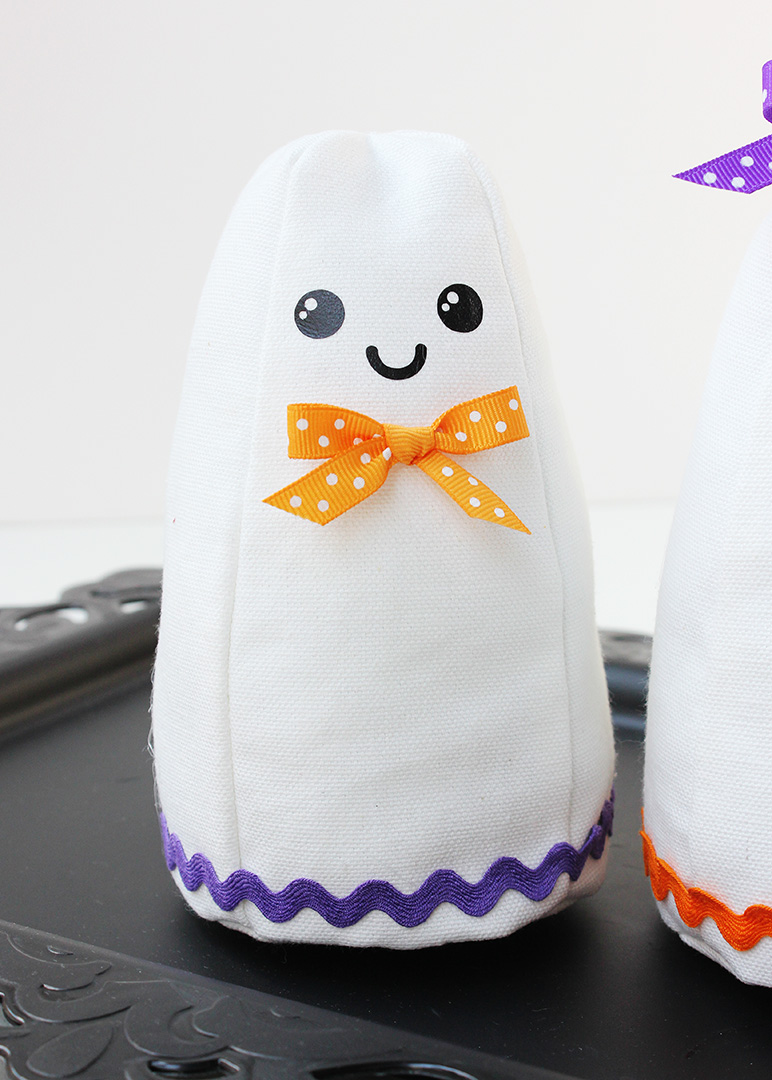
Use hot glue to add a border of ricrac just above the bottom edge of the ghost. For a girl ghost, glue a ribbon bow on top of her head, and for a boy ghost, glue a dapper bowtie below the facial features.
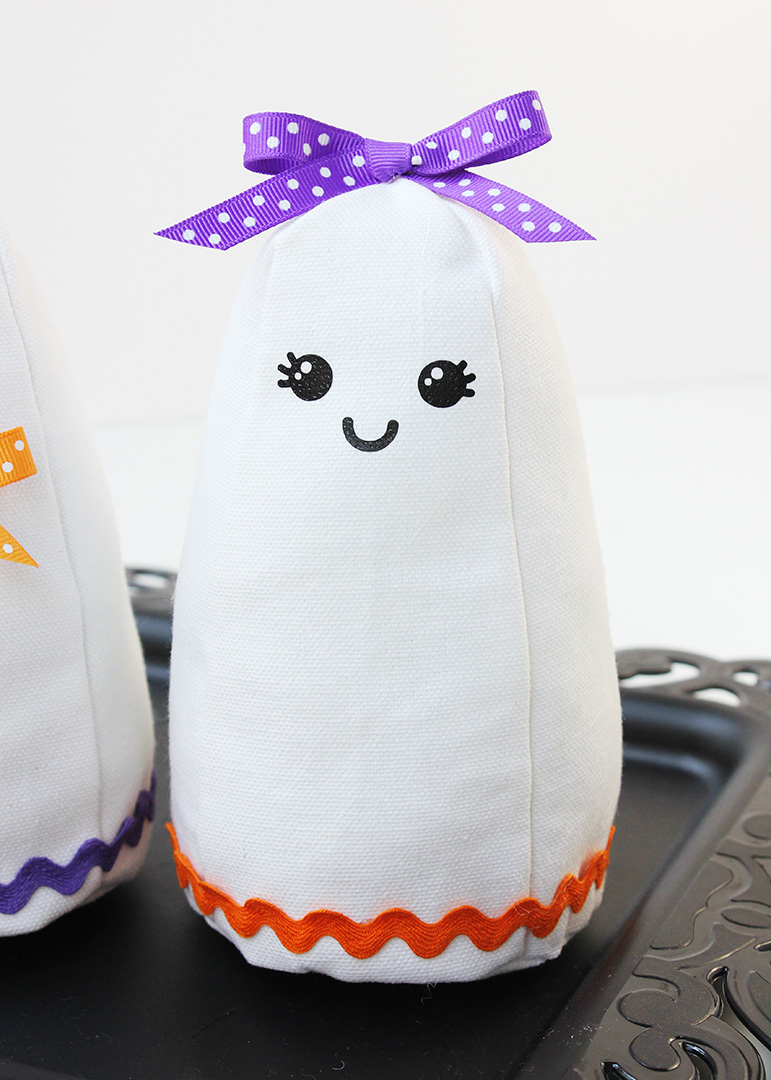
All finished! Aren’t they absolutely adorable? I can’t wait to display them with my Halloween decorations!
To download the Ghost Plushie Pattern Pieces, click here.

Ghost Plushie
Equipment
- Sewing Machine
- Basic sewing tools (Check out my list of Essential Sewing Tools in the original post)
- Hand Sewing Needle
- Hot Glue Gun
- For adding facial features: Cricut or embroidery needle
Materials
- Ghost Plushie Pattern Available to download in original post
- Heavy-weight white fabric See my notes below in the Project Tips section in the original post for material recommendations
- White thread
- Fiber fill
- Ribbon
- Ricrac
- Hot glue
- For adding facial features: black heat transfer or black embroidery floss or black fabric marker See note in the Project Tips section in the original post
Instructions
- To begin, download and print the free Ghost Plushie Pattern (available for download in the original post). For each ghost, you will use the pattern pieces to cut: 4 body pieces from the white canvas and 1 base pieces from the white canvas. Note: Make sure to make a tiny notch on each of the body pieces at the mark indicated on the top center of the pattern.
- To create the face for your ghost, use iron-on heat transfer vinyl, embroidery floss, or a black fabric marker to add facial features to one of the body pieces.
- Note: All seam allowances are 1/4". Align two of the body pieces with right sides facing, so the top notches and outer edges of the pieces are aligned. Pin.
- Starting at the notch at the top of the pieces, stitch along the right side of the pinned pieces down to the bottom right-hand corner.
- Repeat the steps above to stitch the remaining 2 body pieces together.
- Place the two assembled pieces together, right sides facing, making sure the top seams are aligned. Pin the pieces together along the right edge. Starting at the the top center seam, sew down to the lower right corner of the pinned pieces. Flip the piece over, and pin along the unstitched edges. Starting once again at the top seam, stitch down from that point to the bottom right corner. Carefully create snips along all of the top curved edges.
- Fold the base circle piece in quarters, and press by hand to form creases. Use a washable marker to make small marks at the edge of the circle at each of the creases. Line up the base piece with the bottom opening so that the marks are aligned with the seams between each of the body panels. Pin into place. Stitch to affix the base to the body, leaving a 2" opening for turning. Turn the piece right side out.
- Stuff fiber fill into the ghost through the bottom opening, gradually adding small amounts of the filling to make sure the stuffing is smooth and even.
- Hand stitch the opening shut. Learn how to do this quickly and easily with my Invisible Stitch Tutorial (linked in the original post).
- Use hot glue to add a border of ricrac just above the bottom edge of the ghost. For a girl ghost, glue a ribbon bow on top of her head, and for a boy ghost, glue a dapper bowtie below the facial features.
Having grown up in a home brimming with sewing notions and paintbrushes, Amy has a deep love for all things creative. On any given day, you’ll find her knee-deep in her latest creative endeavor, with projects ranging from sewing and crafts to home decor and kid-friendly ideas. Amy believes that everyone, regardless of skill level or experience, possesses the ability to create something beautiful, and Positively Splendid was born of her passion for helping others harness their innate creative potential.