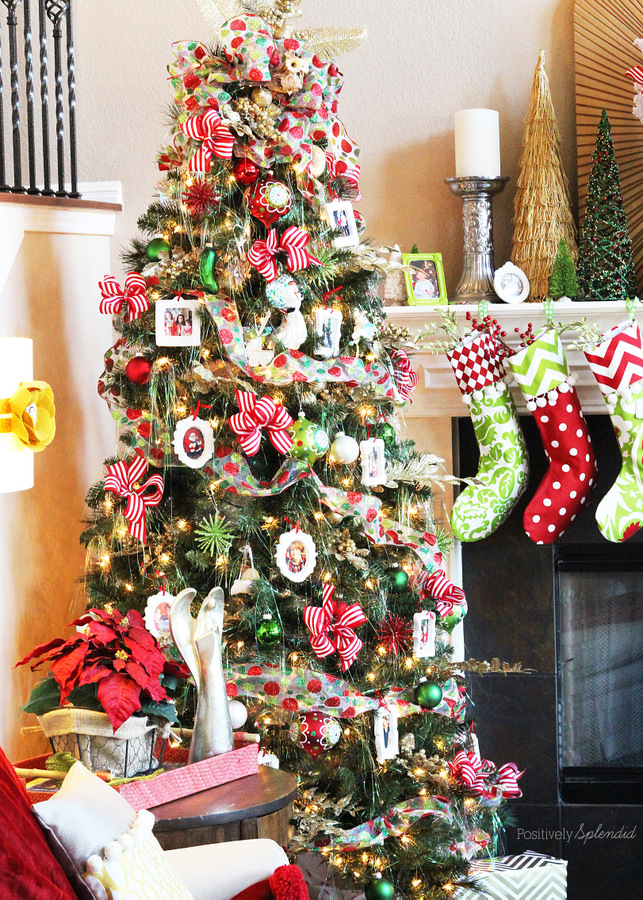
A well-trimmed tree is often the centerpiece of any home’s holiday decor. Earlier this month, I shared my Christmas Memory Tree for the Michaels Dream Tree Challenge, which is filled with mementos and photos that hearken to Christmases past. I truly love how it turned out!
If you’ve ever been intimidated when admiring gorgeous Christmas trees in your favorite magazines or on Pinterest, you’re not alone: I used to feel precisely the same way. All of the tree that caught my eye seemed too elaborate to pull off in my own home. Today I’m going to fill you in on a secret, though: even the most gorgeous trees spilling from the pages of a glossy magazine are totally, completely do-able, even for non-professional decorators. I promise! Today, I’m going to fill you in on my yearly 10-step tree-decorating system that results in a beautiful tree every time.

Today’s post is brought to you by Michaels.
1. Fluff’s the word.
If you prefer a live tree, you can go ahead and skip down to step 2. If, however, faux trees are the norm in your home, this step is an important one! No faux tree comes out of a box looking its best, and it is crucial to spend plenty of time adjusting and fluffing the branches to make it presentable after another year of storage. Helpful tip: Gardening gloves are perfect for wearing during this step to prevent hands from becoming dry and irritated.
2. Light it up.
Many artificial trees come pre-lit, and I can’t say enough what a sanity saver my pre-lit tree is! However, if you do opt to string lights on your tree (for instance, when using a live tree), strive to wrap the light strands around the branches, working from the inside of the tree outward, to avoid having unsightly cords in plain sight. Also, always use a surge protector when plugging in your tree to prevent electrical accidents.
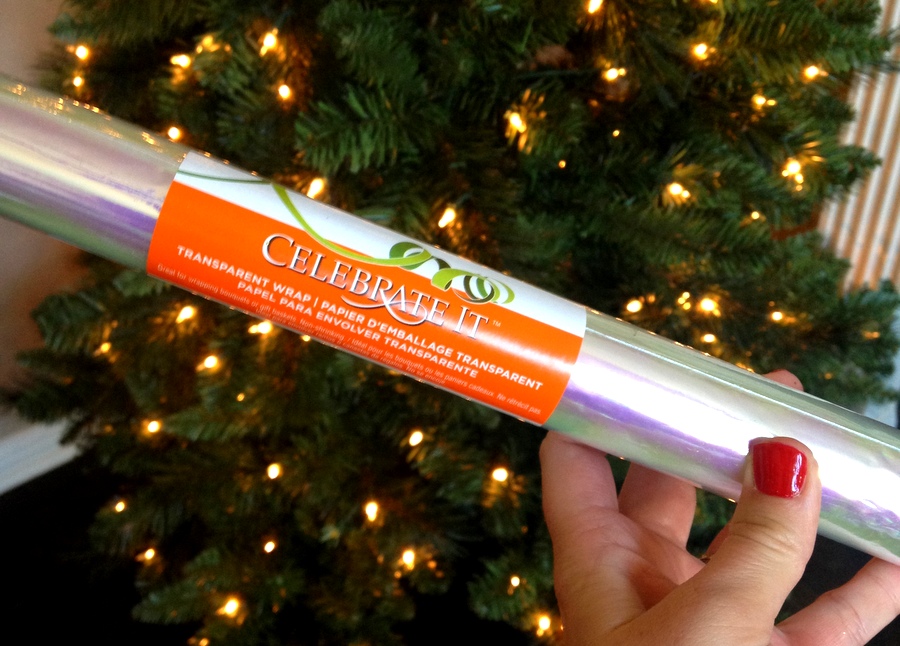
3. Make it glow.
With the lights in place, it’s time to turn to my all-time favorite secret weapon for a show-stopping tree: iridescent cellophane! Cutting 6″ strips of the cellophane and tucking it into the branches of the tree close the the trunk, creates an ethereal, magical glow. This is particularly handy when using an artificial tree, as it camouflages the trunk, which (let’s face it!) is often fairly unattractive.
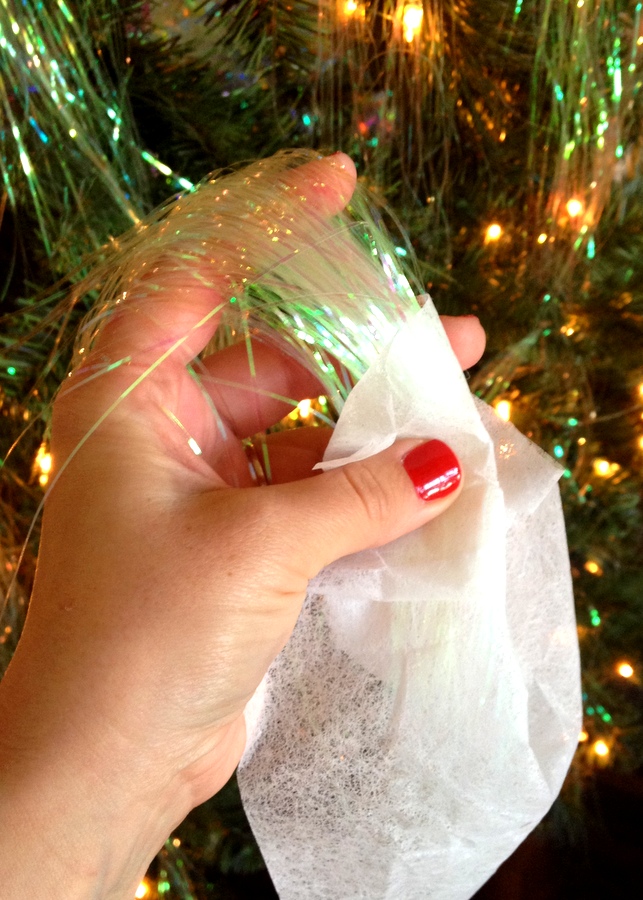
4. Hang tinsel.
The retro, cozy vibe of tinsel is something no tree should be without! Tinsel can often become riddled with static when it is handled, but I have found the perfect way to manage this: dryer sheets! By running a sheet over groupings of the strands before hanging, static is reduced and the process is so much easier.
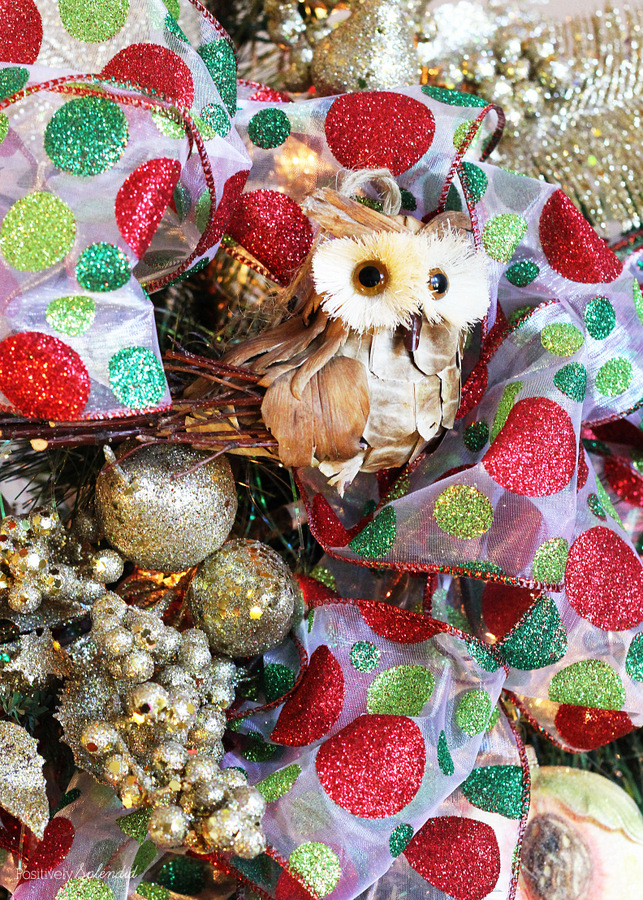
5. Create a show-stopping topper.
Start by affixing large ribbon bows to the top of the tree with floral wire, and then add various picks, sprays, a star or any other elements you wish. Our tree is always topped by a little owl ornament given to us by my mother-in-law after her mother, who loved owls, passed away. Mementos like these truly give a tree personality and charm!
6. Add ribbon.
Wrapping cascading strands of ribbon around the tree draws the eye from the top of the tree downward. Create a number of small bows in coordinating ribbon, and affix them throughout the tree with floral wire. The tree is starting to come together!
7. Add picks and sprays.
Nothing punches up a tree better than tons of terrific texture, and my favorite way for achieving this is with picks and sprays scattered throughout the branches of the tree. No need to secure these with anything: simply tuck them into place, and you’re good to go!
8. Add a base of glass globe ornaments in unified colors.
Glass globe ornaments are the backbone of the ornament world, as they fill in space and add sparkle, but still allow the more showy ornaments to shine. I like to scatter 25-30 of these over the tree.
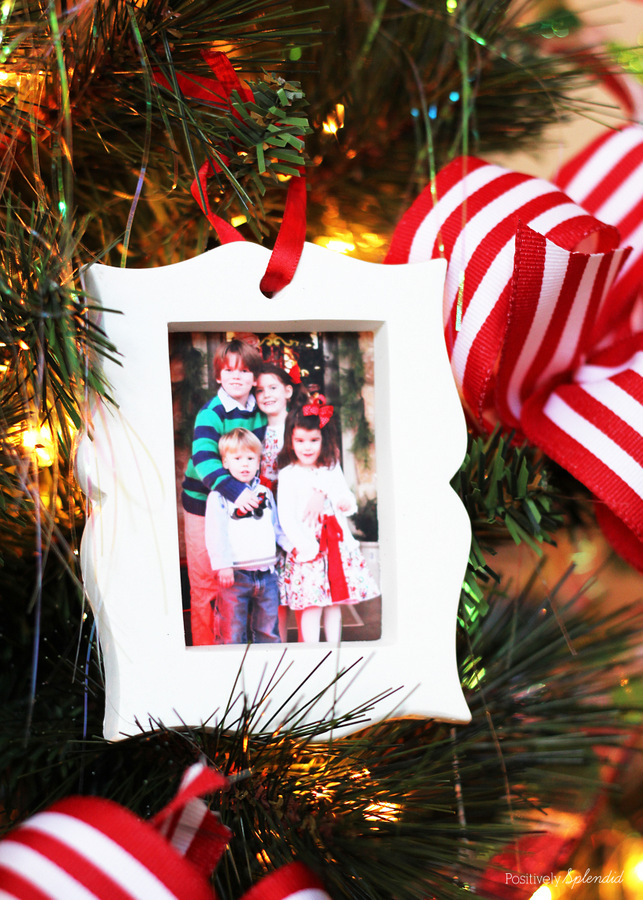
9. Prominently showcase your favorite ornaments.
With the foundational elements of the tree in place, it’s time to hang the ornaments that will be the true star of the show. Do you have precious family ornaments to hang, or do you like to make beautiful handmade ornaments to use each year? Are the homemade ornaments your children bring home from school your favorite thing to feature? My best advice: Don’t be afraid to mix and match many different ornaments that don’t stick with a unifying theme or color scheme. If it’s meaningful to you, hang it. Our own family’s tree wouldn’t be complete without the ornaments we’ve collected over the years, and the priceless creations made by my four children year after year.
10. Go beyond the traditional tree skirt.
It is so important to have a grounding element at the base of the tree, not only to cover up the tree stand or base, but also to draw the eye downward and give the tree a polished, finished look. Instead of a traditional tree skirt, which I often find to be too small to really have the volume I want, I prefer to use a couple of yards of pretty fabric tucked loosely around the base of the tree. This is so much less expensive, and the look of the tucks and mounds of fabric is equally beautiful!
When it is separated into straightforward, easy steps, the process of creating a beautiful Christmas tree truly is achievable by anyone, no matter their level of decorating experience. I hope you are inspired to create your most spectacular Christmas tree ever this year, and that these 10 simple steps help you along the way.
If you haven’t already, be sure to pop over the the Michaels blog, The Glue String, to check out each of the 30 stunning trees from the Dream Tree Challenge. You are sure to take away plenty of ideas for your own tree!
Also, you can help spread some holiday cheer by sharing a photo of my dream tree or any trees that inspire you this year on Facebook, Twitter or Instagram, tagging your friend using the #TagATree hashtag and encouraging them to do the same! So fun!
Wanting even more great tree-decorating tips? Be sure to check out these other great posts from my fellow Michaels Makers!
Disclosure: This is a sponsored post written by me on behalf of Michaels Stores and the Michaels Makers team. All opinions are entirely my own.
Having grown up in a home brimming with sewing notions and paintbrushes, Amy has a deep love for all things creative. On any given day, you’ll find her knee-deep in her latest creative endeavor, with projects ranging from sewing and crafts to home decor and kid-friendly ideas. Amy believes that everyone, regardless of skill level or experience, possesses the ability to create something beautiful, and Positively Splendid was born of her passion for helping others harness their innate creative potential.
Love, love, love your tree!!! I showed it to my girls who said that it would go perfectly in our home and our decorating theme for Christmas. Love it!!