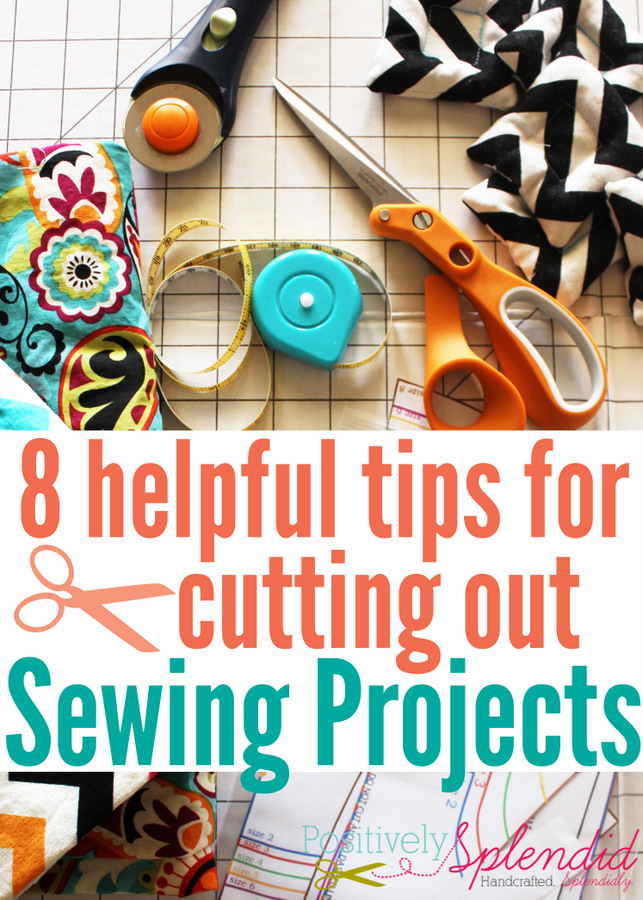
I have a confession to make: As much as I love to sew, there are many times when I find the process of cutting out to be absolutely, positively tedious! Over time, I’ve come up with ways to streamline that portion of each project, and today I’m sharing favorite tips and tricks to make cutting out sewing projects easier and more pleasant. Hopefully, these will help you to enjoy this stage of the sewing process a bit more (or, as in my case, dislike it just a bit less!).
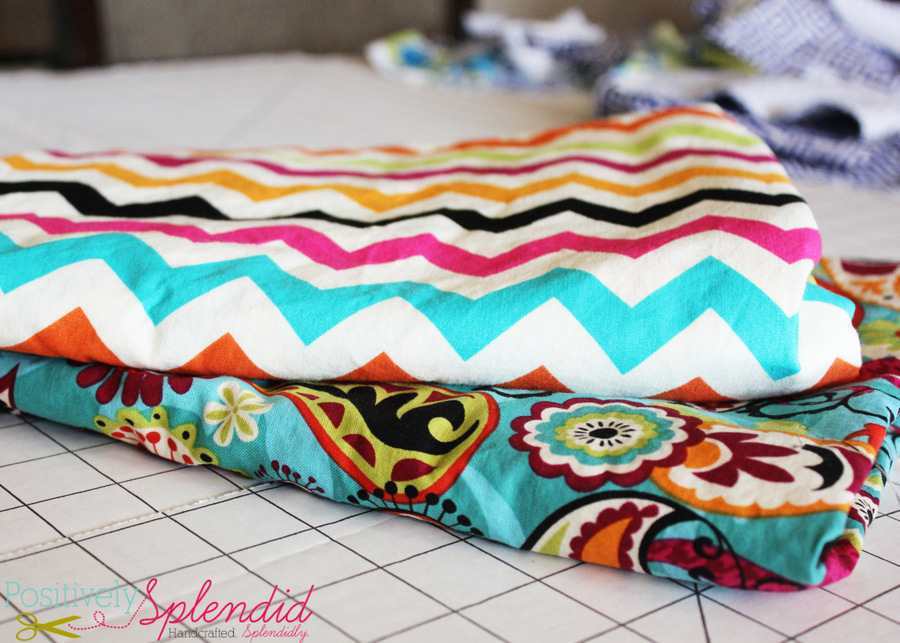
Pre-wash fabrics and trims the moment you get them home from the store.
Pre-washing fabrics, trims and other elements is essential to achieving professional results in sewing projects, but one thing that frustrates me to no end is to finally claim some time to cut out a project, only to realize the majority of the time I have at my disposal will have to be spent waiting on my washer and dryer. To solve this problem, I always make an effort to toss everything into the wash the moment I bring it all home. Once everything is washed and dried, I immediately fold all of the coordinating fabrics and trims together into a nice, tidy package so that it’s all ready for me when the cutting mood strikes. This really has helped me to be much more productive!
Print or trace patterns in advance.
I love the accessibility and instant gratification of PDF patterns, but the printing and assembly process for those patterns can admittedly become quite tedious. On the flip side, for anyone wanting to use a traditional paper sewing pattern for more than just one size, tracing the pattern pieces off is another time-consuming step. Regardless of the format of the pattern I am working with, I like to pre-prep my pieces and place them all in a zip-top bag so I can grab them at a moment’s notice (along with my pre-washed fabrics) and start cutting. I often try to trace/print the pieces for a number of patterns at once, since I have found that the process seems to go more smoothly once I’m in that “groove,” but that is completely up to personal preference.

Invest in a large cutting mat.
As silly as this might sound, part of my aversion to cutting out projects has to do with the fact that it can be downright painful on my poor neck and back! Without a dedicated space in a sewing room for cutting out projects, I have run the gamut of places I have used for that purpose: the floor, my bed, and the dining room table, just to name a few. The problem with all of those surfaces is that they are at a very awkward, uncomfortable height that can result in plenty of discomfort later on. My best solution for this problem has been to invest in a large cardboard cutting mat that I spread out on my kitchen counter. Working at that more ergonomic height helps me be much more productive, and it helps me maintain a comfortable, healthy posture, which is essential to making the cutting process less of a pain, both literally and figuratively!
Dedicate a day to put together projects “kits.”
Part of why I really dislike cutting out projects is that it can be so time-consuming to take out all of the necessary supplies and tools, cut everything out, and then deal with the mess and clutter created in the process. Over time, I have concluded that it is much more efficient to cut out multiple projects in the same cutting session so that I only have to set up and clean up once instead of multiple times! When fabric is laundered and patterns are prepped and ready to go, I like to devote a stretch of uninterrupted time (for me, this is usually during nap time) to doing nothing but cutting out and assembling sewing project kits, which include all of the pieces, trims, and notions needed for a project, as well as the pattern instructions. When all of the items needed for a particular project are assembled, I tuck everything into a gallon-sized zip-top bag so that I can pull out the kit when I am ready to sit down to sew, knowing that everything I need for the project from start to finish will all be contained in one tidy package. This is so handy!

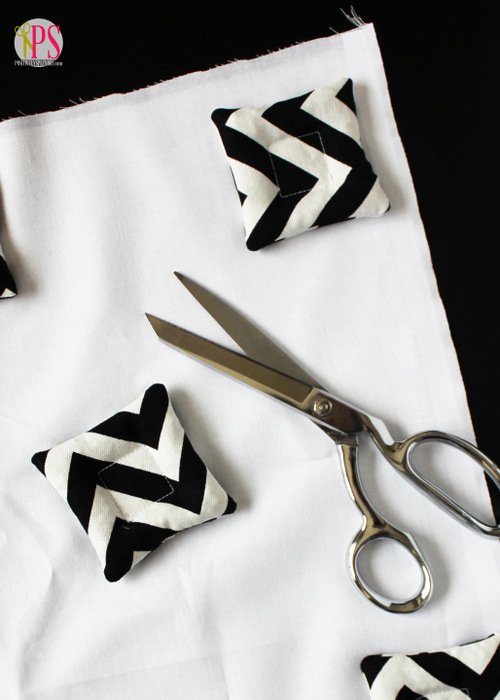
Use pattern weights instead of pins.
Nothing can waste more precious time when cutting out projects than relying on pins to prevent fabric and pattern pieces from shifting as you work. Pattern weights are a simple, effective way to accomplish the same objective, and they can be laid out and removed in mere seconds! I couldn’t live without them. (Be sure to check out my quick and easy tutorial for making a pattern weight set of your own.)
Use a rotary cutter for straight cuts.
When a pattern calls for straight cuts of fabrics (for instance, rectangular sections of a tiered skirt), I always enlist the help of my rotary cutter and mat. This makes the process of cutting out those pieces so much faster than attempting to measure and mark the dimensions with a tape measure and pen, and the resulting cuts are always much more accurate.
Sharpen those shears!
When is the last time you had your shears sharpened? If you are an avid sewist, the process of cutting out projects can really dull the blades of even the sharpest shears, making cutting needlessly cumbersome and untidy as time goes by. At my local sewing shop, there is a nice gentleman who comes by every month to sharpen shears for a really nominal fee. It is amazing what a difference it makes!
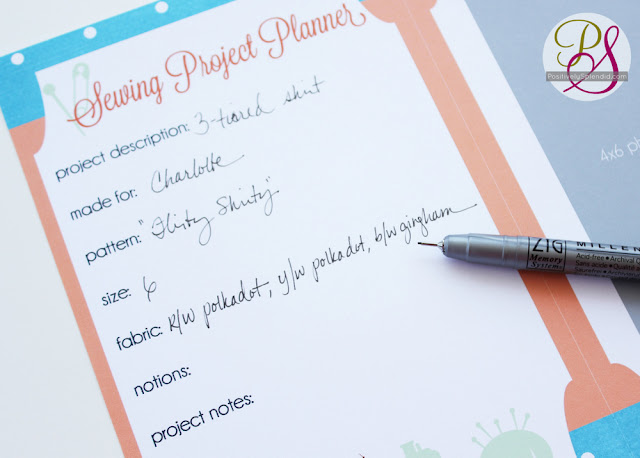
Keep track of pattern modifications and notes for future reference.
It is rare that I work with a sewing pattern that I don’t make various tweaks and changes along the way, and I can’t begin to count the number of times I’ve kicked myself for not writing down those modifications to use the next time I embark on a project with the same pattern. Any changes to the fit of a garment are essential to know during the cutting process, and it can be quite frustrating to find yourself playing a guessing game when you get ready to make your cuts. My solution to this issue is to use my sewing project planner (which is available for free to all of my readers) as I work with a pattern, making note of adjustments to things like length, rise, etc., and then tucking that completed paper into the pattern package. This way, the moment I sit down to work with the pattern again, I can refer to that information when making my cuts and know precisely which modifications are needed.
Regardless of whether you choose to implement a few or all of these cutting tips, I hope you’ll find they make cutting out projects easier and less tedious, allowing you to step away from the cutting table to sit down for the truly fun part of projects: sewing!
On the lookout for even more helpful sewing tips? Don’t miss these other great posts!
7 Time-Saving Sewing Tricks
 5 Simple Tips to Improve Your Sewing
10 Essential Tools for Sewists
Having grown up in a home brimming with sewing notions and paintbrushes, Amy has a deep love for all things creative. On any given day, you’ll find her knee-deep in her latest creative endeavor, with projects ranging from sewing and crafts to home decor and kid-friendly ideas. Amy believes that everyone, regardless of skill level or experience, possesses the ability to create something beautiful, and Positively Splendid was born of her passion for helping others harness their innate creative potential.
Great tips! I’ve got a Craft Gossip post scheduled for later tonight that links to your tips:
http://sewing.craftgossip.com/amys-tips-for-cutting-out-sewing-projects/2014/03/11/
–Anne
I absolutely love this site. Thank you for sharing your knowledge with us