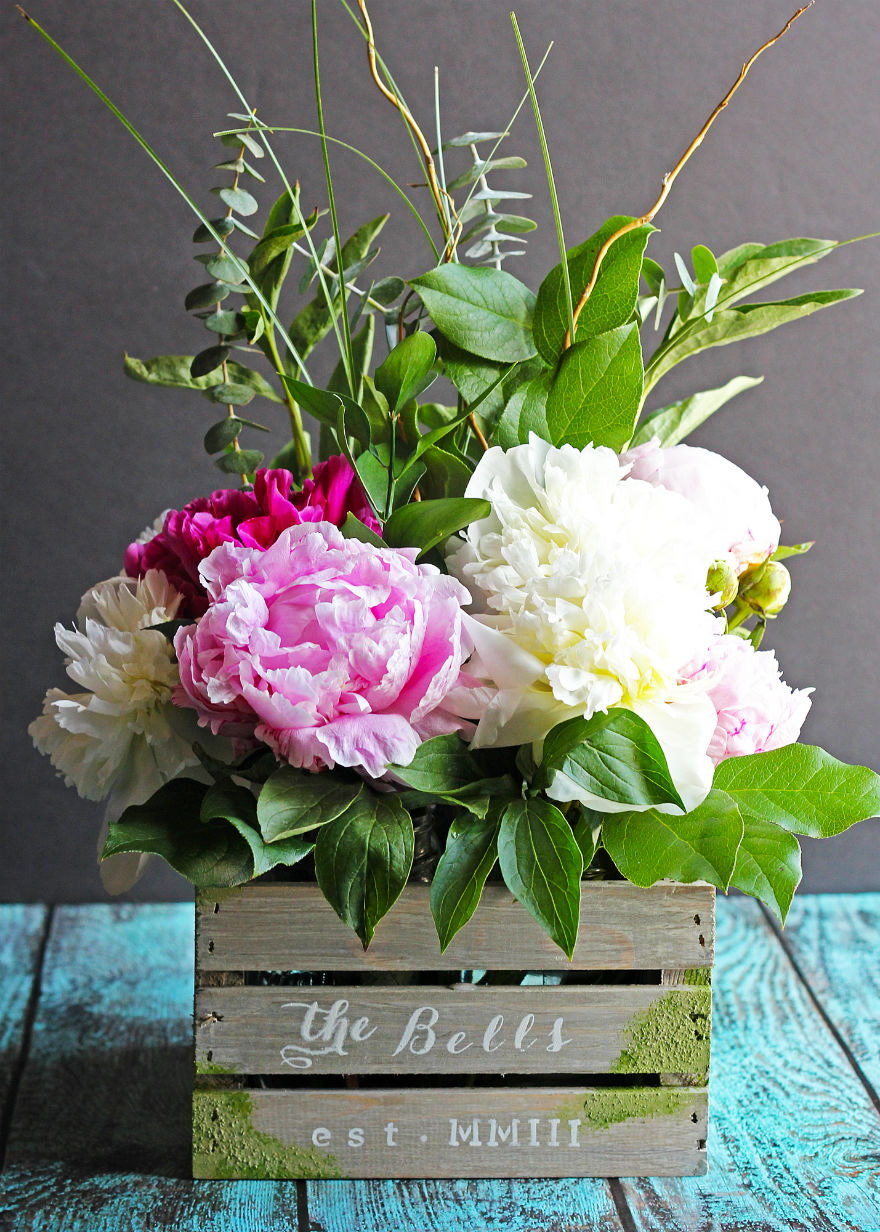
Planning ahead for some summer entertaining, possibly for a big soiree, or maybe even a wedding? If you’re looking for a lovely centerpiece idea that will make a big statement on a small budget, this DIY barnwood crate is just the ticket when filled with gorgeous blooms in your favorite color scheme. Today, I’ve partnered up with the Plaid Creators team to showcase some amazing new products from the FolkArt Painted Finishes line, which features the Barnwood Tint and Wax and the Moss Finishes used for this project. It’s hard to believe this crate started off life as a $5 craft store find! Read on to see all of the details for how to craft a DIY barnwood crate of your own.
This post is sponsored by Plaid in conjunction with the Plaid Creators team. All opinions are entirely my own.
To make this DIY Barnwood Crate, you will need…
- 1 unfinished wooden crate (I purchased mine at Michaels)
- FolkArt Painted Finishes Barnwood Tint and Wax
- FolkArt Painted Finishes Shortie Brushes
- Lint-free cloth
- Wood craft stick
- Paper towels
- Foam plate
- FolkArt Painted Finishes Dimensional Moss, Dark and Light
- Silkscreens and/or stencils (Used here, Martha Stewart Crafts Carolyna Script Alphabet Adhesive Silkscreens [for the name] and Martha Stewart Crafts Typewriter Adhesive Stencils [for the date lettering])
- Small foam pouncer
- Martha Stewart Crafts Satin Multi-Surface Acrylic Craft Paint (Used here in Summer Linen)
- Mason jars
- Flowers
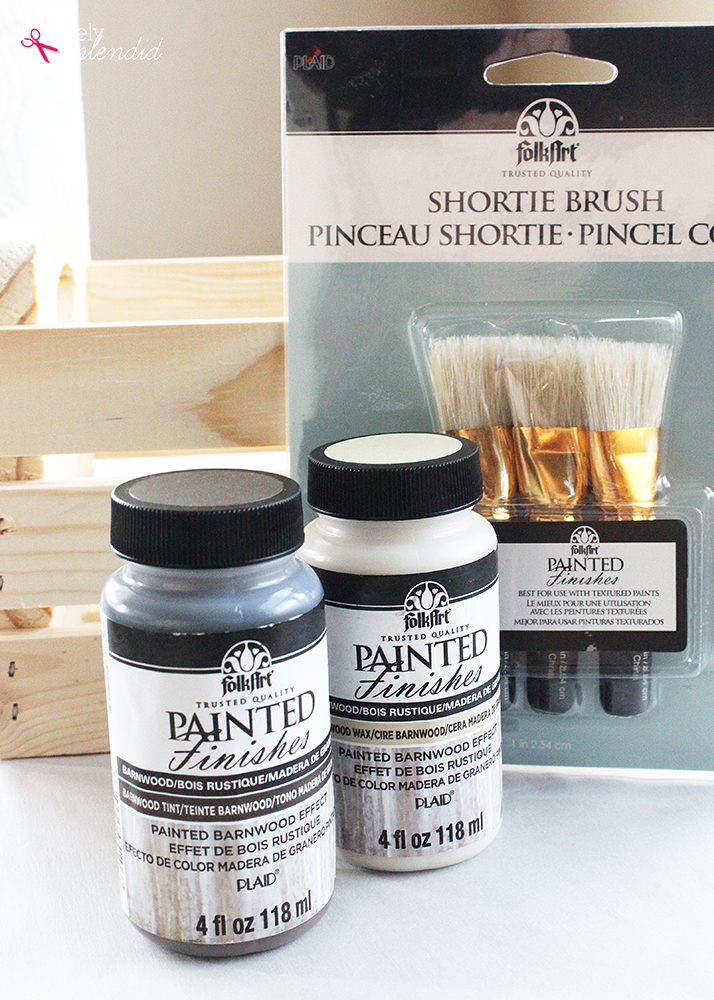
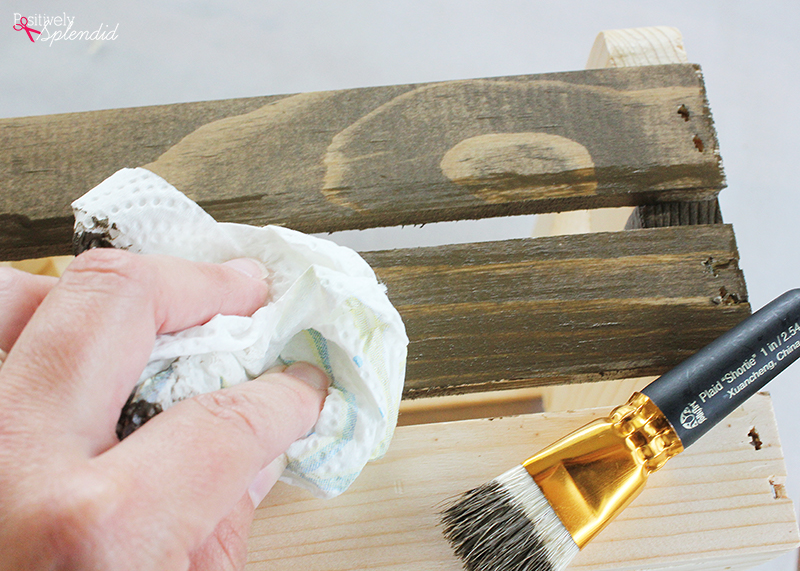
To begin, shake the bottle of the FolkArt Painted Finishes Barnwood Tint well, and then pour a small amount onto the foam plate. Dab the Shortie brush into the tint, and then apply to tint to the crate, painting with the grain of the wood as you go. (The Shortie brushes are so great to work with, as the short handle of the brush fits so well in your hand, even when working on small projects!)
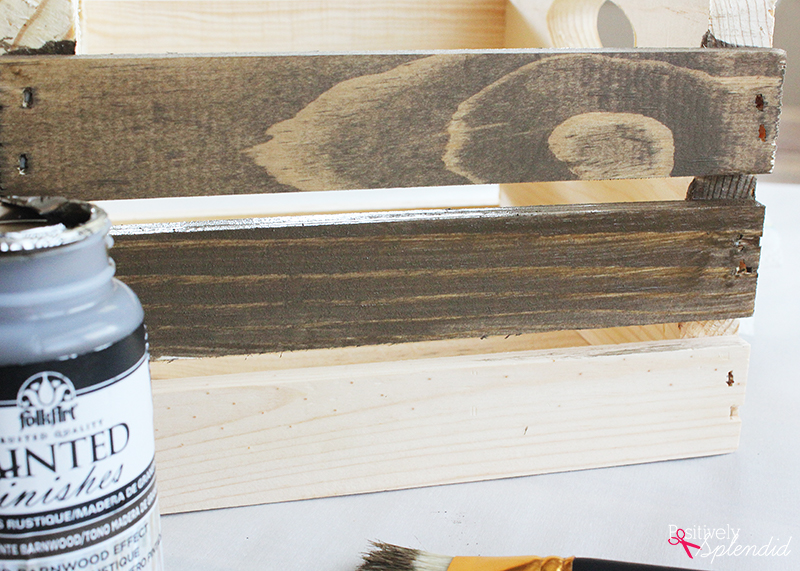
Use a paper towel to wipe away the excess tint, wiping with the grain of the wood. Continue working in this fashion, brushing on the tint and then wiping off excess, until the entire surface (outside and inside) of the crate has been covered. Set the crate aside and allow to dry completely, at least 4 hours.
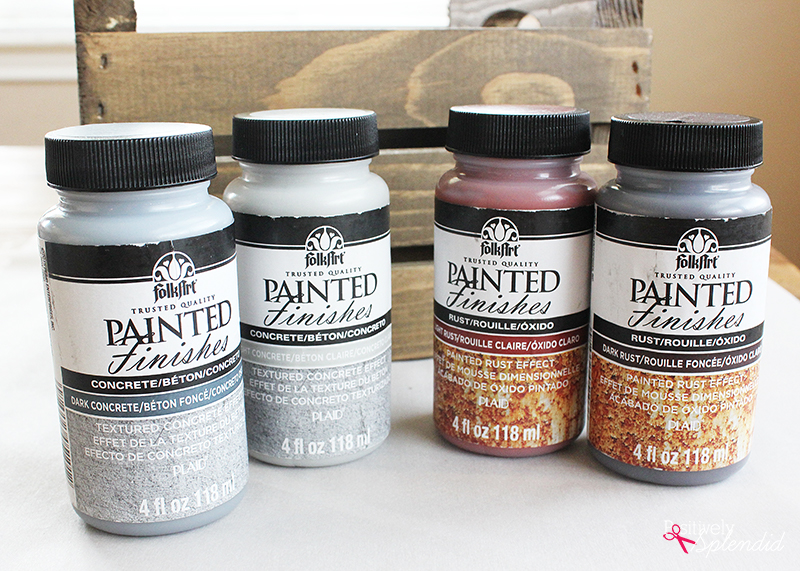
In addition to the Barnwood and Moss Finishes, the FolkArt Painted Finishes line also includes Rust and Concrete Finishes that are incredibly fun to work with, too. The Barnwood Finish is intended for indoor use only, but the other three finishes can be used indoors and outdoors. I can envision so many possibilities for all of these!
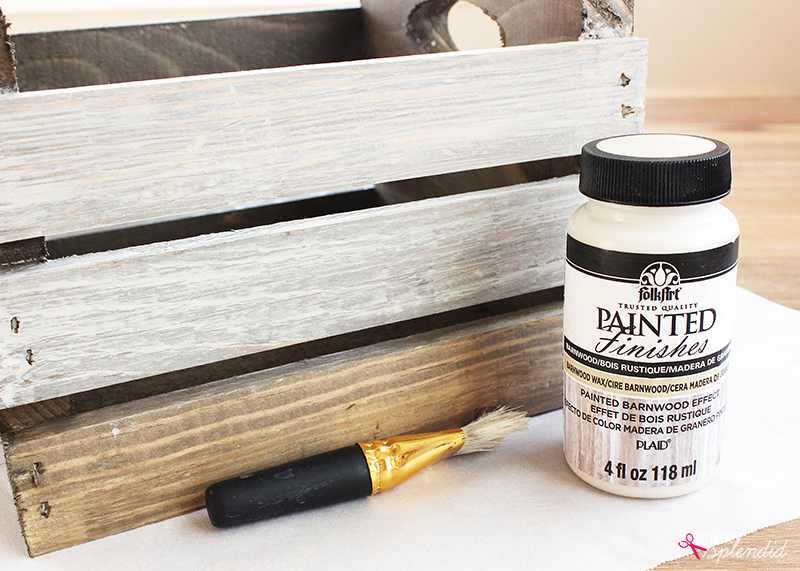
When the Barnwood Tint is dry, it’s time to give everything a weathered look with the Barnwood Wax. Gently shake the jar of the FolkArt Painted Finishes Barnwood Wax and pour some of the wax onto a foam plate. Working in small sections, use the Shortie brush to paint the wax over the surface of the crate. While the wax is still wet, use a lint-free cloth to wipe away any excess wax. Then, using the straight, long side of the wood craft stick, carefully pull the stick over the surface of the wax, leaving behind a beautiful weathered barnwood effect. (It really is a bit like magic!) Work in this same fashion until the entire surface of the crate has been applied with the wax. Set the crate aside to dry overnight.
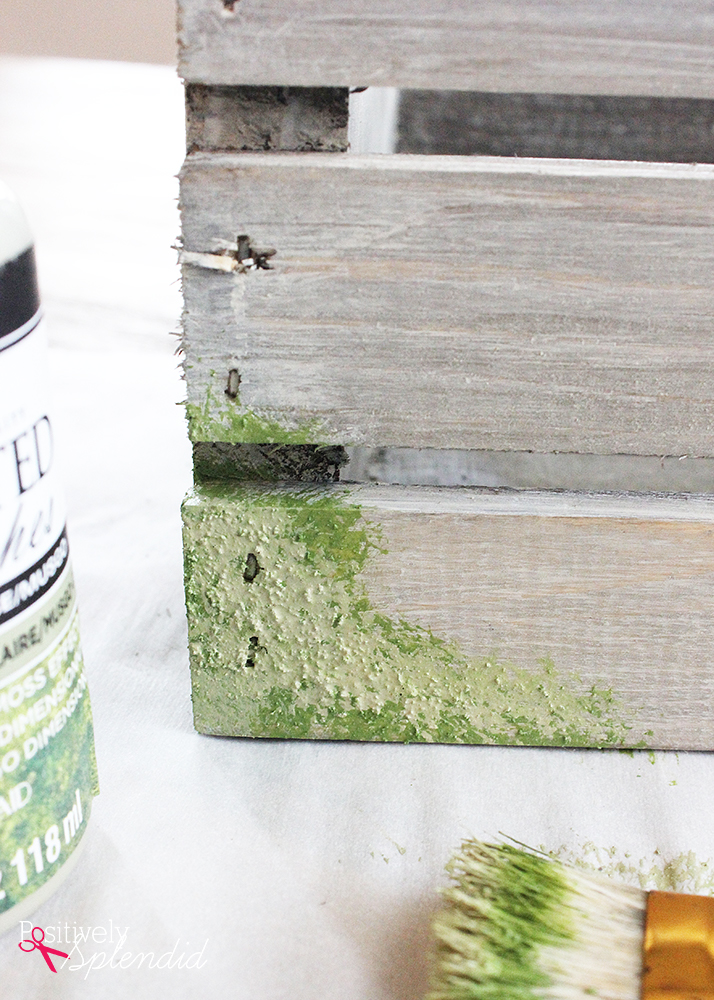
When the wax is completely dry, you can either use it as-is, or you can really spruce things up with some faux moss and stenciling! To apply the moss, grab the light and dark bottles of the FolkArt Painted Finishes Moss. Shake the bottles thoroughly (the paint contains little particles that settle, so shaking really well is a must) and pour a small amount of each color onto a foam plate.
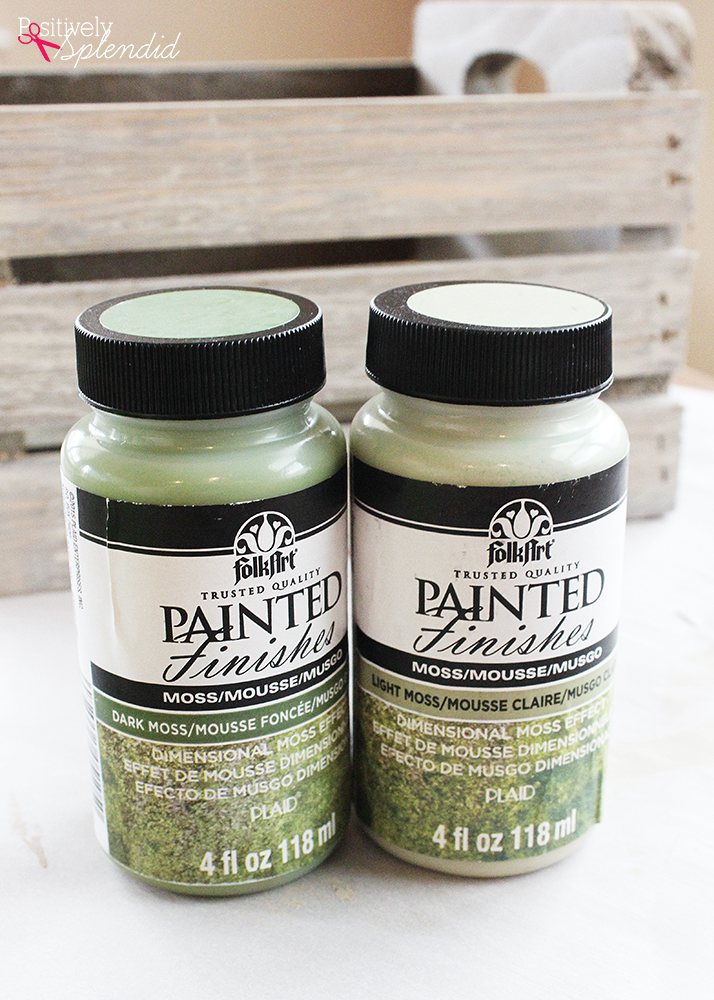
Dip the Shortie brush into the dark paint color, and randomly apply to various corners and sections of the crate for a natural moss effect. For added dimension, layer some of the light moss color over the dark in a similar fashion, blending the colors together as desired. Allow the paint to dry to the touch, about 4 hours. I love that this same moss effect can be applied to so many different surfaces–wood, terra-cotta, plastic, metal and more.
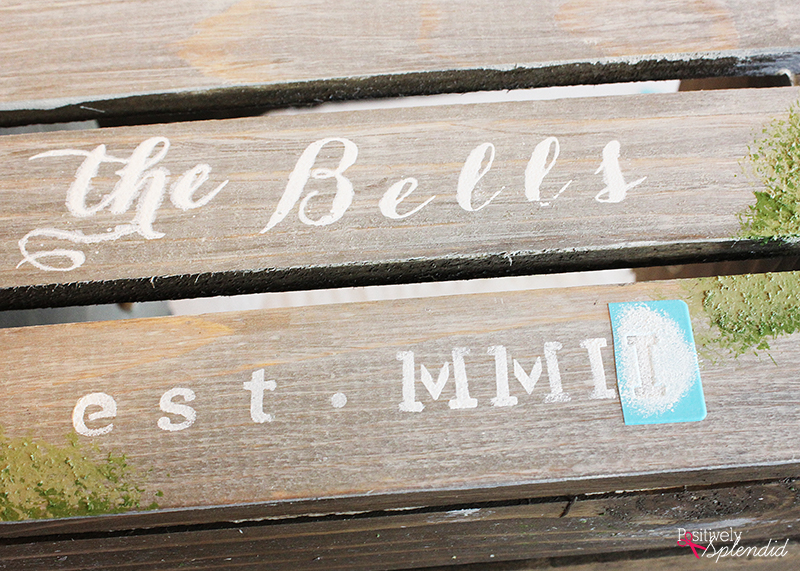
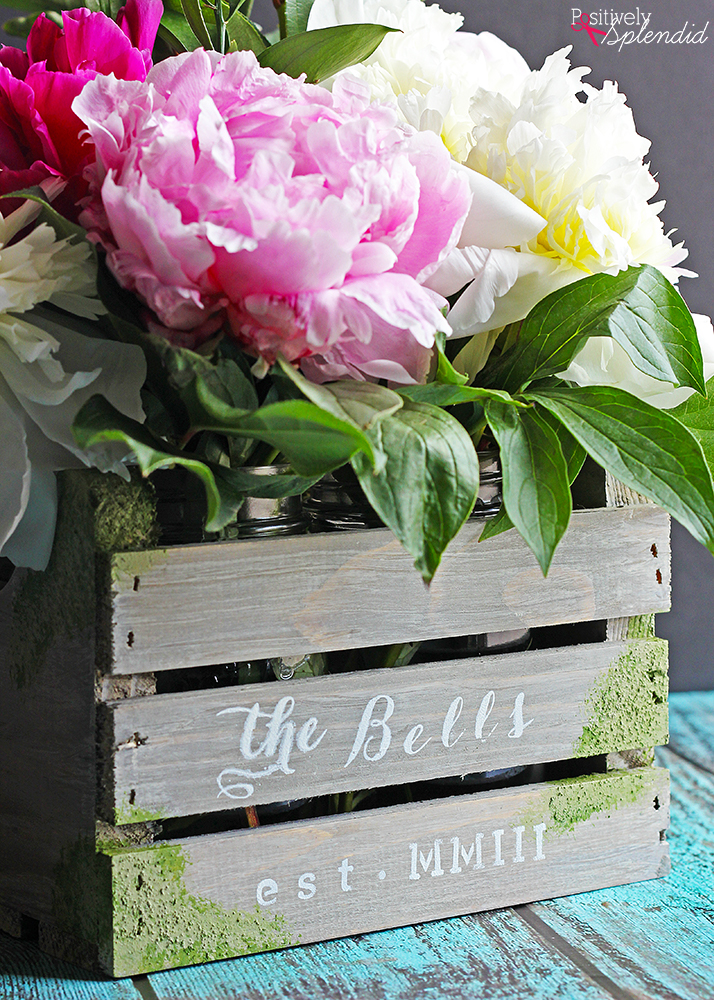
When the moss has been applied and is completely dry, use the foam pouncer and stencils/silkscreens to create a design as desired on the front of the crate. I added our name and the year we were married, which I think would be really great for a wedding centerpiece! Allow the paint to dry completely.
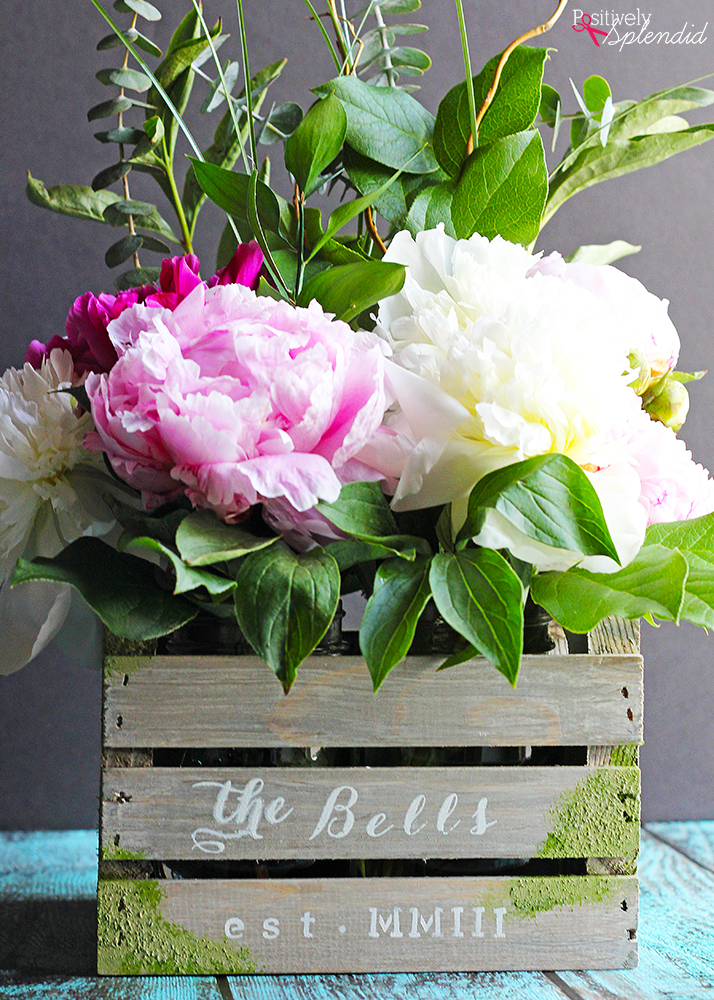
When the paint is dry, place the Mason jars inside the crate (the number will vary depending on the size of your particular crate, but my crate perfect accommodates 4 pint-sized jars). Distribute the flowers among the jars for a easy, instant centerpiece that is truly fool-proof to put together!

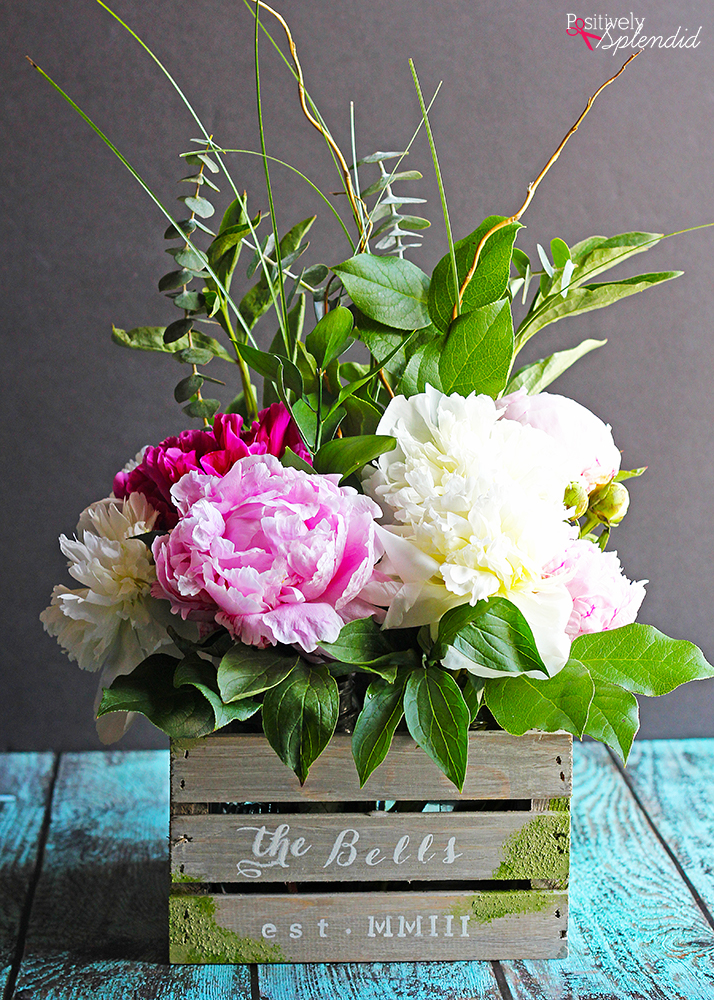
This arrangement adds such a lovely touch to my front entryway, and the Mason jars make it so easy to frequently change out the flowers so they are always fresh. Filled with gorgeous peonies and other greenery, this really is a show-stopper!
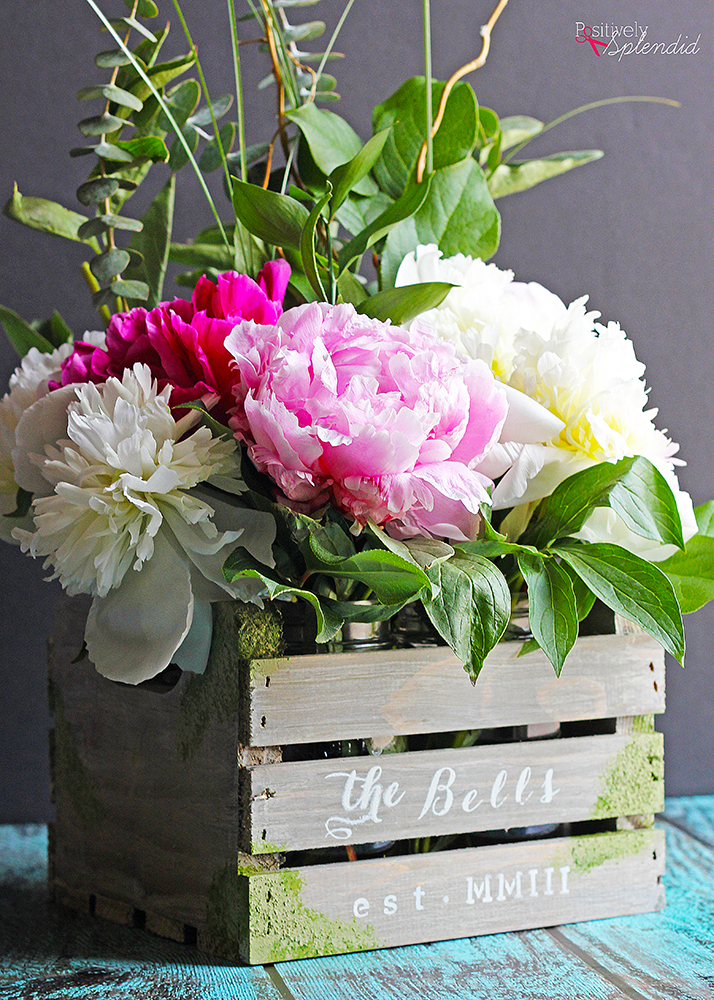
I love the personalized touch of adding our name and the year we were married in Roman numerals, but other fun ideas would be to add a short message, or even a floral design of some sort. There are so many great stencils and silk-screens out there to make any design you wish a reality to fit any number of themes and color schemes!
Thanks so much for stopping in!
Having grown up in a home brimming with sewing notions and paintbrushes, Amy has a deep love for all things creative. On any given day, you’ll find her knee-deep in her latest creative endeavor, with projects ranging from sewing and crafts to home decor and kid-friendly ideas. Amy believes that everyone, regardless of skill level or experience, possesses the ability to create something beautiful, and Positively Splendid was born of her passion for helping others harness their innate creative potential.