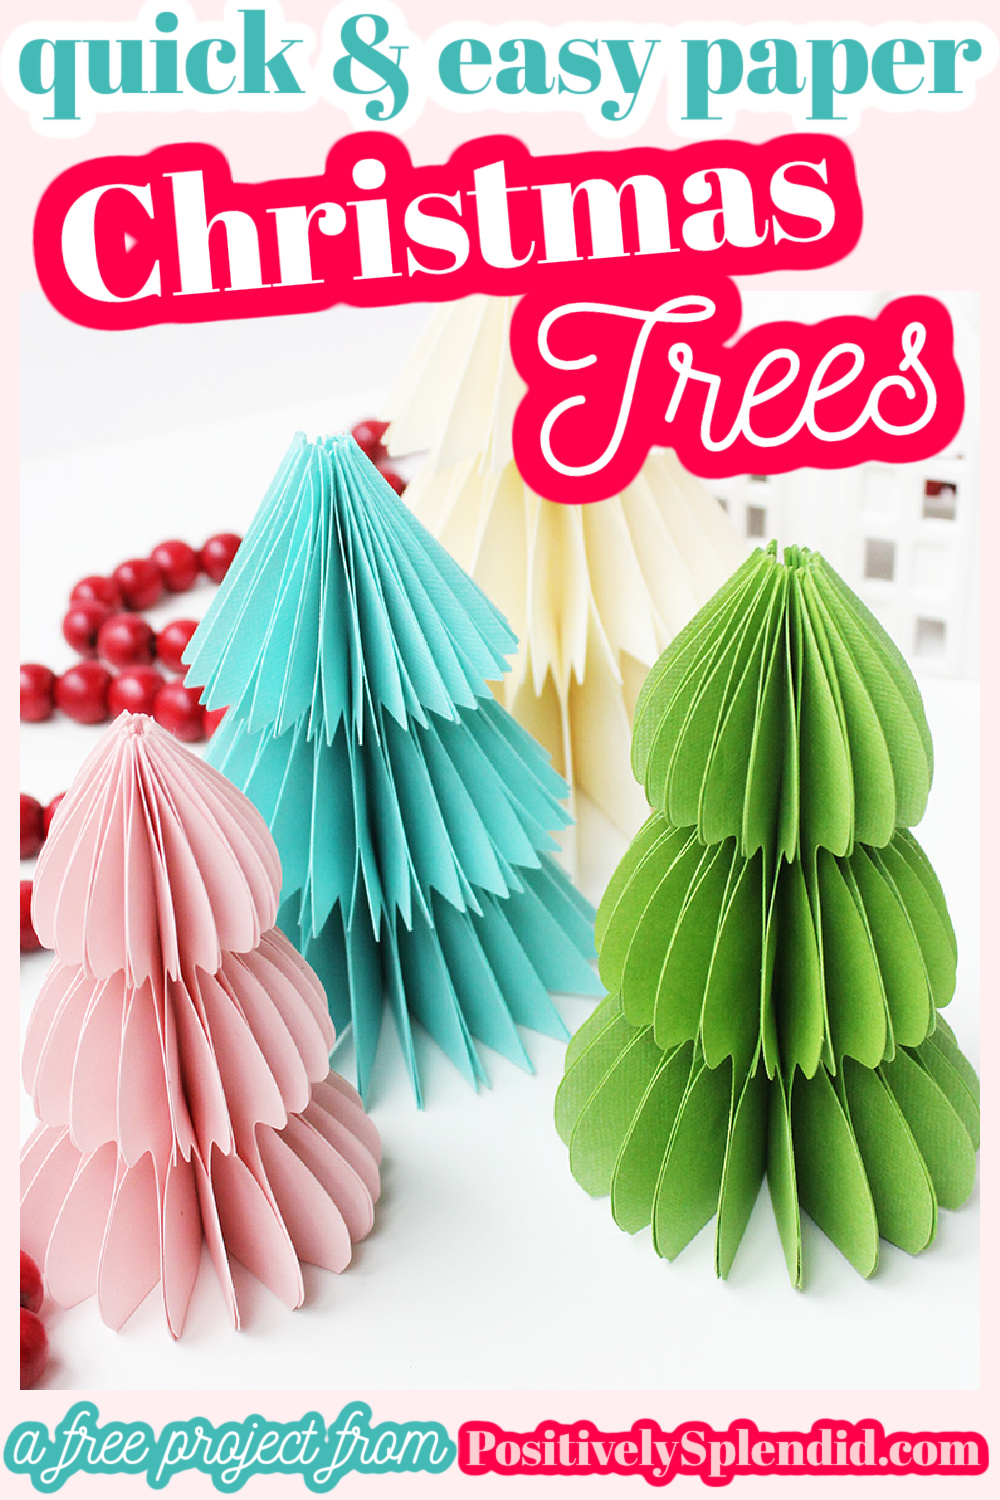
Paper is a terrific supply to use to make cute and affordable holiday decor! These easy paper Christmas trees come together in a snap with my free tutorial, which includes the downloadable SVG files to use with your Cricut machine, or the printable PDF templates to cut out by hand. The way these paper Christmas trees are glued together gives them a trendy honeycomb look, and you can make them in any color you like to fit your personal style. Let’s get started!
This post contains affiliate links.
More fun Christmas crafts to try!
- Fabric Yo-Yo Christmas Trees
- Rolled Paper Chirstmas Ornaments
- Bottle Brush Tree Christmas Wreath
- Christmas Tree Card Holder
How to Make Honeycomb Paper Christmas Trees
Supplies
- Paper Christmas Tree SVG Files OR Printable Templates (available for download below)
- 12×12″ Cardstock (See my recommendation in the Q&A below for the best type to use)
- Ultra Bond Adhesive (or any paper glue with a fine-tip applicator)
- E6000 Adhesive (See my note in the Q&A below)
- Small Paper Clips
Tools
- Cricut Maker
- Cutting Mat (I prefer the LightGrip Mat to prevent the detailed shapes from tearing when removing from the mat)
- Large Binder Clips
- Paintbrush
Project Q&A
What type of paper should I use? After some trial and error in developing this tutorial, I have found that solid core cardstock (the type that is a solid color throughout, instead of white at the center) is best for making these paper trees. If any glue seeps onto areas it’s not supposed to, it can cause small tears as you shape the trees. Having cardstock that is a solid color throughout helps hide those little imperfections. I highly recommend Bazzill Basics cardstock, since it is of outstanding quality, and the colors are beautiful and bright!
How many sheets of cardstock do I need for this project? The amount of paper you will need will depend on the style or your trees (pointed or rounded) and their size (you can make these trees in any size you like with my SVG files, or you can make them in 4″, 5″, and 6″ sizes with my printable templates), but you can use the guide below as a good rule of thumb for planning.
(Note: The numbers below are for 12×12″ sheets of cardstock.)
Pointed:
- 4″ Tree – 3 Sheets
- 5″ Tree – 4 Sheets
- 6″ Tree – 6 Sheets
Rounded:
- 4″ Tree – 2 Sheets
- 5″ Tree – 3 Sheets
- 6″ Tree – 5 Sheets
How can I make this project if I don’t have a Cricut? You can use my printable templates to trace and cut out the tree shapes by hand. Scroll below for the free download.
How can I store each tree after the holiday season? Remove the paper clip from the tree, and then refold it into a stack and secure it with a rubber band. This will allow you to store the tree while preventing it from being crushed or taking up a lot of space in your storage bins!
I don’t have E6000 on hand. Is there something else I can use? E6000 is really crucial for making this project, since it is clear and flexible when dry, making it the perfect product for gluing the center binding of the trees. I highly recommend grabbing a tube of it before starting this project.
Paper Christmas Tree Craft Instructions
Scroll below for the printable PDF version of these instructions.
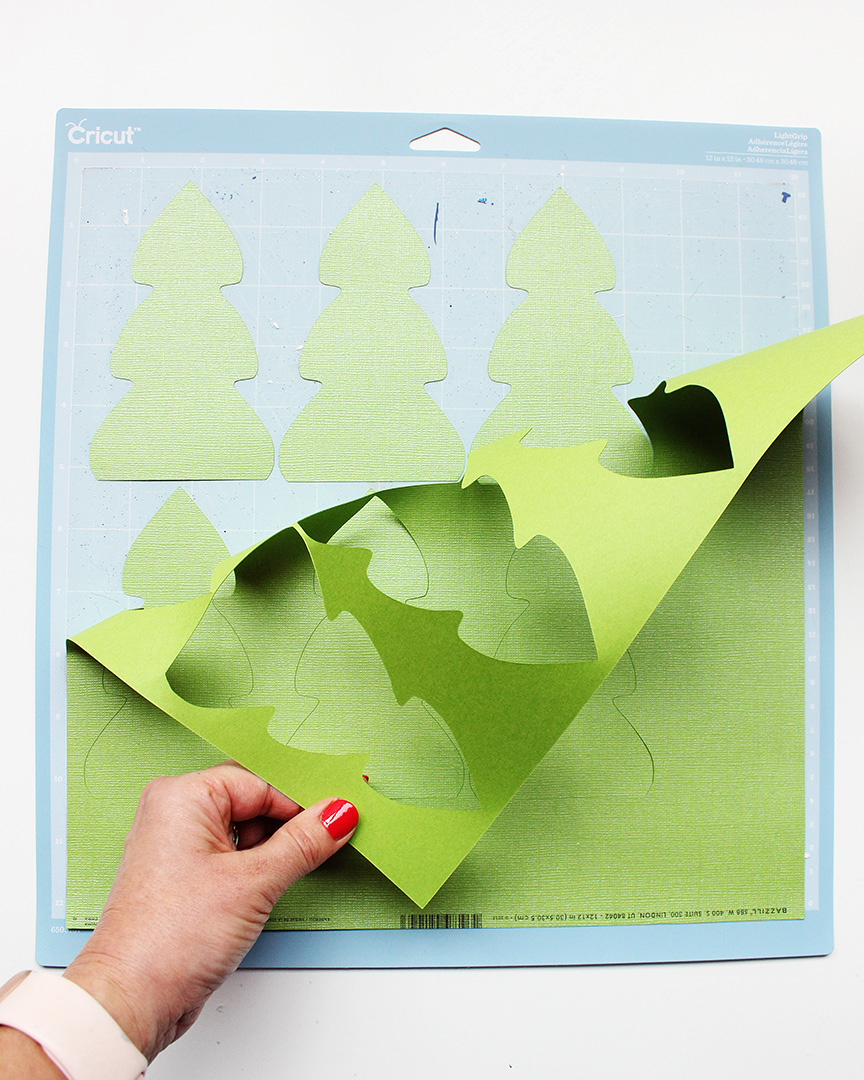
Step 1: Cut
To begin, cut out your tree shapes. There are two different shapes to choose from: rounded or pointed.
For each tree, you will need to cut out 20 of the same tree shapes.
You can do this by hand by tracing and cutting out shapes using my free PDF Paper Christmas Tree Templates. Or, to make things super easy, you can download the SVG files below and cut out the shapes with your Cricut.
(Both file types are available for download below.)
The photos in this tutorial show the rounded tree option, but the same instructions apply for the pointed version, as well.
Step 2: Fold
Once your tree shapes are cut out, fold each one in half from top to bottom.
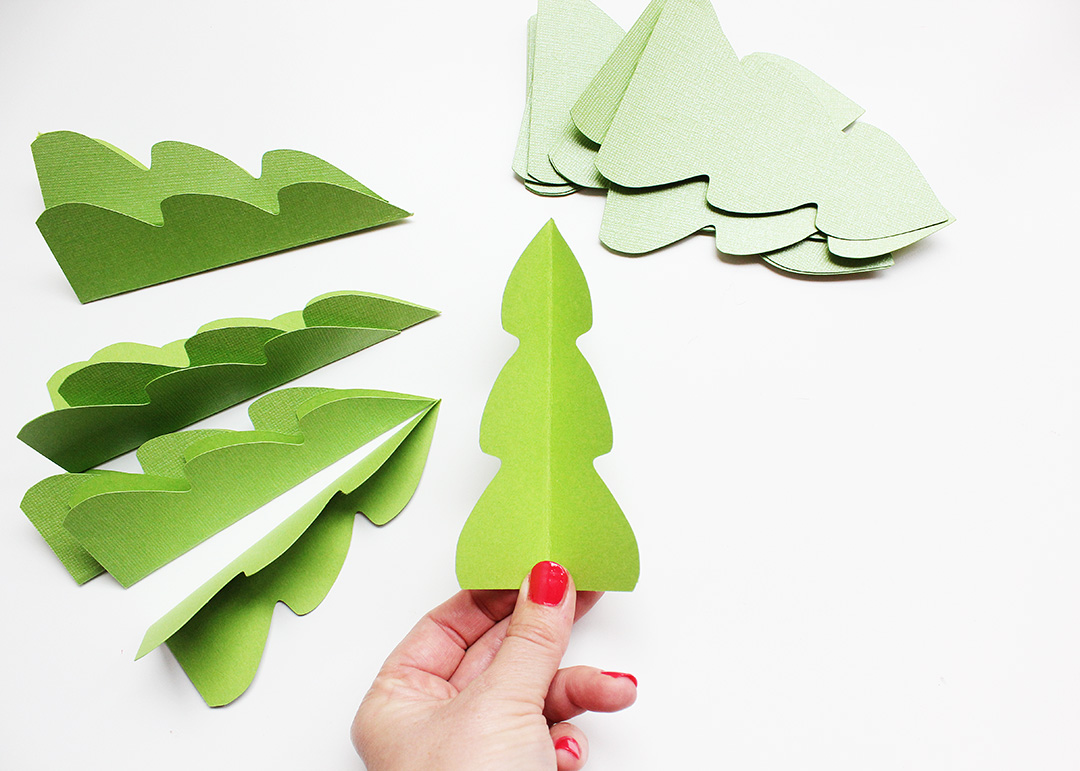
When all of the shapes are folded in half, it’s time to start assembling your trees!
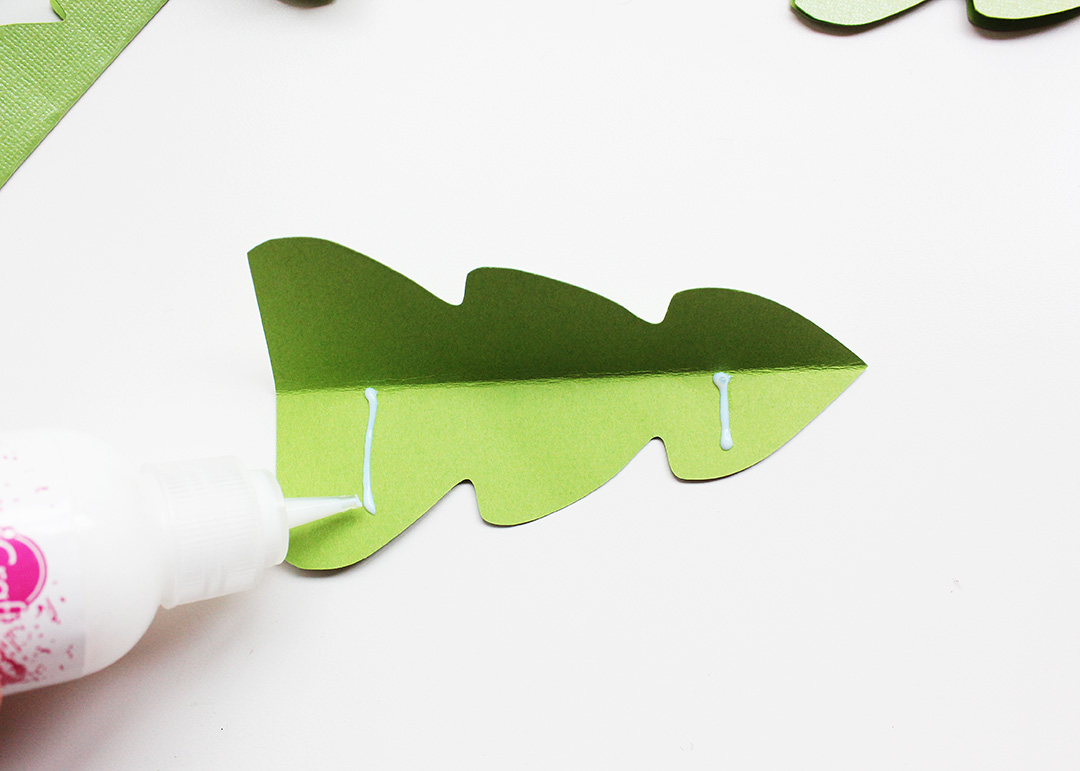
Step 3: Assemble
Open up one of the folded trees. Starting from the center fold and working toward the outer edge, apply two thin lines of glue that are approximately centered within the bottom and top sections of the tree.
Important: Stop the line of glue 1/4″ or so from the outer edge to avoid it from seeping out in the next step, which will prevent your finished tree from opening properly.
When the glue is applied, fold the shape back in half, pressing over the glued areas for a few seconds to ensure everything stays put. Repeat with all of the remaining tree sections.
When all of the tree sections are glued in half, place one of the pieces on your work surface, and apply a thin line of Ultra Bond Glue at the center of the piece, starting about 1/4″ from the center fold and ending about 1/4″ from the outer edge. Place another of the folded pieces on top so that all of the edges are aligned, pressing firmly at the center to secure the pieces together.
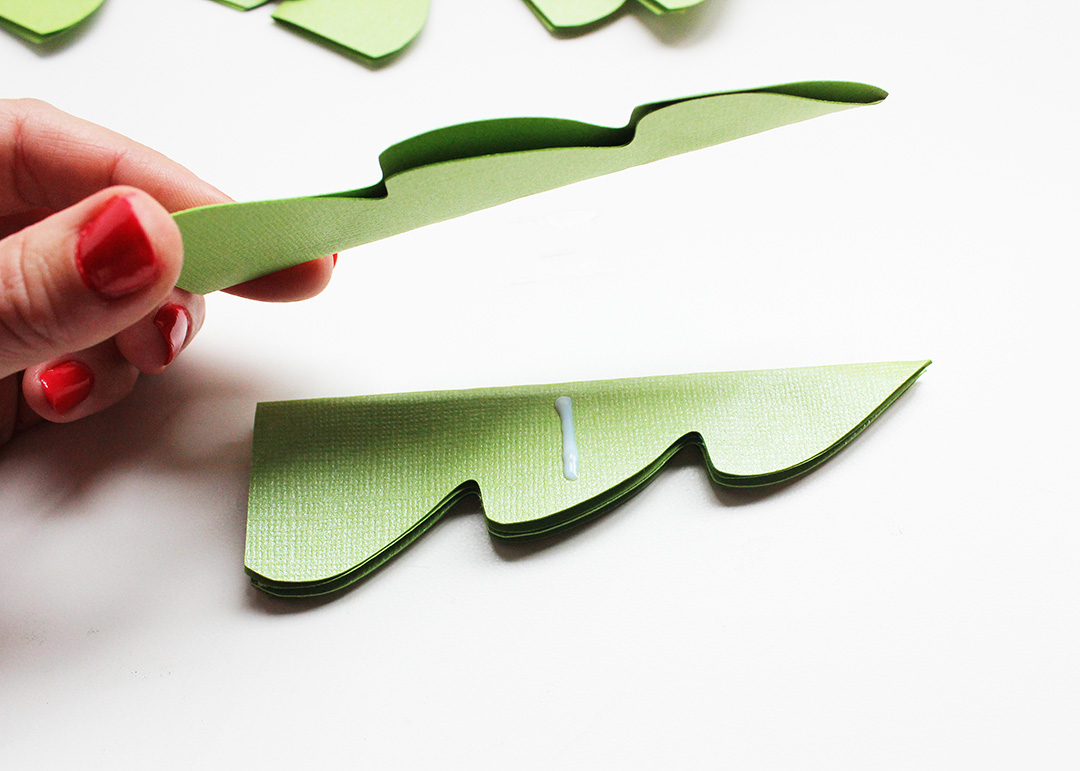
Continue gluing/adding pieces until all of the folded pieces are secured together at the center.

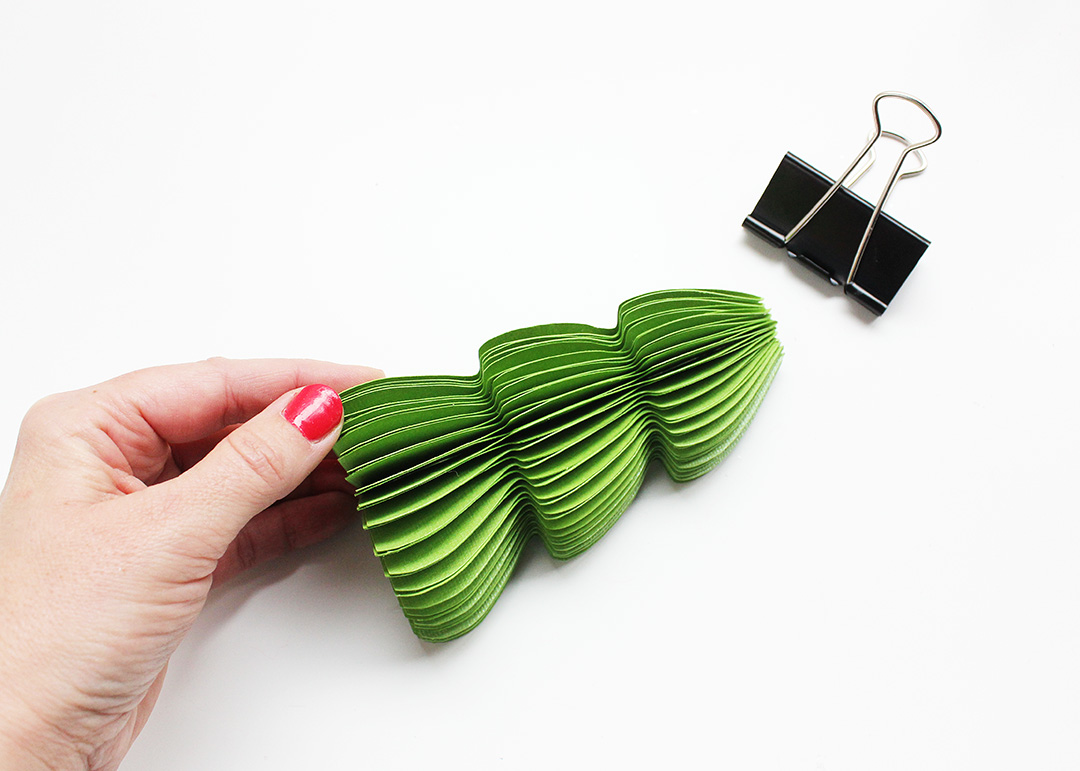
Now, secure a binder clip around the glued pieces to create a stack that is nice and even.

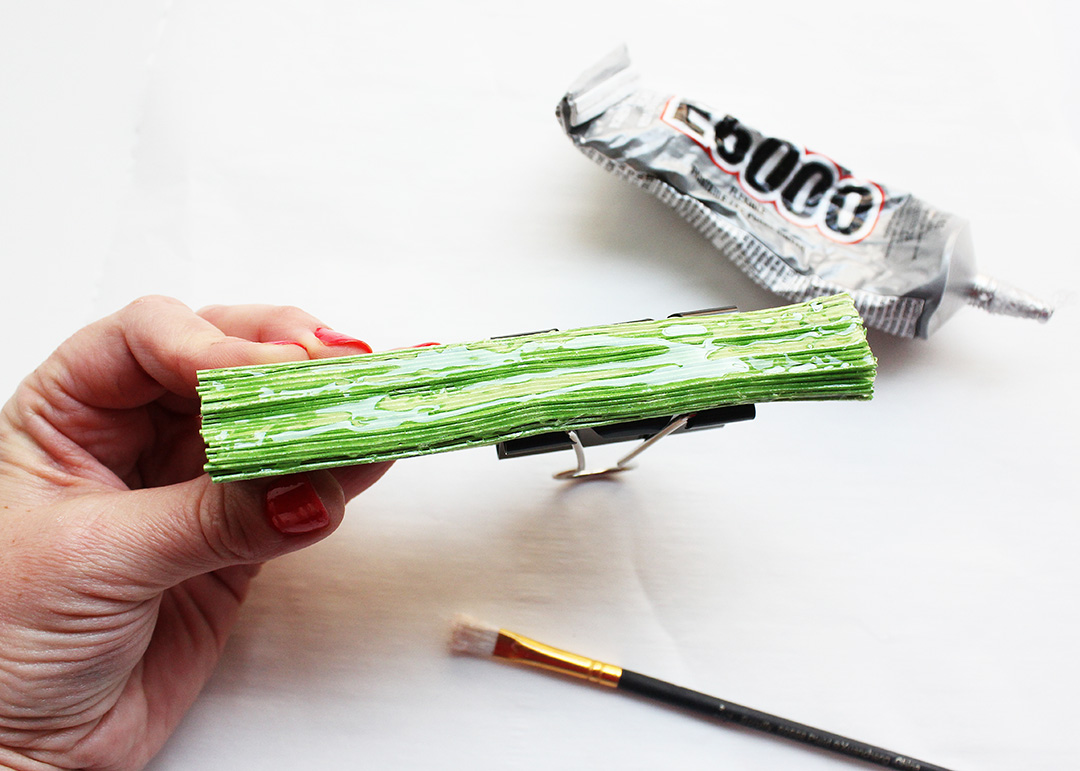
Step 4: Glue the Center Binding
Apply a generous amount of the E6000 adhesive on the side of the stack with the folded edges, and use the paintbrush to spread the glue evenly over the entire surface of this side. Set the project aside and allow the glue to dry completely, at least 2 hours.
Step 5: Shape and Clip Together
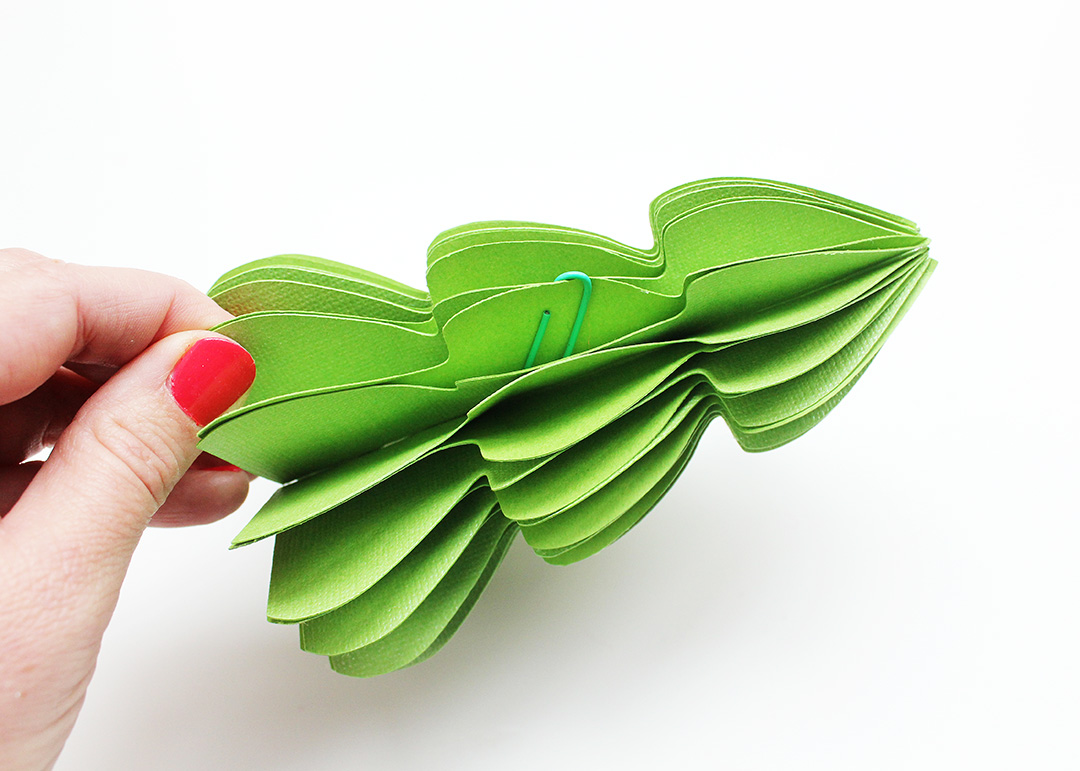
Finally, it’s time for the big reveal! Once everything is dry, remove the binder clip, and start spreading the paper layers apart.
Continue until the tree is fully opened into a circle, and then secure the two unglued ends with a paper clip. (This will be the back side of your tree.)
You did it! Congrats on making a cute paper Christmas tree to spruce up your space for the holidays!
Warning: Once you’ve made one, you’ll want to make an entire collection!
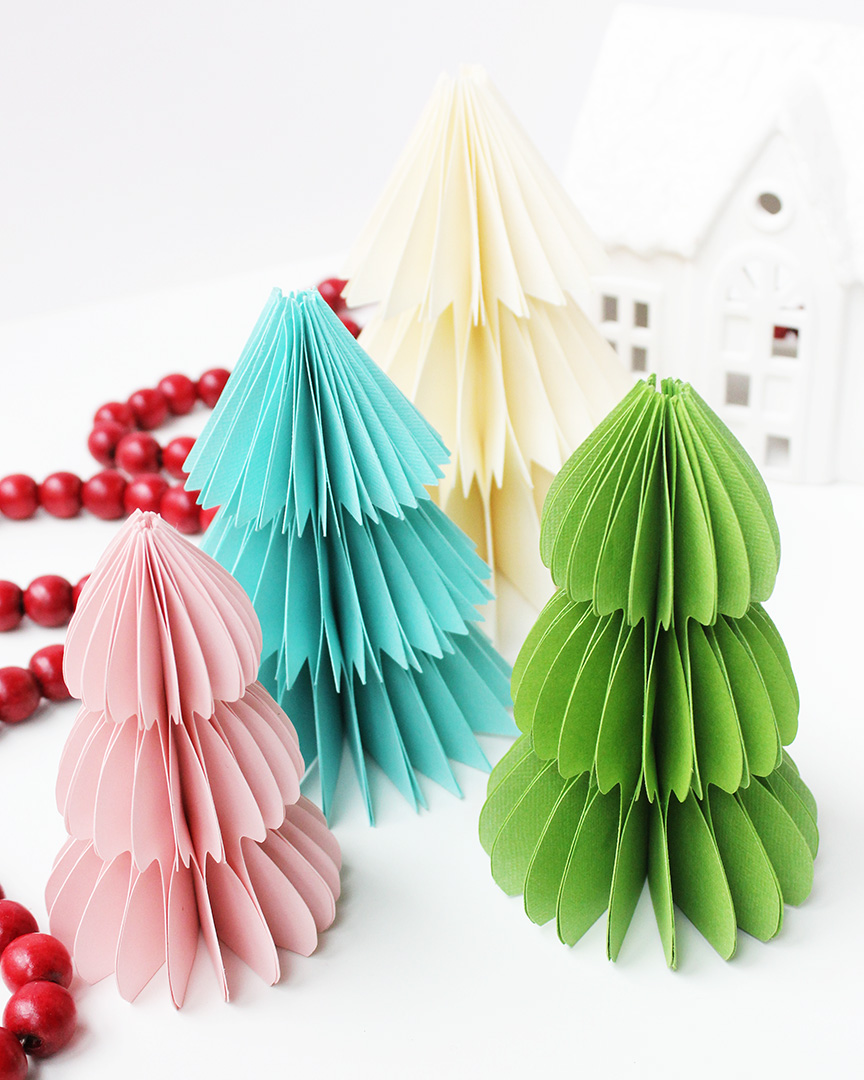
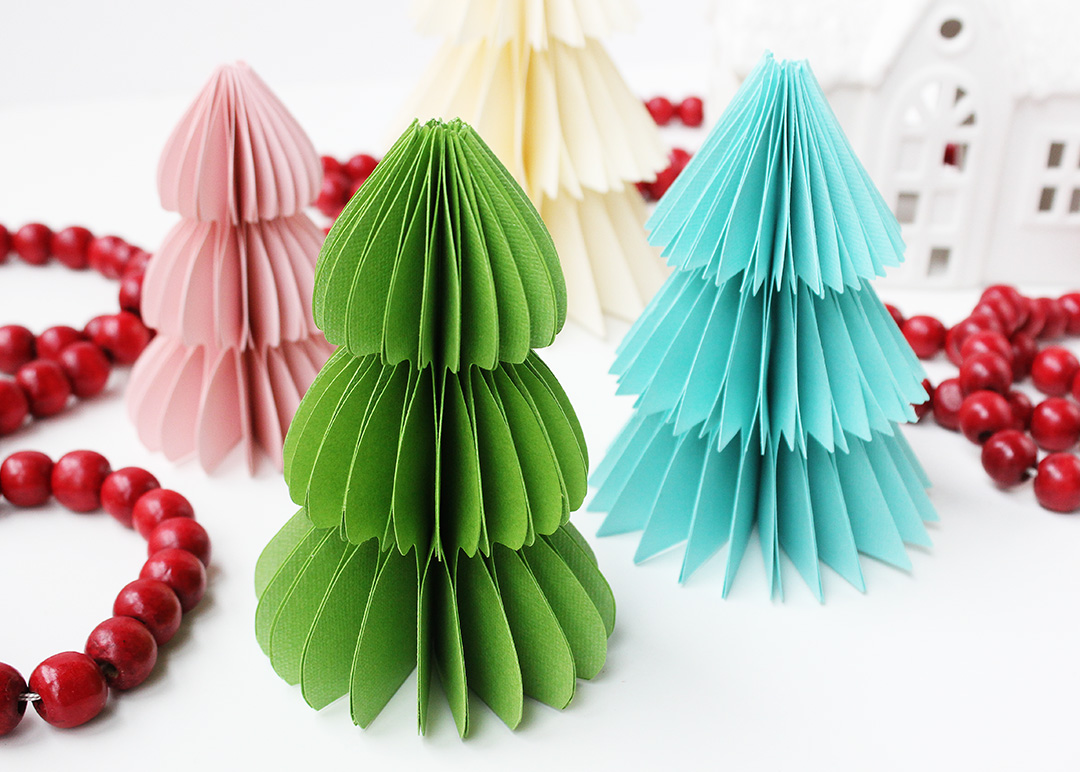
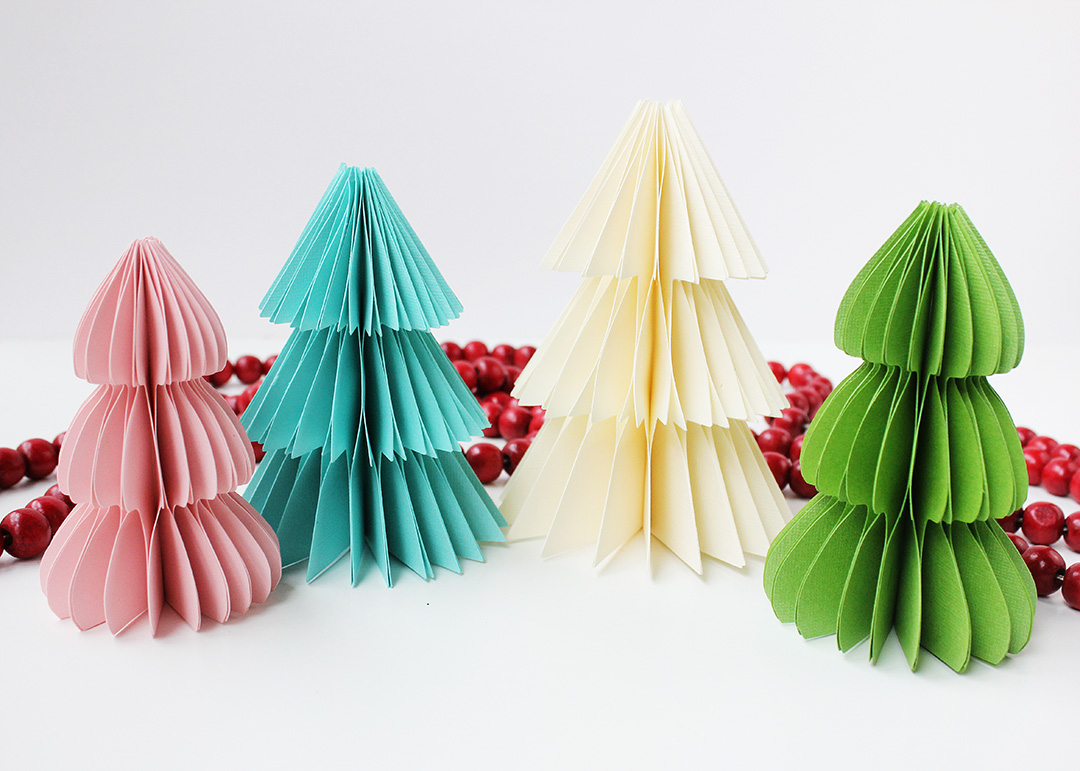
I can’t decide which of these paper Christmas trees I like better!
The classic pointed tree shape…
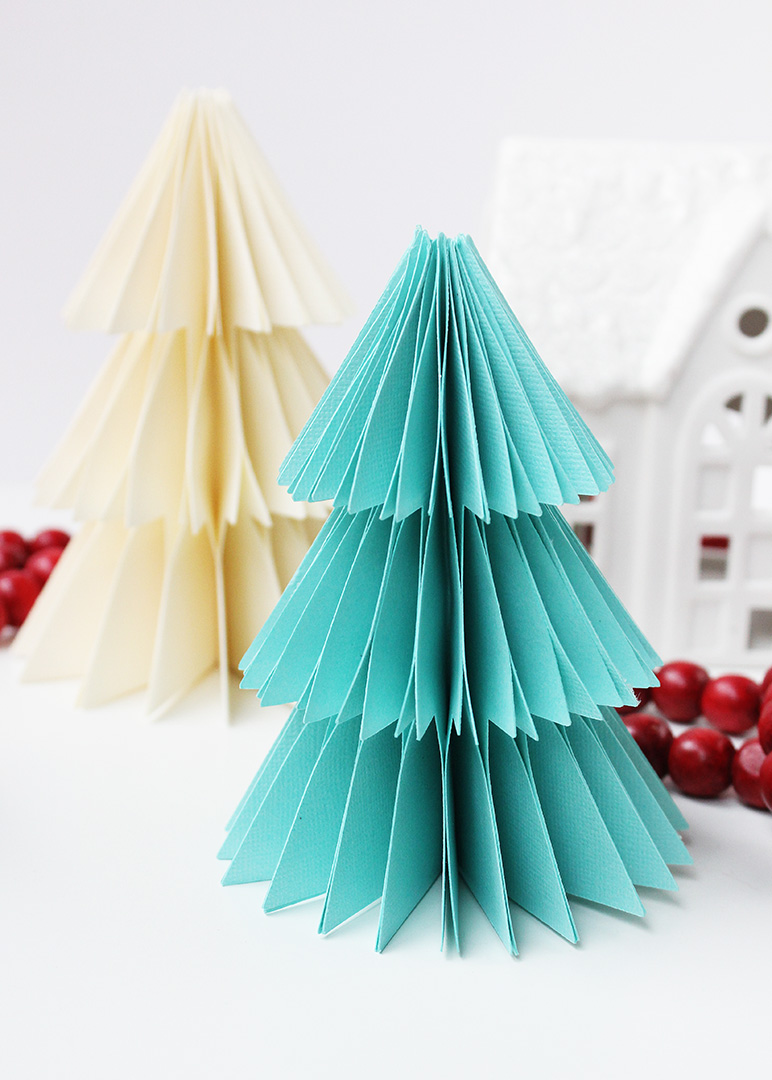
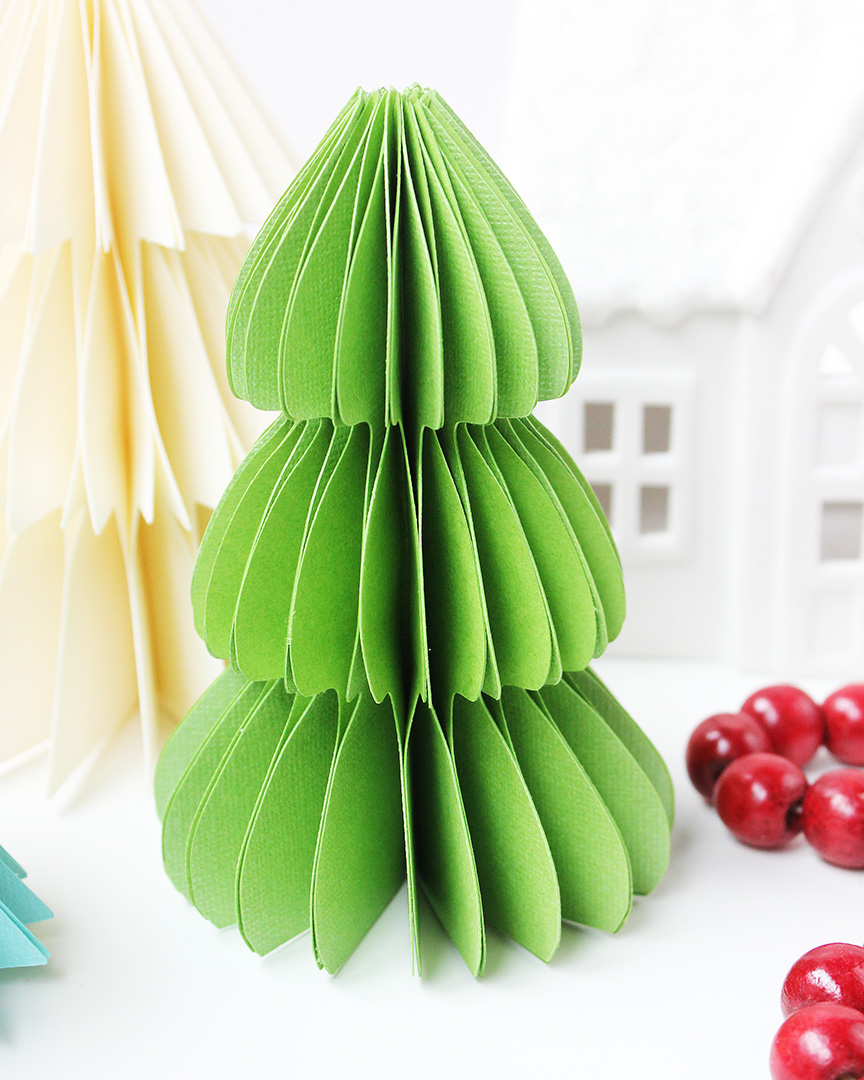
…or the modern rounded shape!
Click here to download the Paper Christmas Tree SVG Files
Click here to download the Pointed Tree PDF Templates
Click here to download the Rounded Tree PDF Templates

Honeycomb Paper Christmas Trees
Equipment
- Cricut Maker
- Cutting Mat
- Large Binder Clips
- Paintbrush
Materials
- Paper Christmas Tree SVG Files OR Printable Templates available for download in the blog post
- 12x12" Cardstock
- Ultra Bond Adhesive or any paper glue with a fine-tip applicator
- E6000 Adhesive
- Small Paper Clips
Instructions
- To begin, cut out your tree shapes. There are two different shapes to choose from: rounded or pointed. For each tree, you will need to cut out 20 of the same tree shapes. You can do this by hand by tracing and cutting out shapes using my free PDF Paper Christmas Tree Templates. Or, to make things super easy, you can download the SVG files below and cut out the shapes with your Cricut.
- Once your tree shapes are cut out, fold each one in half from top to bottom.
- Open up one of the folded trees. Starting from the center fold and working toward the outer edge, apply two thin lines of glue that are approximately centered within the bottom and top sections of the tree. Important: Stop the line of glue 1/4" or so from the outer edge to avoid it from seeping out in the next step, which will prevent your finished tree from opening properly. When the glue is applied, fold the shape back in half, pressing over the glued areas for a few seconds to ensure everything stays put. Repeat with the remaining tree pieces.
- When all of the tree sections are glued in half, place one of the pieces on your work surface, and apply a thin line of Ultra Bond Glue at the center of the piece, starting about 1/4" from the center fold and ending about 1/4" from the outer edge. Place another of the folded pieces on top so that all of the edges are aligned, pressing firmly at the center to secure the pieces together. Continue gluing/adding pieces until all of the folded pieces are secured together at the center. Now, secure a binder clip around the glued pieces to create a stack that is nice and even.
- Apply a generous amount of the E6000 adhesive on the side of the stack with the folded edges, and use the paintbrush to spread the glue evenly over the entire surface of this side. Set the project aside and allow the glue to dry completely, at least 2 hours.
- Once everything is dry, remove the binder clip, and start spreading the paper layers apart. Continue until the tree is fully opened into a circle, and then secure the two unglued ends with a paper clip.
Having grown up in a home brimming with sewing notions and paintbrushes, Amy has a deep love for all things creative. On any given day, you’ll find her knee-deep in her latest creative endeavor, with projects ranging from sewing and crafts to home decor and kid-friendly ideas. Amy believes that everyone, regardless of skill level or experience, possesses the ability to create something beautiful, and Positively Splendid was born of her passion for helping others harness their innate creative potential.