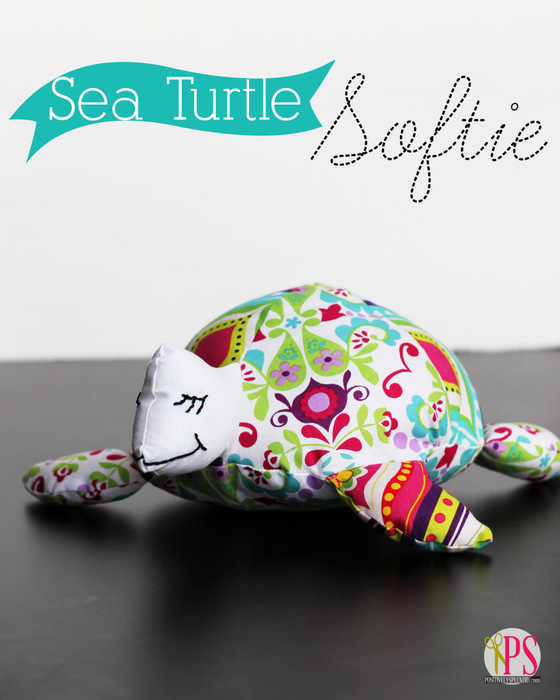
Believe it or not, it is incredibly easy to make your own plush toys. Regardless of whether you call them stuffed animals or softies, with just a few fabric scraps and a minimal investment of time, you can sew a special gift for a child in your life that is sure to become a new favorite toy! Today’s free sewing pattern is an original Positively Splendid design for a sweet seat turtle softie made using three coordinating fabrics. These would make a terrific gift for children or new babies, and the design can be constructed of different fabrics to make it equally suitable for boys or girls.
For this project, you will need…
-
Sea Turtle Softie Sewing Pattern (free download)
- Assorted fabric scraps in three patterns
- Coordinating thread
- Washable ink marker
- Embroidery floss
- Embroidery needle
- Polyester fiberfill
- Hand sewing needle
To begin, download and print the free Sea Turtle Softie pattern (linked above).
Make your cuts:
- From fabric 1 (I recommend a solid color so the facial features stand out): 2 head pieces, 2 tail pieces
- From fabric 2: 2 back pieces, 1 stomach piece, 4 fin pieces
- From fabric 3: 2 back pieces, 4 fin pieces
Note: All seam allowances are 1/4″, unless otherwise specified.
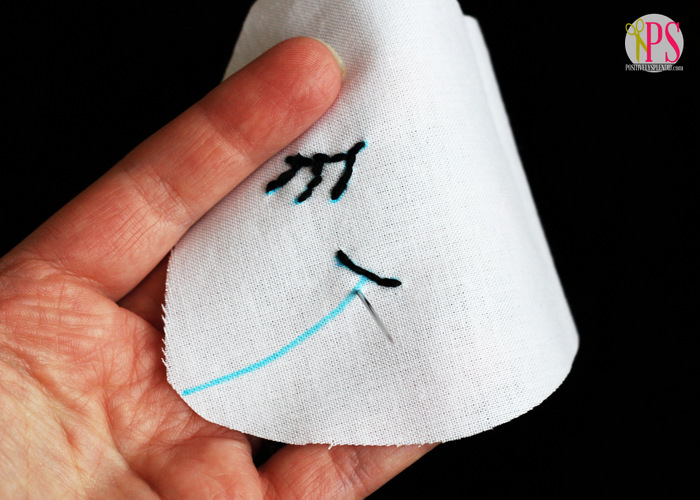
Using the washable ink marker, draw features on each head piece, making sure the features correspond to line up once the pieces are stitched together. For my turtle, I drew a simple mouth with closed eyes and lashes, but you could use any design you wish. With the embroidery floss and needle, use a running stitch to stitch out these features.
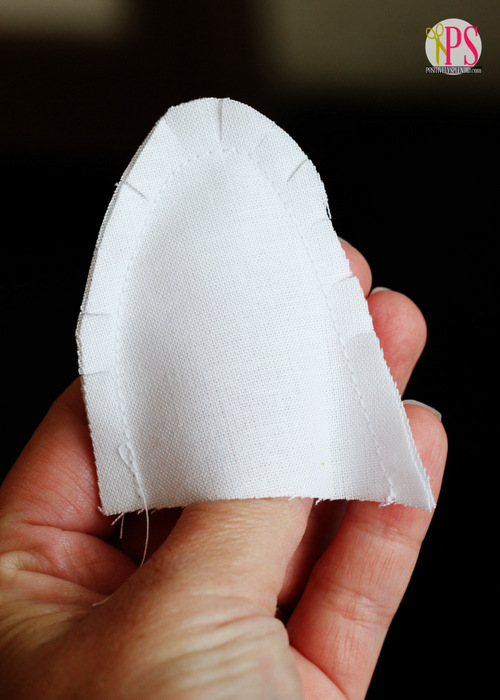
Place the head pieces together, right sides facing, and stitch around the curved sides of the piece. Be sure to leave the straight edge unstitched. Make snips along the curved edges and turn the piece right-side out. Stuff with a small amount of fiberfill and set aside.
Place the two tail pieces together, right sides facing, and stitch together around the curved edge, leaving the straight edge unstitched. Make snips along the curved seam, and turn the piece right-side out. Stuff with a small amount of fiberfill, and set aside.
Use the same method above to stitch together each pair of fin pieces: place right sides together, stitch around curved edge, makes snips along the seam, turn right-side out, and stuff with fiber fill.
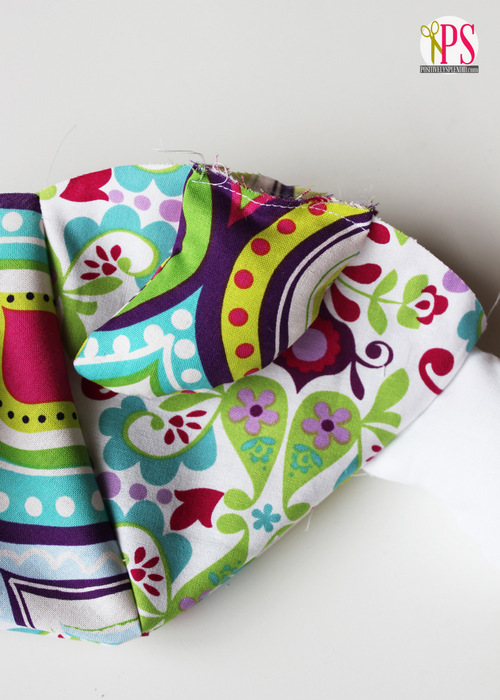
Now, place two of the back pieces together, right sides facing, aligning the top corner and one side edge. Pin and stitch along the pinned edge. Repeat with the remaining 2 back pieces.
Pin the stitched and stuffed head and tail pieces 1/4″ from the outer corners of one of the assembled back pieces. Baste the head and tail to the back piece by stitching a scant 1/8″ from the outer edge.
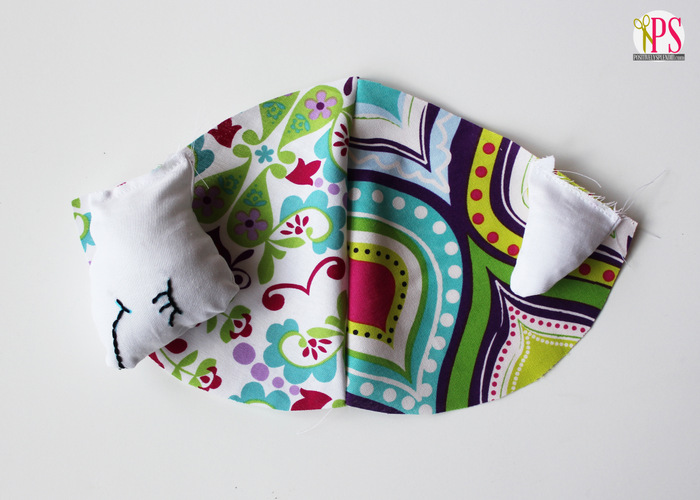
Place the remaining back piece face down on top of the piece, so that right sides are facing, carefully aligning the outer corners and the top seam. Pin and stitch along the pinned (top) edge.
Note: In the photo below, the head and tail pieces have not been basted. Pattern-making is a process of trial and error. 🙂

Turn the completed piece right-side out. Pin one fin piece at the center of each of the four back pieces, aligning the fins so that the point of each point toward the head piece. Baste 1/8″ from the edge of each fin to secure them into place.
Along each of the side edges, run a line of gathering stitches 1/8″ from the edge in between each of the fins, as shown. Gather slightly along the stitches.
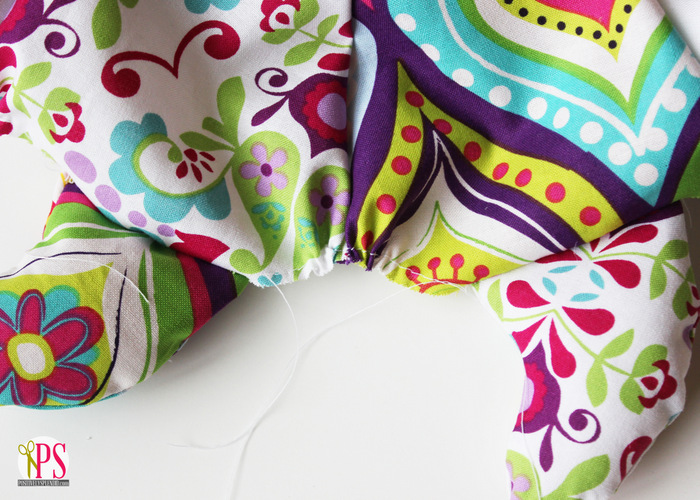
Fold the head, fins, and tail toward the center of the piece, and place the piece face up on a work surface. Place the stomach piece face down on top of the top panel, so that each of the notches in the stomach piece align with a corresponding joining seam between each of the back panels. Adjust the gathering stitches, as needed, to ensure the top piece is precisely the same size as the stomach piece. Pin around the perimeter of the piece.
Beginning at the side of the turtle with the tail, stitch around the piece to secure the stomach piece to the assembled back piece, making sure not to stitch through the head, fins or tail as you sew. Stop sewing 3″ from the start point to leave an opening for turning.
Turn the piece right-side out and stuff with fiberfill. To finish, carefully stitch the opening closed by hand.
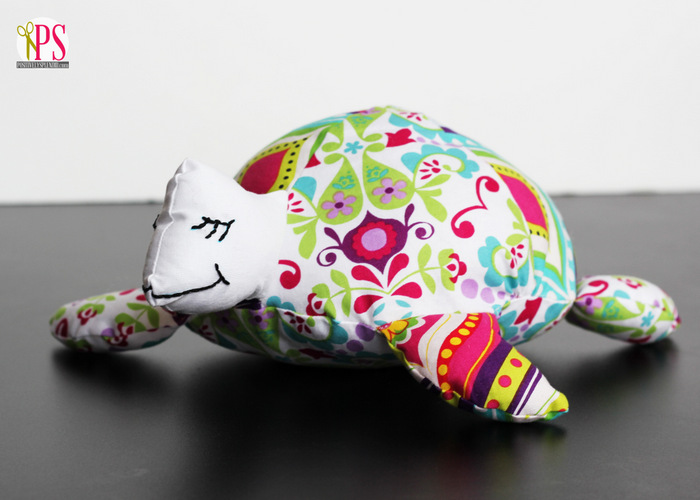
You are finished!
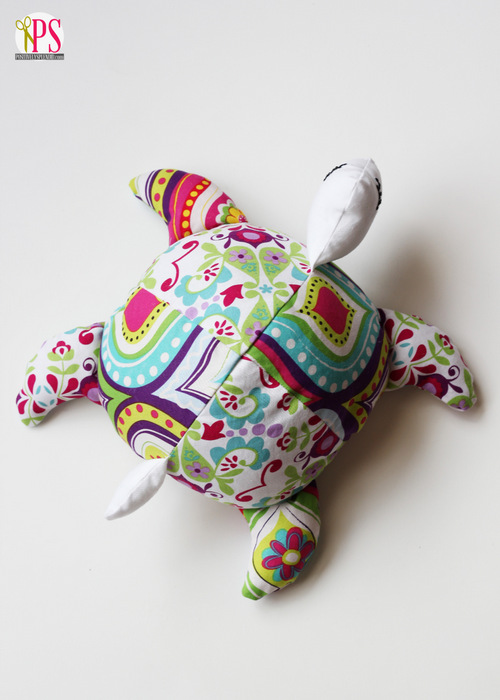
With such a sweet little face…
…such a cute little tail…
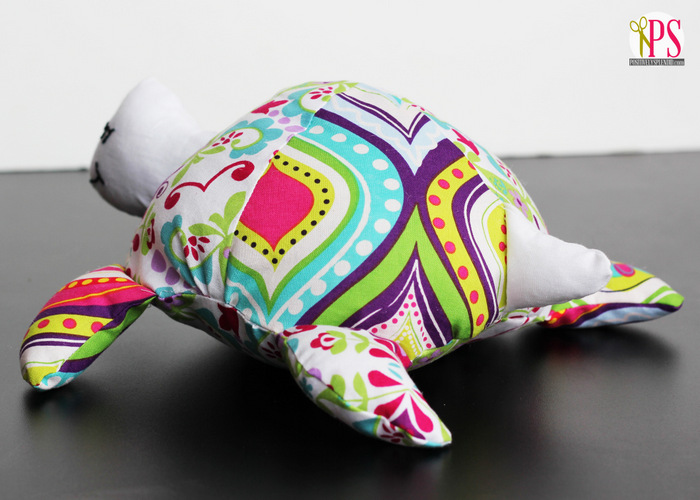
…and such a vibrant patchwork of colors and patterns, this is a toy that is sure to put a smile on anyone’s face!
Thanks so much for stopping by. Happy creating!
Having grown up in a home brimming with sewing notions and paintbrushes, Amy has a deep love for all things creative. On any given day, you’ll find her knee-deep in her latest creative endeavor, with projects ranging from sewing and crafts to home decor and kid-friendly ideas. Amy believes that everyone, regardless of skill level or experience, possesses the ability to create something beautiful, and Positively Splendid was born of her passion for helping others harness their innate creative potential.
How cute is this little guy…very cute!
This is so cute! Thanks for the tutorial! And welcome to Texas! We only live an hour away from Austin in Brenham. You should come to Brenham and tour Blue Bell Creameries, our local ice cream factory!
This is so cute – thanks. I cut the legs off some jeans to make shorts at the weekend and was looking for a project to make use of the cast-offs. This one is perfect!
Love it very cute
Another, love it – very cute – thank you.
Love this!! It is super cute!! I have a friend who is obsessed with turtles. This will make such a cute gift for her!! Thanks so much!!
Hallo Amy,
Ich wohne in der Schweiz und finde deien Blog total cool vor allem die vielen schönen Sachen im Tutorials.
Es ist nur schade dass es in deinen Blog keinen Google Translator gibt und die Seiten jeweils in Deutsch zu übersetzen, denn um alles zu verstehen und die einzelnen Schritte in den Anleitungen nach vollziehen können. Es gibt viele Blogs Besitzerinnen mit den ich in Kontakt bin die den Translator haben.
Wünsche Dir einen supertollen Tag und grüsse dich ganz herlich aus
der Schweiz Esther