Wanting to sew something quick, easy, and fun? This star pillow can be made in about 15 minutes with my free pattern, and it is a great project to make for July 4th or any other day of the year. I’ve got all the details below for how to make a star pillow of your own today, including the printable PDF tutorial for you to reference as you work, and a helpful project video, too. I think once you’ve made one of these pillows, you’ll want to make an entire collection of them!
This post contains affiliate links.
To make a star pillow, you will need…
Supplies:
-
Star Pillow Pattern (click link to download and print the free pattern)
- Fabric for the pillow front and back (this is an awesome sewing project to use up any fabric scraps you have in your stash)
- Coordinating thread
- Fiber fill
Equipment:
- Washable ink pen
- Sewing machine
- Point turner
- Iron
- Hand sewing needle
Optional (if you want to embellish your pillow with wording like I did): Cricut machine and heat transfer vinyl
Star Pillow Instructions:
(Note: Scroll below for a printable version of this tutorial)
To begin, print the PDF star pillow pattern. Follow the instructions on the pattern printout to assemble the pattern piece.
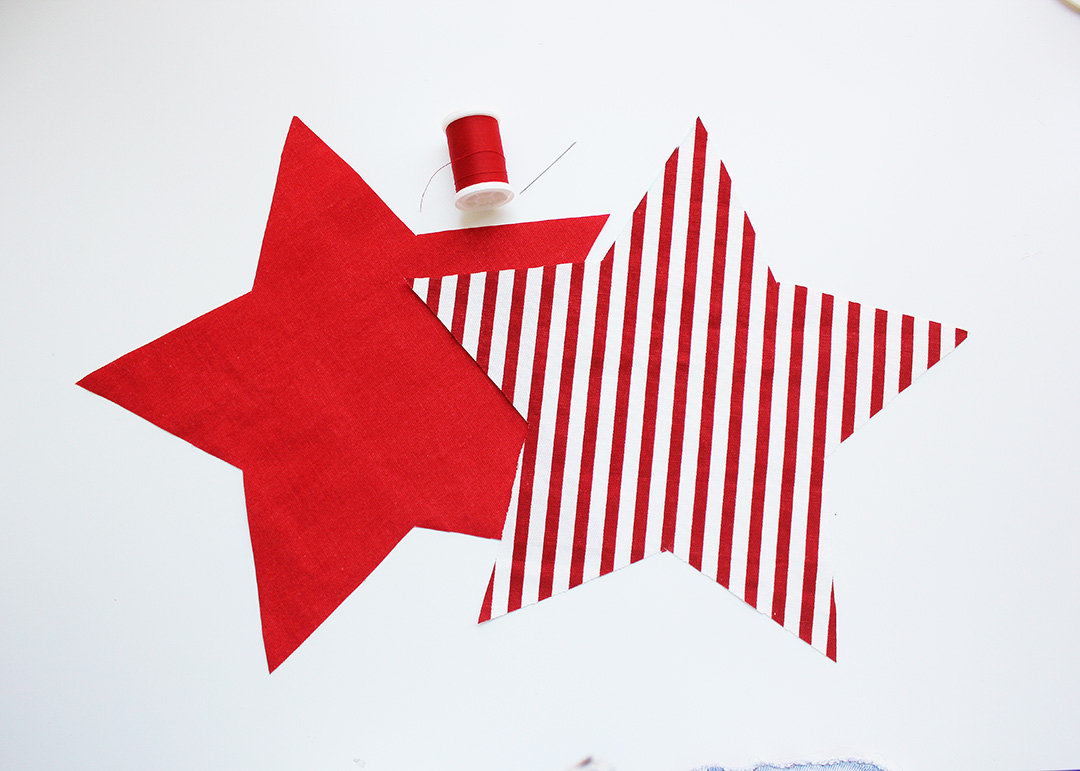
For each star pillow, use the pattern to cut out a front and a back star piece. (You can use the same fabric for front and back, or two different fabrics.) Helpful Tip: Use the washable ink pen to make a small mark on the top point of each star piece to help align the pieces correctly in the upcoming step.
(If you would like to add iron-on vinyl wording or any other detail to the front of your pillow, use your Cricut to cut out that design and heat press it to the pillow front piece now before moving on to the next step.)
Line the two fabric pieces up, right sides facing, so that the marked points are aligned. Pin.
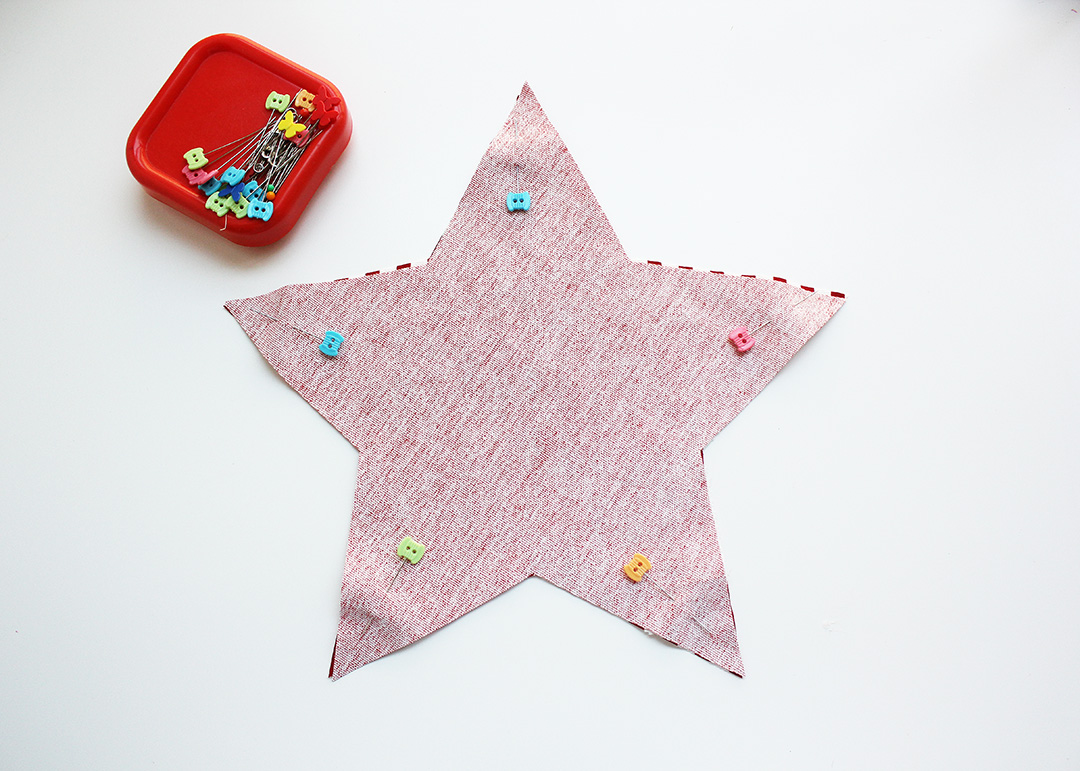
Using a 1/4″ seam allowance, stitch around the perimeter of the pillow, leaving a 1.5″ opening for turning.
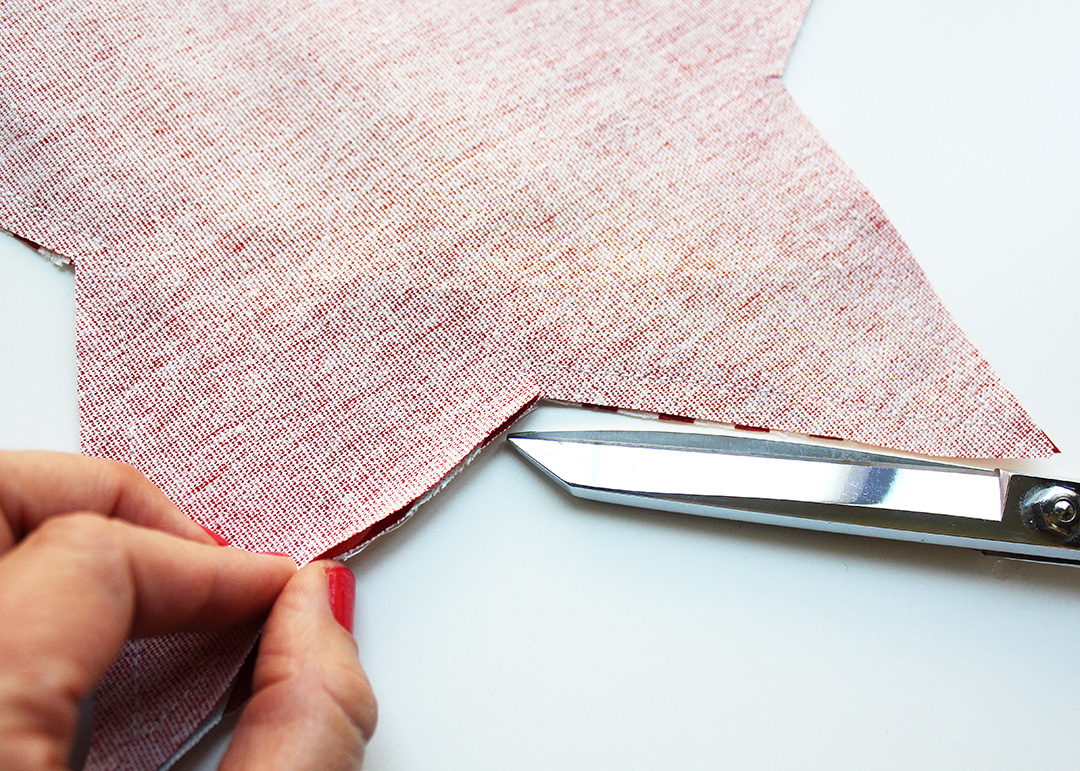
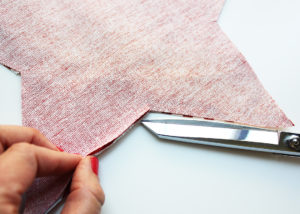
Use sewing shears to carefully clip the points and notches around the star shape.
Turn the piece right-side out through the opening, using a seam turning tool to help get the points of the star pillow nice and crisp. IMPORTANT: Press the turned pillow nice and flat, making sure to fold in the seams of the unstitched opening toward the inside of the pillow so they line up with the stitched pillow seam.
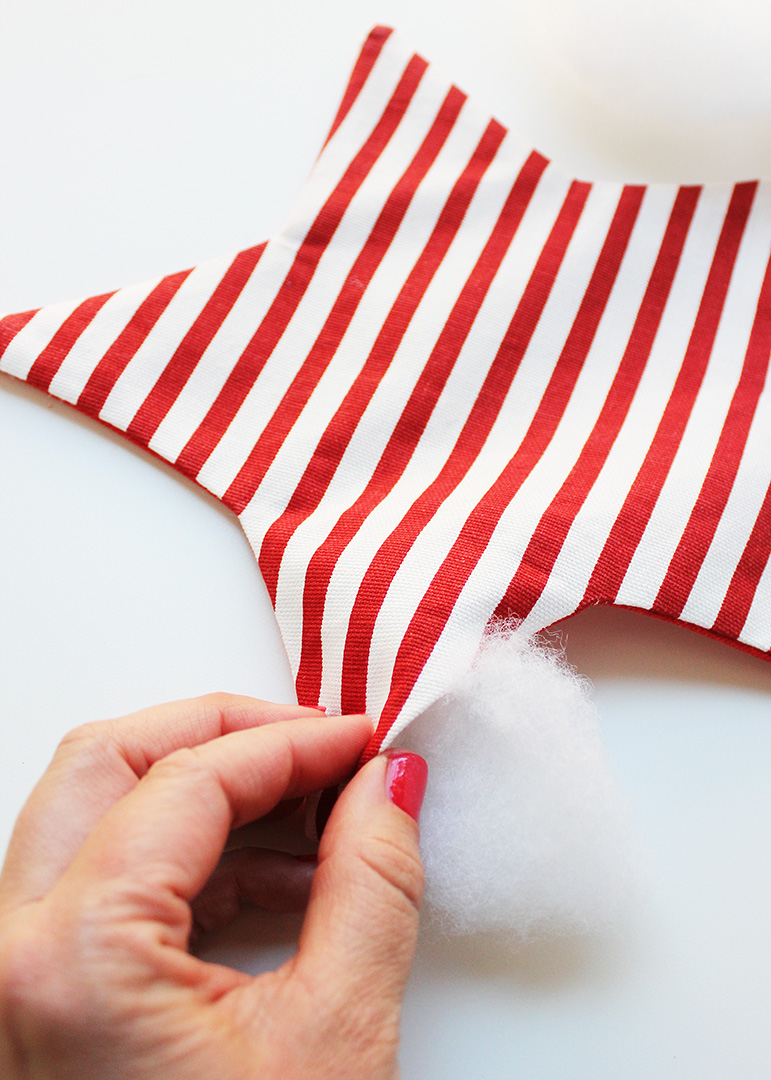
Stuff fiber fill into the pillow through the unstitched opening, adding a little bit of the fiber fill at a time to ensure the pillow is evenly stuffed. Use the seam turning tool to poke the stuffing into the star points first before filling up the center of the star. Fill the star with stuffing until your desired firmness.
Finally, hand stitch the pillow opening shut with a needle and thread.
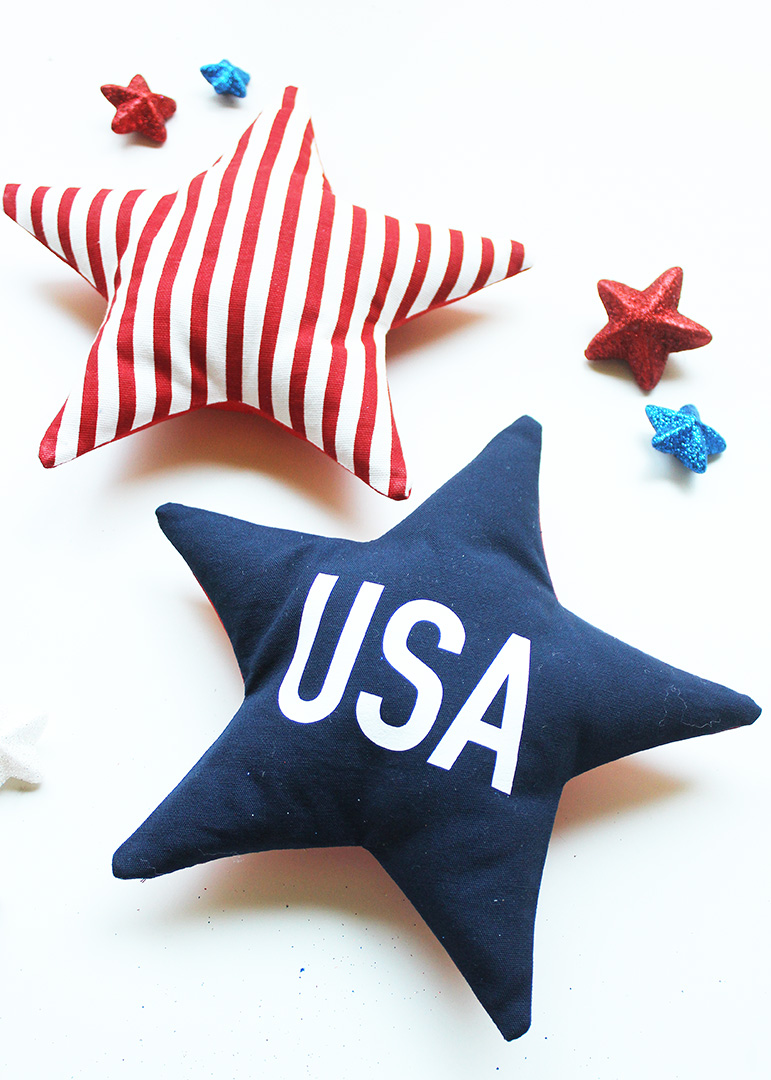
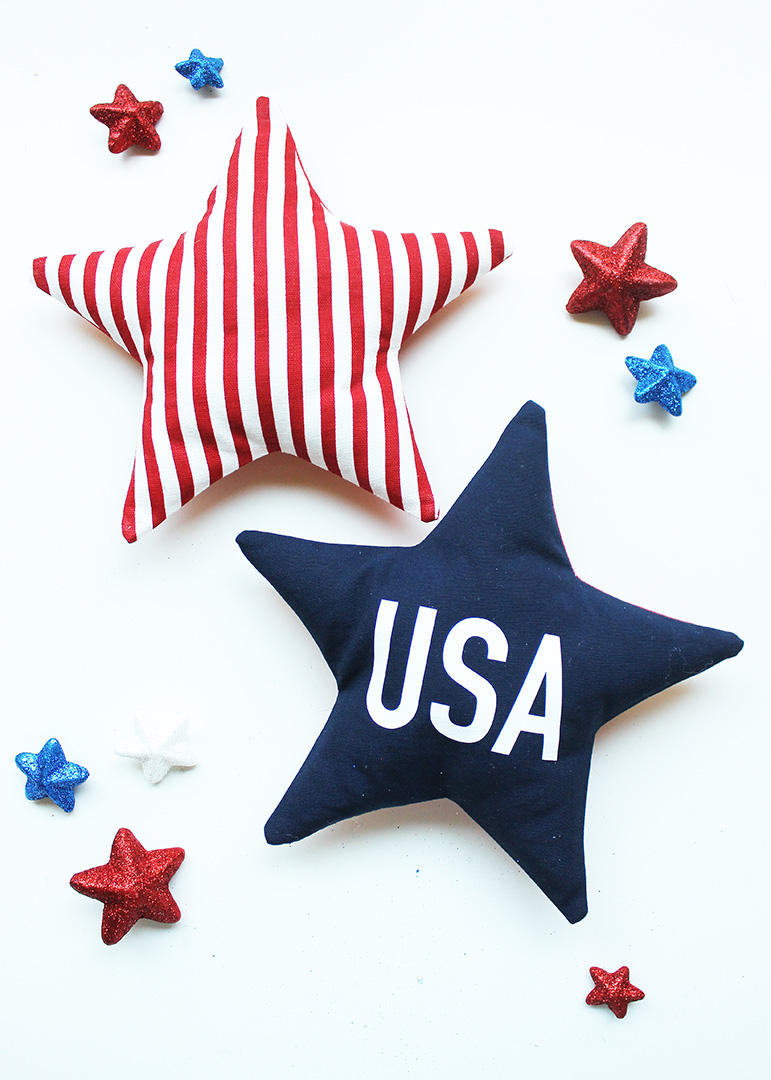
Your cute little star pillow is complete!
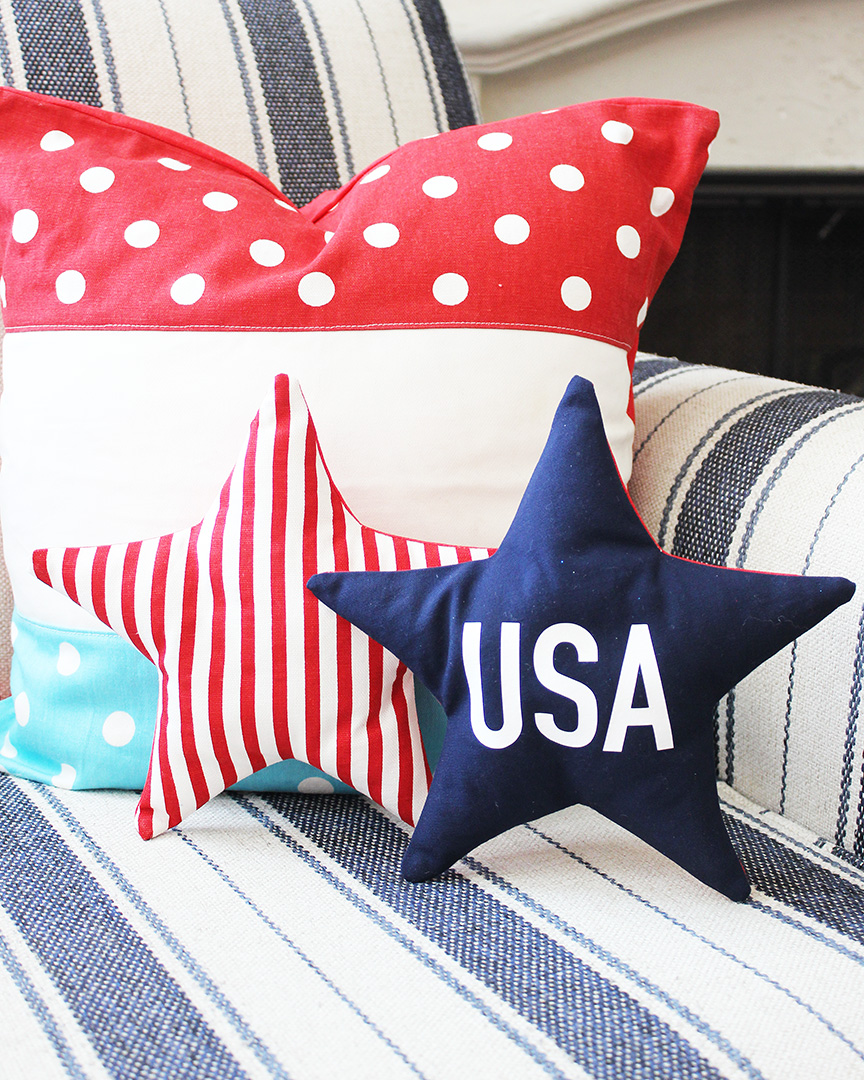
I love how my finished star pillows look in my living room with my patriotic color block pillow!
Amy’s Helpful Project Tips
How big is the finished star pillow? The finished project measures about 9 inches. If you would like to make a larger star pillow with this same pattern, you can have the pattern blown up at an office store and follow the same sewing steps as outlined above.
How do I print off this pattern? Make sure that your printer settings are set to print at 100% size. You can check to ensure the pattern printed out at the correct size by measuring the 1″ box in the corner of the page after printing. If the box is exactly 1″, you’re good to go! I like to print small patterns like this one onto cardstock instead of regular printer paper, since it helps the pattern piece lie flat for cutting.
What type of fabric should I use? Quilting cotton, cotton canvas, and home dec fabrics work great for this star pillow pattern, but keep in mind that heavier fabrics will make the pillow harder to turn right-side out. This is an awesome project to make to use up scraps of fabric from your stash, since it requires such a small amount of material per pillow.
How can I embellish my star pillow? There are so many possibilities! Consider adding trims like pom-poms or fringe to the seam of the pillow, or you can add piping for a polished look. You can also add wording like I’ve done to my navy star pillow with a Cricut and iron-on vinyl, or add designs or wording with stencils and fabric paint. Your imagination is the limit here!
Why do I need to snip the corners before turning the pillow right-side out? This prevents the finished pillow from puckering when it’s turned right-side out. It’s a very important step, so don’t skip it!
Do I really need to press my project after turning it right-side out? Yes! Pressing is really important in creating creased seam guides to use as you hand stitch the pillow shut. Don’t skip that step! I’ve found that pressing throughout sewing projects is one of the very best ways to ensure the most professional results possible every single time.
What’s the best way to evenly stuff a star pillow like this one? Add small sections of the fiber fill at a time, and make sure to use the seam turning tool to work the stuffing into all of the points of the star first, before then filling up the center of the star shape.
What is the best way to hand stitch the opening closed on my finished pillow? My ladder stitch tutorial is THE BEST way to create an invisible stitch to close up openings in projects like this one. Once you’ve mastered that technique, it’s so simple to create hidden stitches to close up any project like this one.

Easy Star Pillow Pattern
Equipment
- Washable Ink Pen
- Sewing Machine
- Point Turning Tool
- Iron
- Hand Sewing Needle
Materials
- Star Pillow Pattern
- Fabric for Pillow Front and Back
- Coordinating Thread
- Fiber Fill
Instructions
- To begin, print the PDF star pillow pattern. Follow the instructions on the pattern printout to assemble the pattern piece.
- For each star pillow, use the pattern to cut out a front and a back star piece. (You can use the same fabric for front and back, or two different fabrics.) Helpful Tip: Use the washable ink pen to make a small mark on the top point of each star piece to help align the pieces correctly in the upcoming step.

- If you would like to add iron-on vinyl wording or any other detail to the front of your pillow, use your Cricut to cut out that design and heat press it to the pillow front piece now before moving on to the next step.
- Line the two fabric pieces up, right sides facing, so that the marked points are aligned. Pin.

- Using a 1/4" seam allowance, stitch around the perimeter of the pillow, leaving a 1.5" opening for turning.
- Use sewing shears to carefully clip the points and notches around the star shape.
- Turn the piece right-side out through the opening, using a seam turning tool to help get the points of the star pillow nice and crisp. IMPORTANT: Press the turned pillow nice and flat, making sure to fold in the seams of the unstitched opening toward the inside of the pillow so they line up with the stitched pillow seam.
- Stuff fiber fill into the pillow through the unstitched opening, adding a little bit of the fiber fill at a time to ensure the pillow is evenly stuffed. Use the seam turning tool to poke the stuffing into the star points first before filling up the center of the star. Fill the star with stuffing until your desired firmness.

- Finally, hand stitch the pillow opening shut with a needle and thread.
Notes
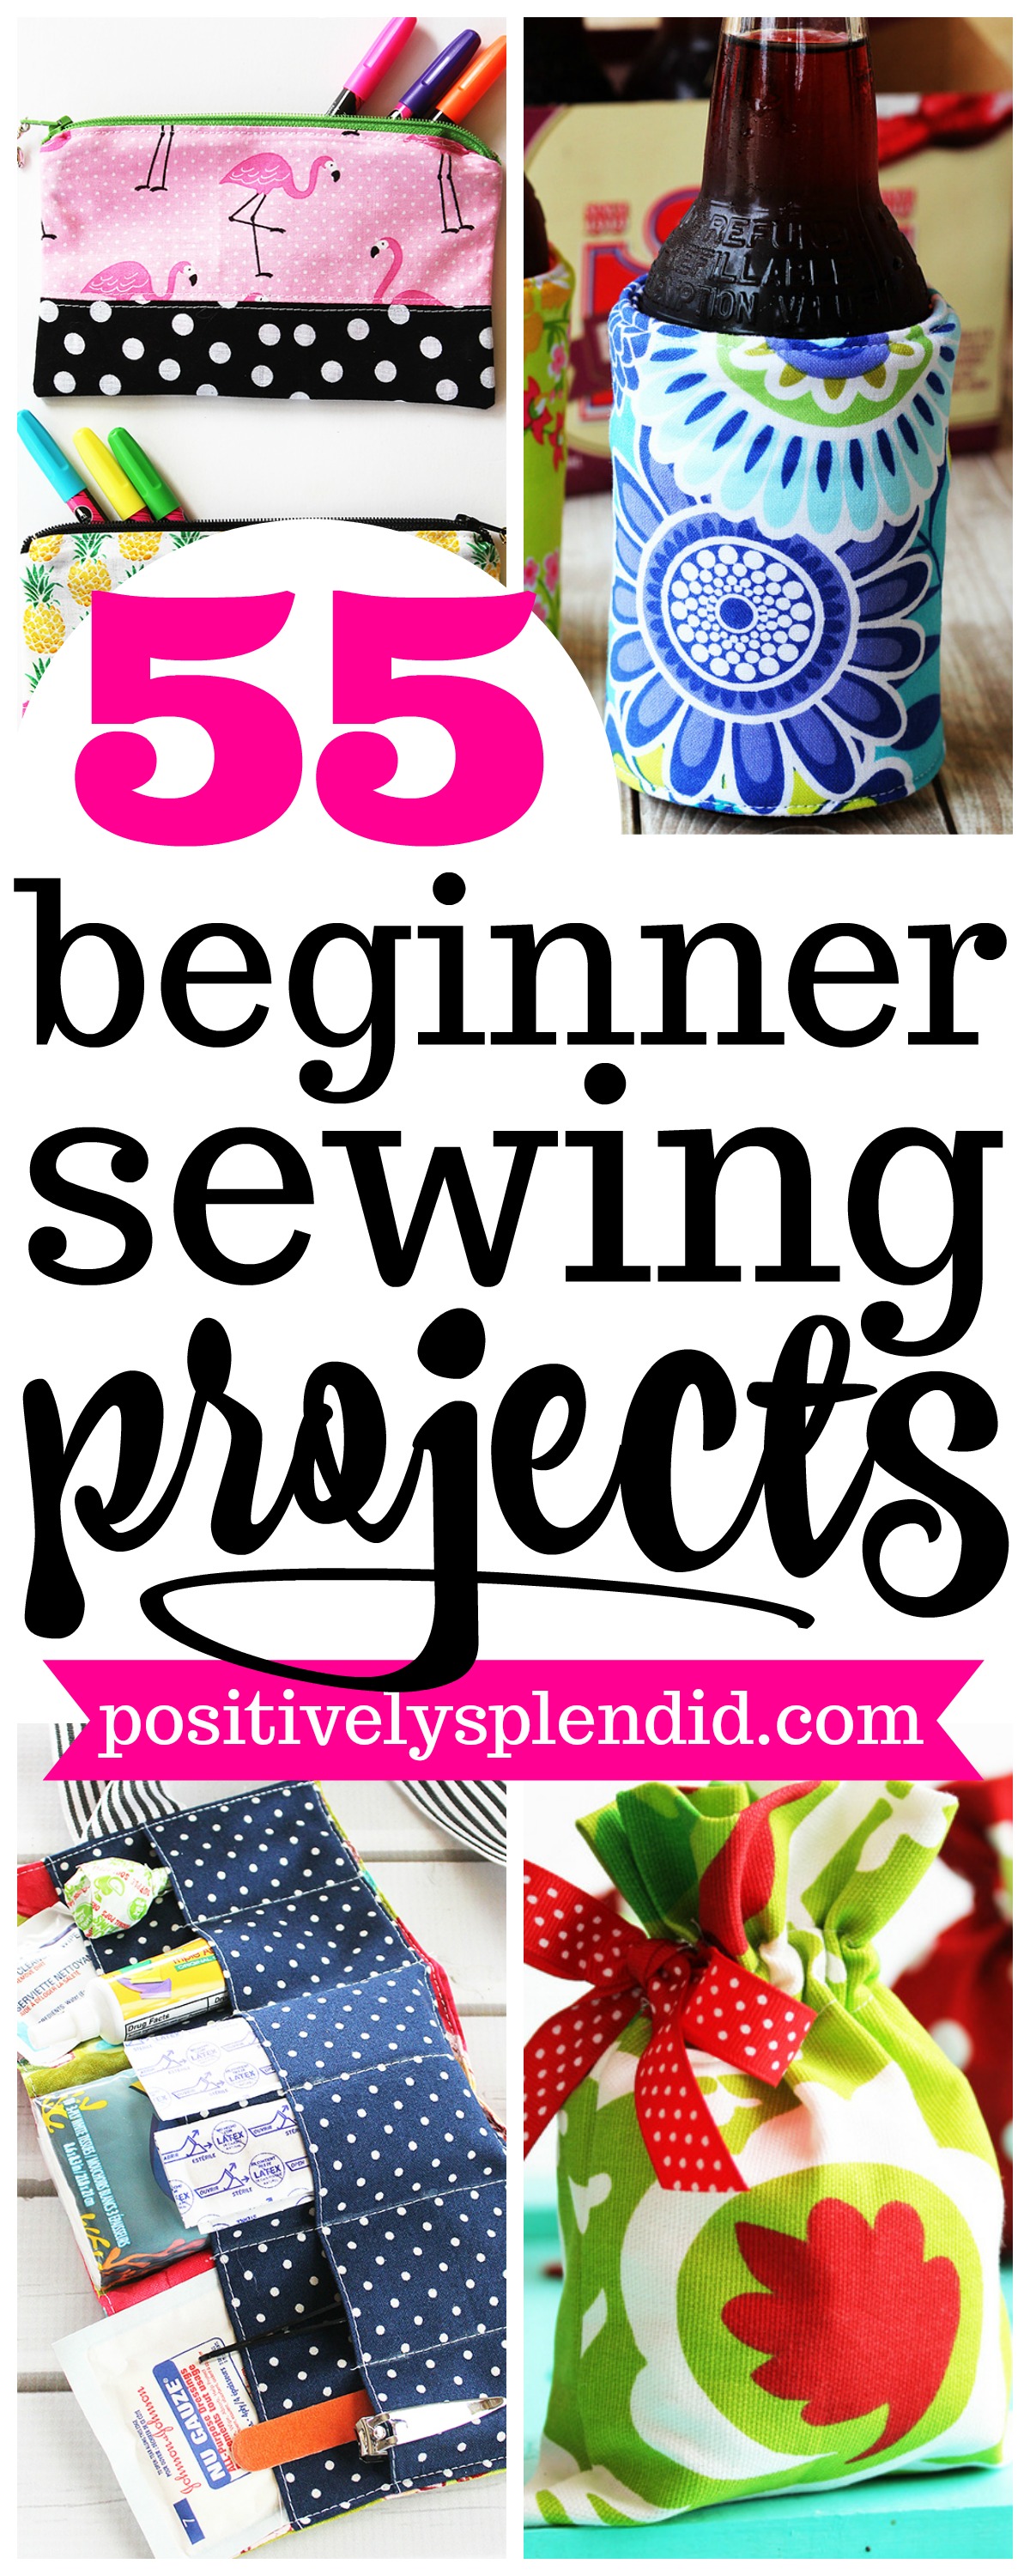
Looking for even more ideas for fun, simple sewing projects? Check out my collection of 55+ Easy Sewing Projects for Beginners!
Having grown up in a home brimming with sewing notions and paintbrushes, Amy has a deep love for all things creative. On any given day, you’ll find her knee-deep in her latest creative endeavor, with projects ranging from sewing and crafts to home decor and kid-friendly ideas. Amy believes that everyone, regardless of skill level or experience, possesses the ability to create something beautiful, and Positively Splendid was born of her passion for helping others harness their innate creative potential.
Already printed off the instructions and the pattern! I am definitely making this (I’m Canadian so might have to use your idea and come up with a Maple Leaf pillow!) The star pillow is adorable and I can see it with all my other Christmas pillows. Thanks Amy – I have missed you and so happy you are back creating & sharing!