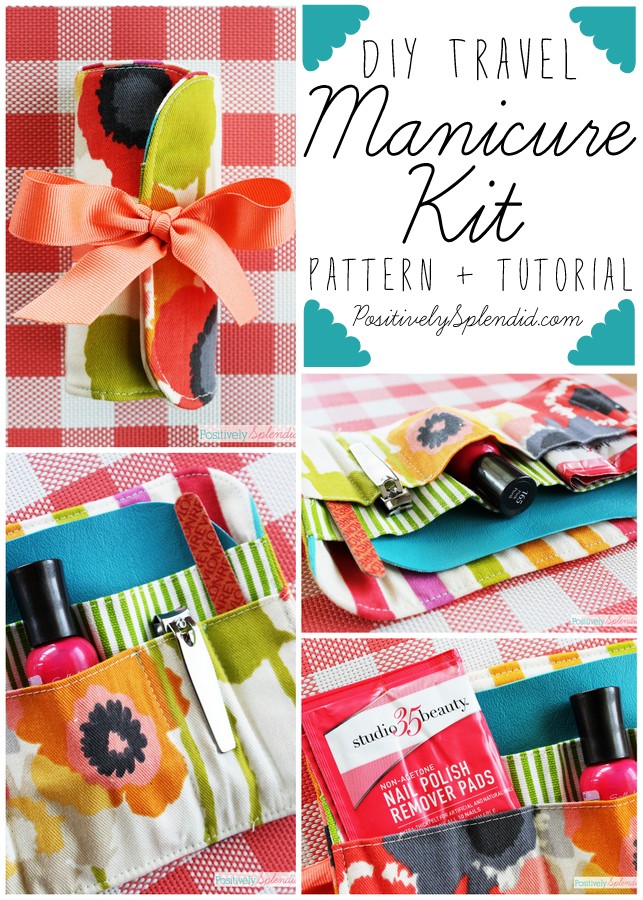
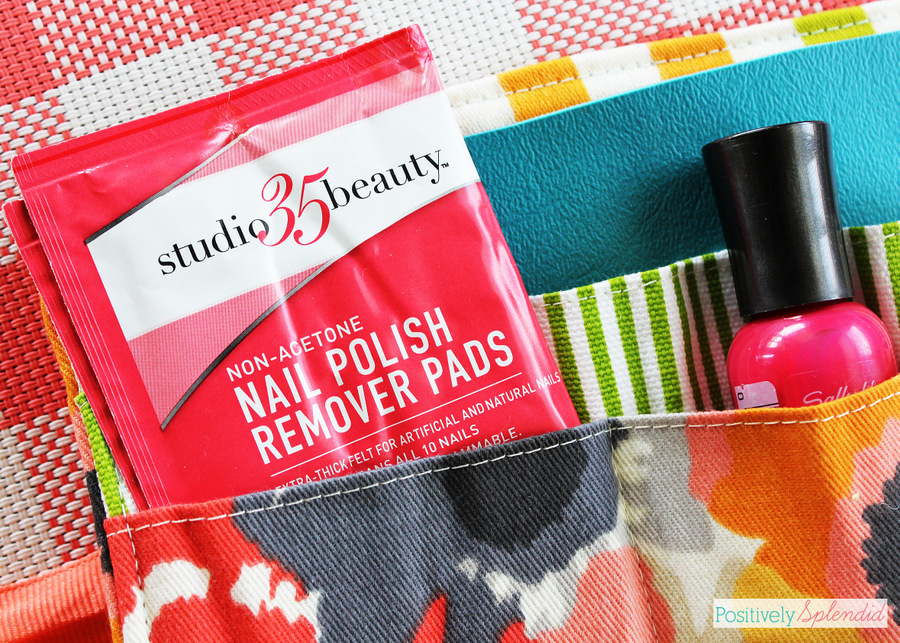
Looking for a way to easily transport all of your manicure supplies when you are on the go? This travel manicure kit requires just a few scraps of fabric to make, and it is an easy sewing project perfect for experienced and beginning sewers alike. Small enough to tuck into a toiletry bag or purse, but just the right size to hold all of your basic nail-care essentials, this travel manicure kit is a handy item you’ll never know how you did without! Read on for the full tutorial.
For this project, you will need…
-
Travel Manicure Kit Pattern Pieces (click link for FREE download)
- Approximately 1/4 yard of 3 coordinating fabrics (I recommend home decor fabrics for this project for added durability)
- 1 piece of fusible fleece measuring at least 7×10″
- 1 piece of marine vinyl measuring at least 5.5×8″
- Washable ink marker
- Clear ruler
- Coordinating thread
- 26″ section of 1″ grosgrain ribbon
- Point turning tool or wooden skewer
- Basic sewing supplies: machine, shears, iron, etc. (For a list of my must-have sewing tools, click here.)
- Manicure essentials: nail polish, nail polish remover pads, nail clippers, nail file, etc.
To begin, print and cut out the pattern pieces. Note: Make sure when printing that Page Scaling is set to None. When printed, the small box at the top left of each page should measure exactly 1″.
Make Your Cuts
For each kit, use the pattern pieces to cut the following:
- 1 outer main body piece and 1 inner main body piece from the coordinating fabrics
- 1 main body piece from the fusible fleece
- 1 back pocket piece cut on the fold from the coordinating fabrics
- 1 front pocket piece cut on the fold from the coordinating fabrics
- 1 protective mat piece from the marine vinyl
Let’s Get Sewing!
Step 1: Iron the fusible fleece to the wrong side of the outer main body piece. Set piece aside.
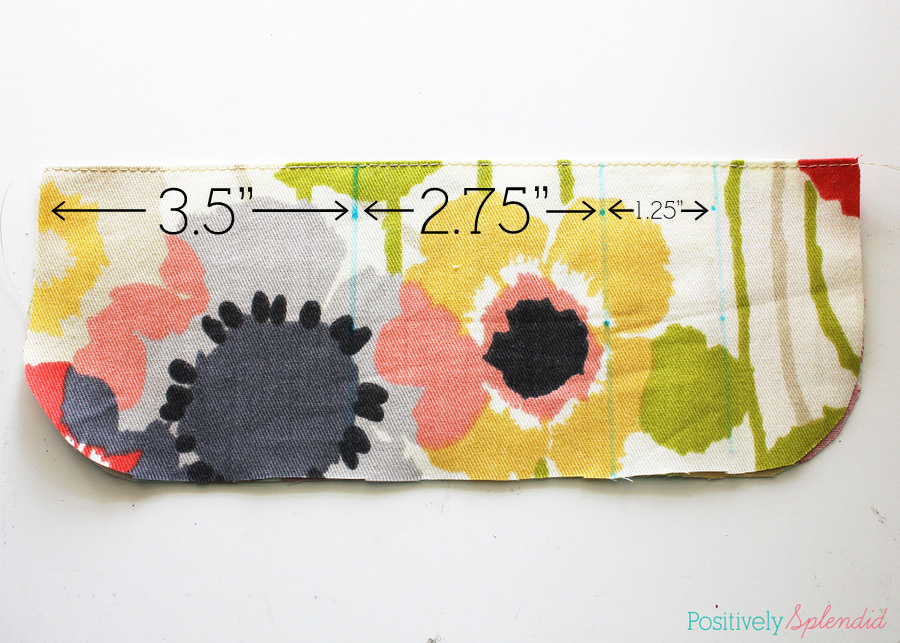
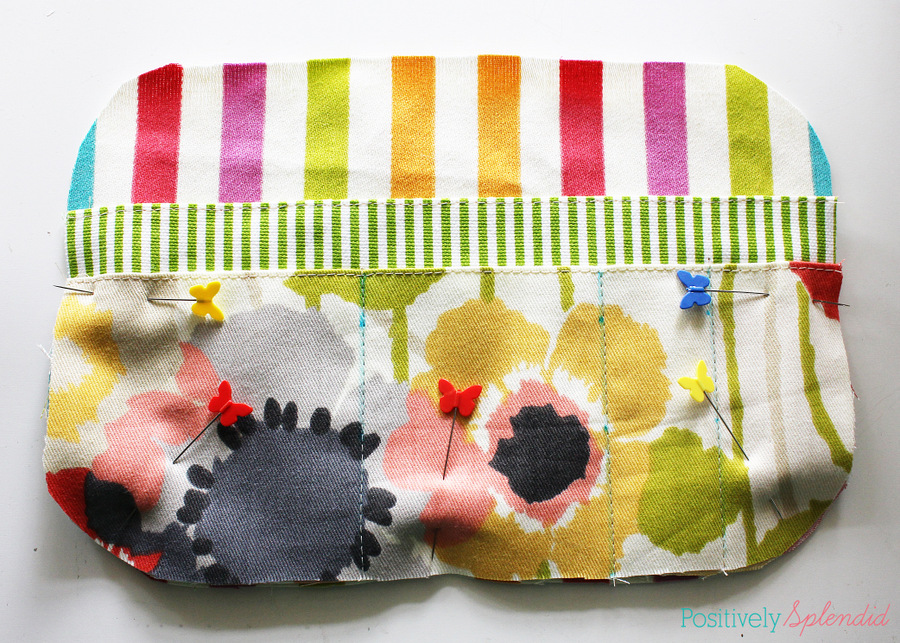
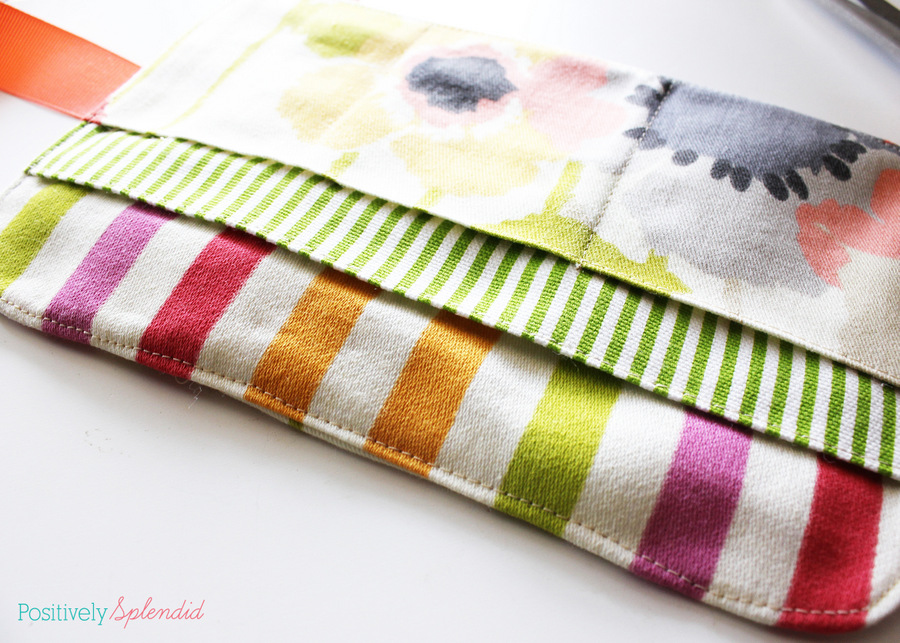
Step 2: Fold the front pocket piece in half lengthwise with the wrong sides facing, making sure to align all outer edges and the rounded corners. Press. Edgestitch a scant 1/8″ from the edge across the top (folded) edge. With the piece laid flat on a work surface, use the clear ruler and washable ink marker to draw a line from the top to the bottom edge of the piece 3.5″ from the left edge. Draw another line in the same manner that is 2.75″ from the first line. Draw a third line that is 1.25″ from the second line. (Refer to the photo below.)
Step 3: Fold the back pocket piece in half lengthwise, wrong sides facing; press. Edgestitch along the top (folded) edge as you did for the front pocket piece. Place the back pocket piece face up on a work surface. Place the front pocket piece on top of the back pocket piece so that the front of the front pocket is facing up. Align the rounded corners and raw outer edges of each piece. Pin into place.
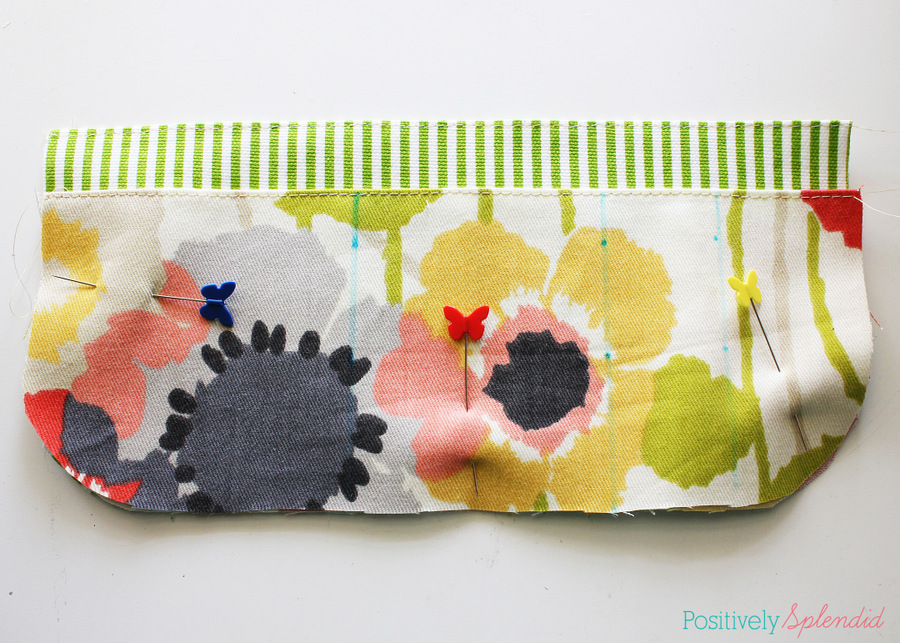
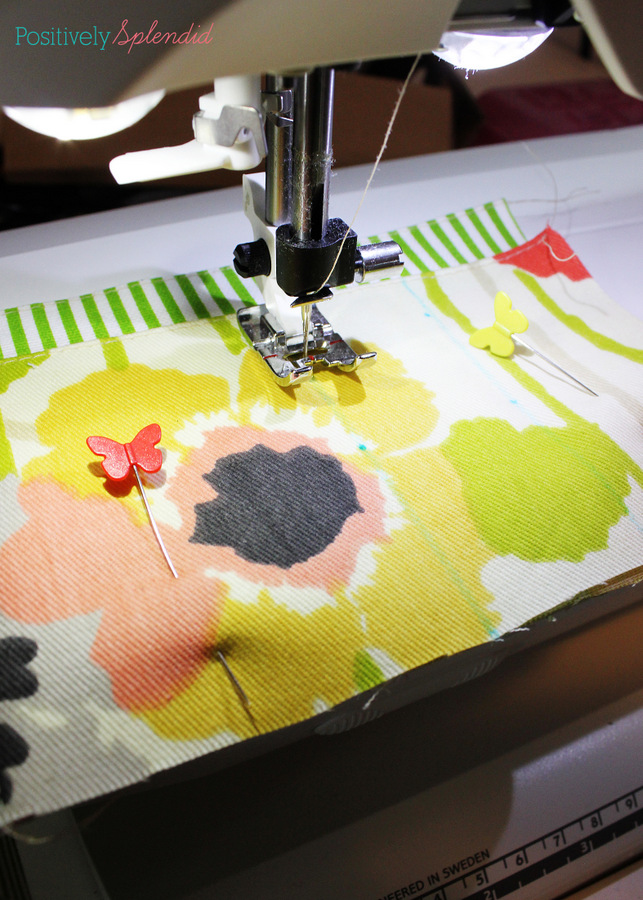
Step 4: Stitch along the entire length of each of the vertical lines drawn in step 2 to secure the front and back pocket pieces together.
Step 5: Place the inner main body piece face up on a work surface. Pin the prepared pocket piece along the lower edge of the inner main body piece, aligning all outer raw edges and rounded corners, as shown. Baste the pocket to the inner main body by stitching 1/8″ around the edge of the pocket piece. (This will ensure the pocket stays in place in the next step.)
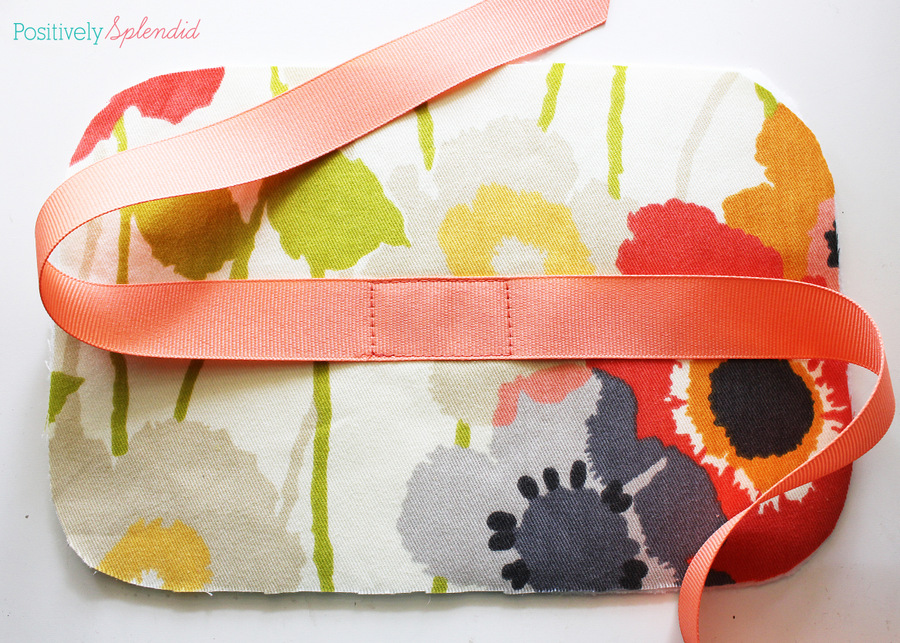
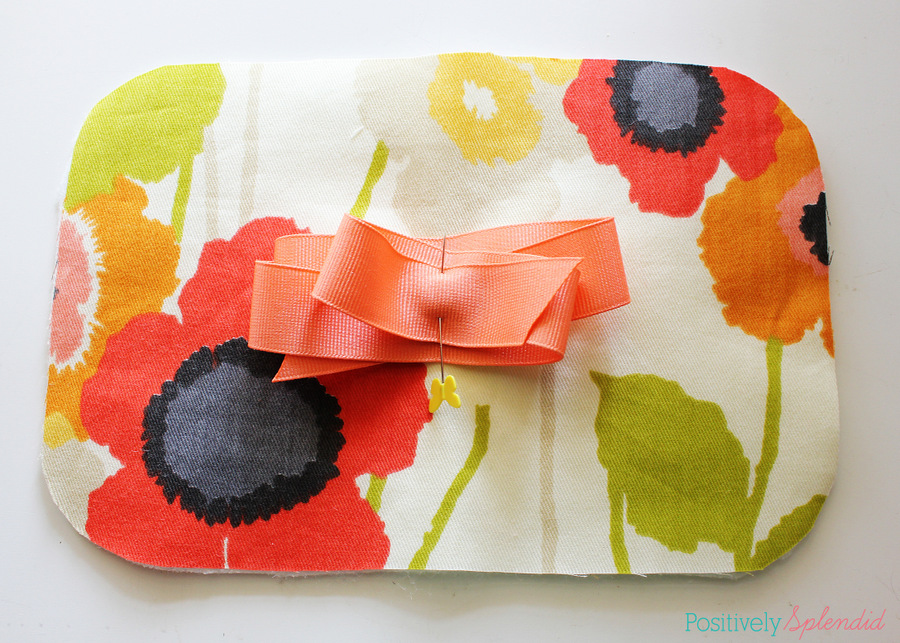
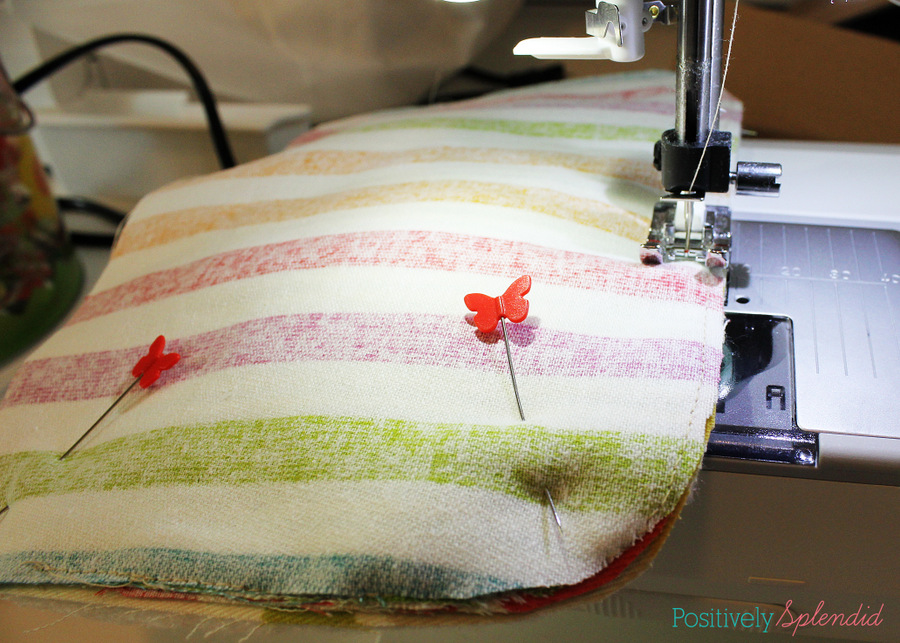
Step 6: Center the ribbon piece on top of the right side of the main body outer piece (the piece that is backed with the fusible fleece). Secure the ribbon to the outer main body piece by stitching a 1×2″ rectangle. Fold the ribbon toward the center of the piece and secure with a pin to ensure the ends of the ribbon don’t get stitched into the seam in the next steps.
Step 7: With the inner main body/pocket piece placed face up on a work surface, layer the outer main body/fleece piece on top, so that the right sides of each piece are facing and all outer edges and rounded corners are precisely aligned. Pin.
Step 8: Using a 1/4″ seam, stitch all the way around the pinned pieces, leaving a 2-3″ opening at the center of the top edge for turning.
Step 9: Trim the stitched seam to 1/8″, leaving the opening untrimmed.
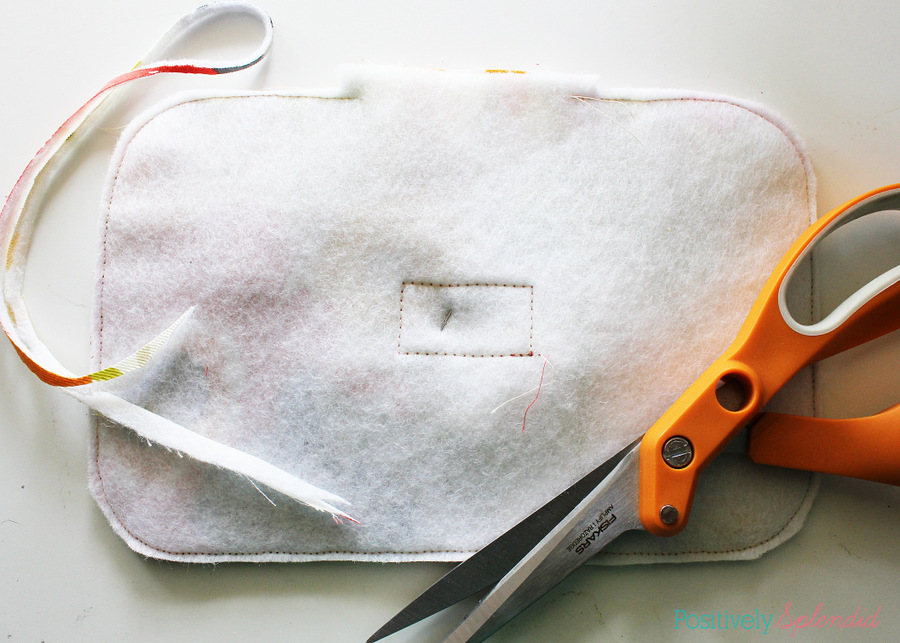
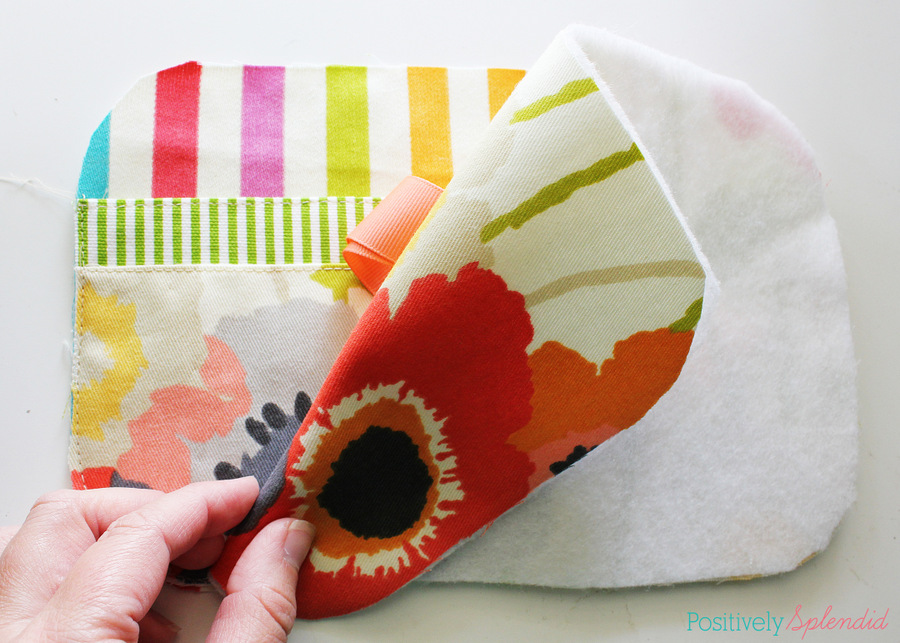
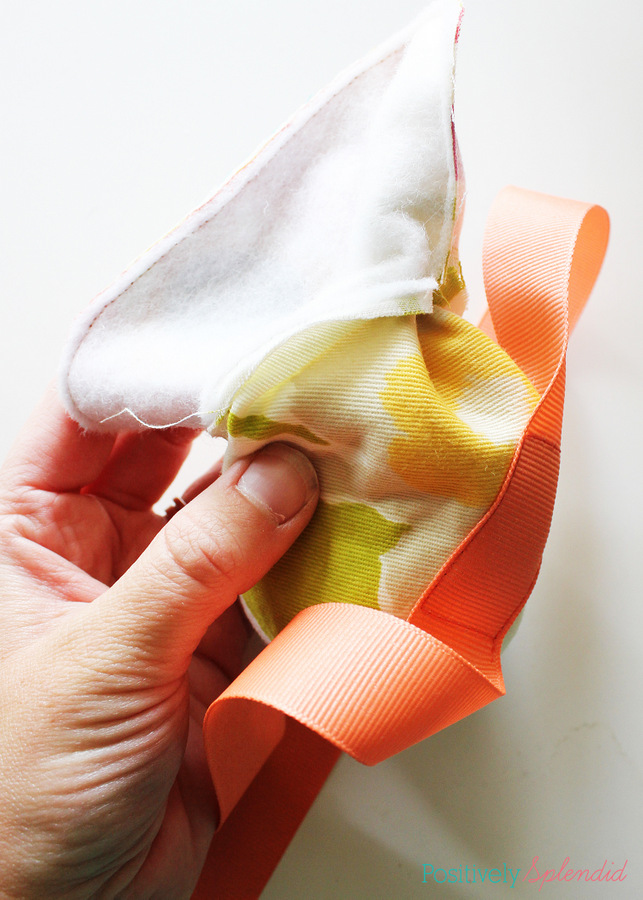
Step 10: Carefully remove the pin holding the ribbon in place on the inside of the piece before turning the piece right side out through the opening. Use a point turning tool or wooden skewer to ensure the seam and corners are totally turned.
Step 11: Press the piece flat, tucking the edges at the opening toward the inside of the piece. Pin the opening shut. Stitch 1/8″ around the outer perimeter of the piece, closing the opening as you stitch.
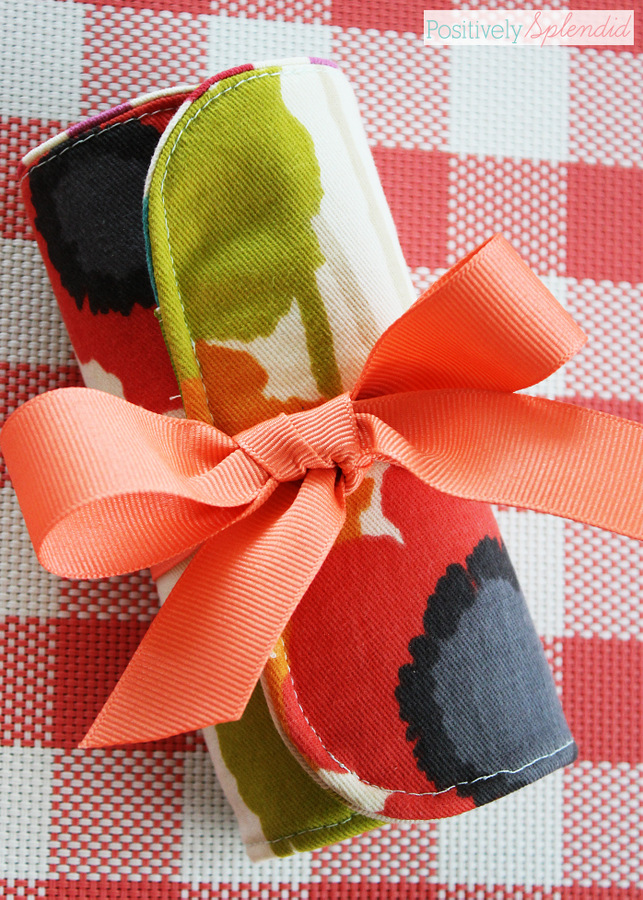
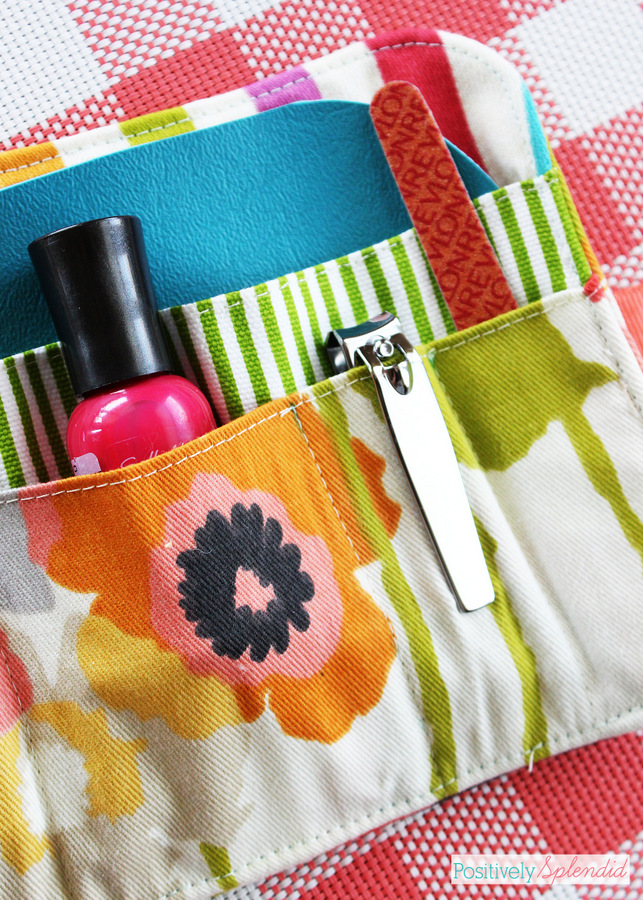
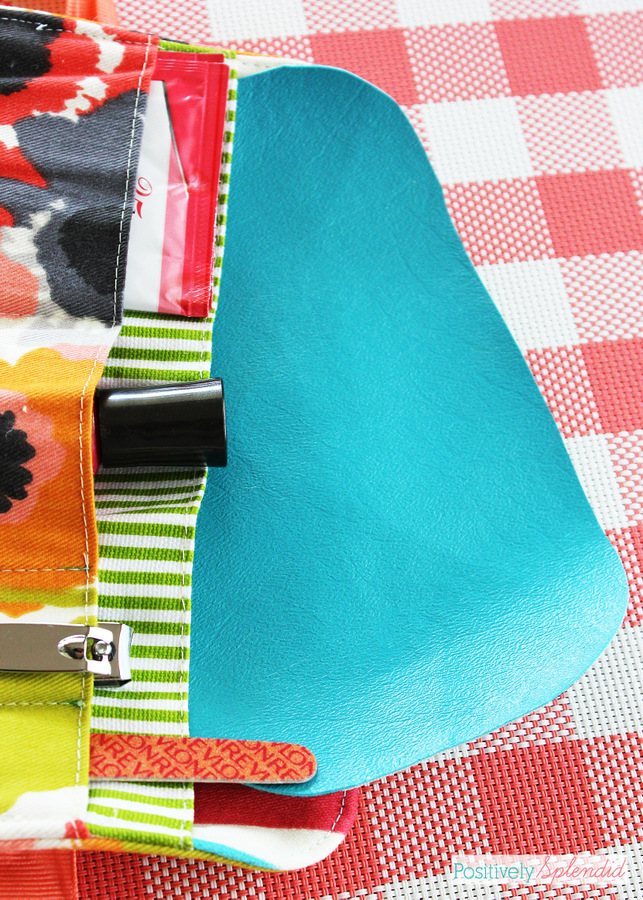
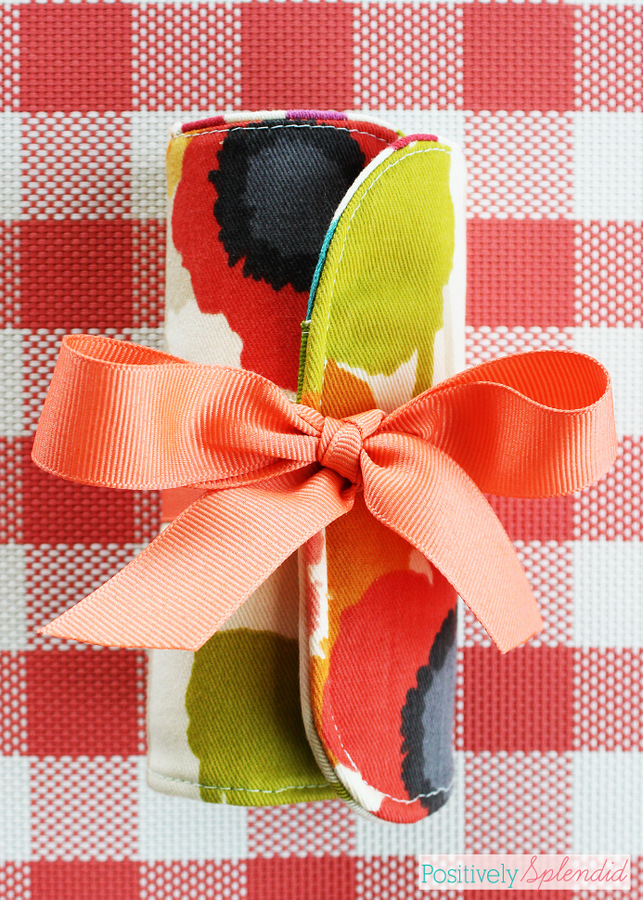
Step 12: Tuck the vinyl surface protector pad into the back pocket, and then fill each of the front pockets with the polish, file, nail polish remover pads and nail clippers. To close, simply roll up the kit from on end to the other and secure with a pretty bow.
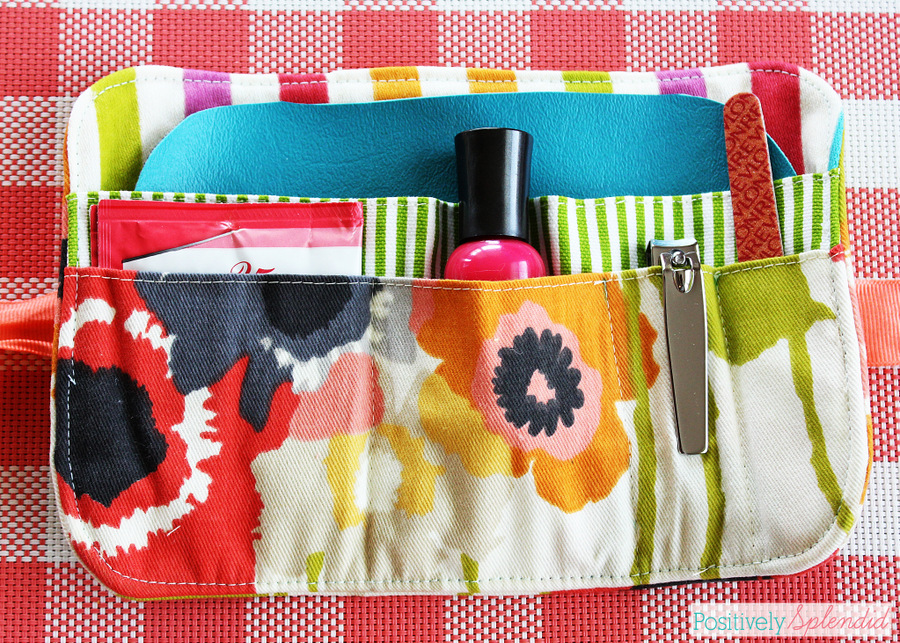
Your travel manicure kit is complete!
Filled with nail-care essentials, this is the perfect way to stay polished and organized on the go. I love that the kit is compact enough for tucking into a purse or overnight bag, and the extra padding from the fleece lining keeps things protected during travel.
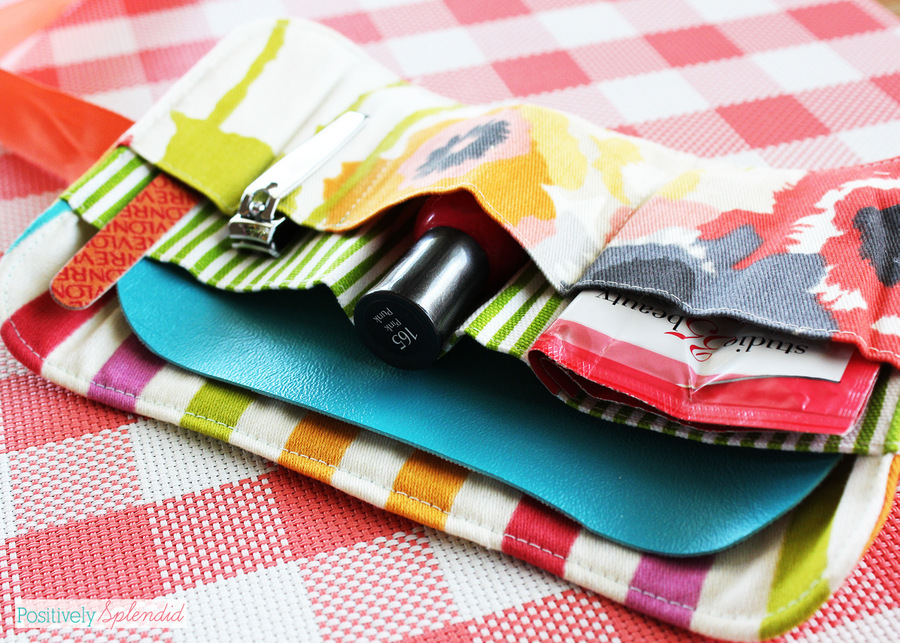
The handy protector pad will ensure surfaces stay clean during manicures.
When it’s time, the kit rolls up easily and closes stylishly with a pretty bow! Wouldn’t these make a fabulous gift for a special recipient? (It’s never too early to start thinking about stocking stuffers!)
Looking for even more fun and easy sewing projects to help you stay organized on the go? Check out all of my sewing projects here, or scroll down to see some of my favorites!
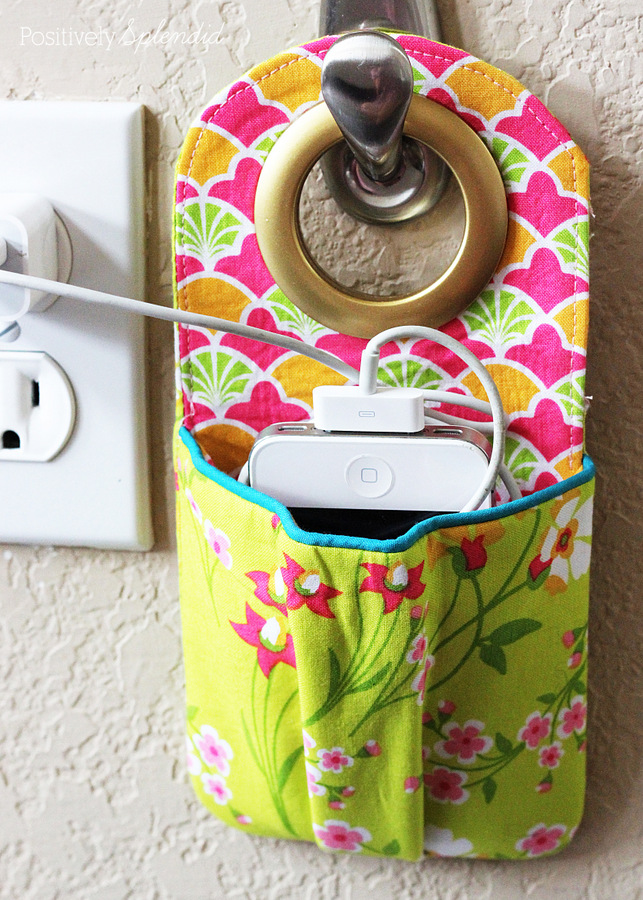
DIY Fabric Phone Charging Station
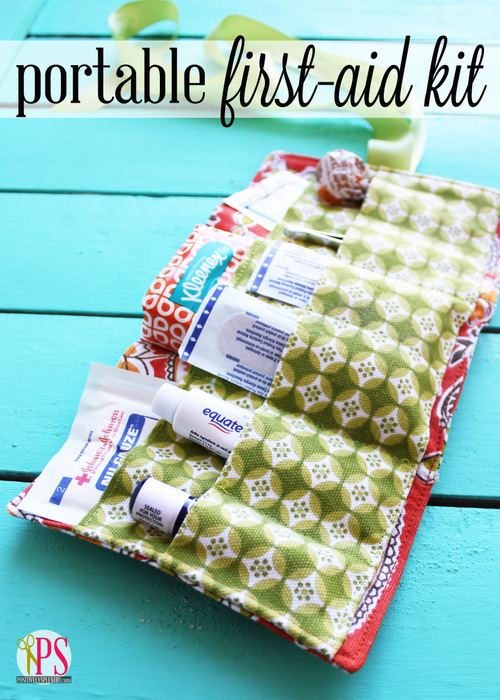
Portable First-Aid Kit Sewing Pattern and Tutorial
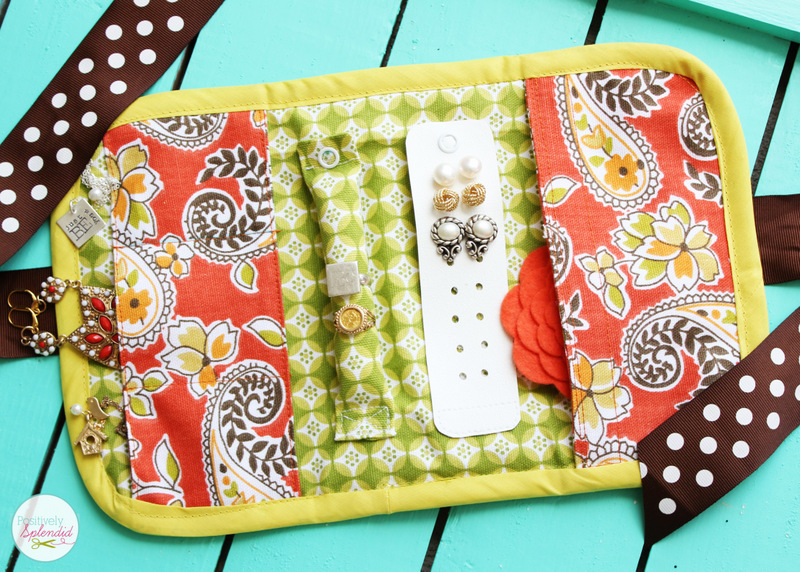
Travel Jewelry Case Sewing Pattern and Tutorial
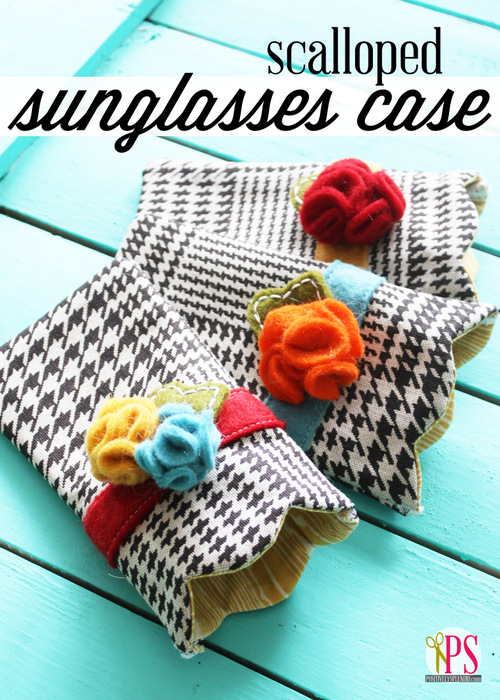
Scalloped Sunglasses Case
Having grown up in a home brimming with sewing notions and paintbrushes, Amy has a deep love for all things creative. On any given day, you’ll find her knee-deep in her latest creative endeavor, with projects ranging from sewing and crafts to home decor and kid-friendly ideas. Amy believes that everyone, regardless of skill level or experience, possesses the ability to create something beautiful, and Positively Splendid was born of her passion for helping others harness their innate creative potential.
LOVELY & COLORFUL TRAVEL MANICURE KIT! Your 12-step tutorial is “spot on” as well as sharp accompanying photos. I love your choice of fabrics, bold flowers & 2 different stripes — all in vivid colors! Your attention to details is impressive. I hope to sew a few to use as gifts for women friends on their birthdays! THANKS for sharing, Amy! Sarah in Minneapolis