Add a functional pop of personality to a plain-Jane chair by stitching up a pocket chair backer with my easy DIY sewing tutorial. These chair backers include a handy pocket for holding anything you like: notebooks and other school supplies in a classroom, coloring books and crayons at a kids’ holiday table, or even homework supplies at a kitchen table. There are so many great possibilities for these, and by using fun stencils and paint from FolkArt, there really are innumerable ways to customize these chair backers to make them your own! Read on for the full tutorial.
I’ve partnered with Plaid to bring this great idea to you today. All opinions are entirely my own.
Pocket Chair Backer Supplies
- 1 yard home decor fabric
- 1/2 yard white canvas fabric
- 1 yard muslin
- 2 yards 2″ wide grosgrain ribbon
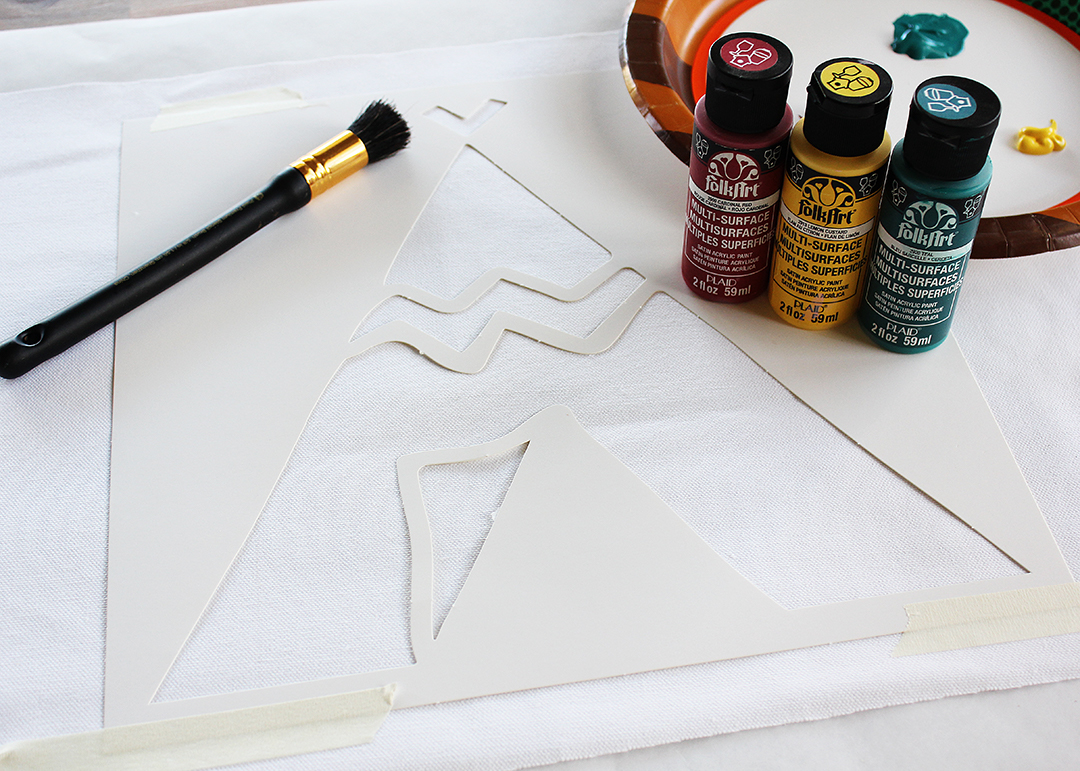
- FolkArt stencils
- FolkArt Multi-Surface paint
- Stencil brush
- Stencil tape
- Coordinating thread
- (4) 1-9/16″ curtain grommets
- Basic sewing supplies: machine, sewing shears, iron, etc. (See my list of must-have sewing tools here)
- Recommended: rotary cutter and mat
First things first, make your cuts. (I recommend using a rotary cutter and mat for this to streamline cutting!)
For each chair backer, you will need:
- 1 home decor fabric piece cut @ 18 x 34″ (for the main body front)
- 1 muslin piece cut @ 18 x 34″ (for the main body lining)
- 1 white canvas piece piece cut @ 14 x 18″ (for the pocket front)
- 1 muslin piece cut @ 14 x 18″ (for the pocket lining)
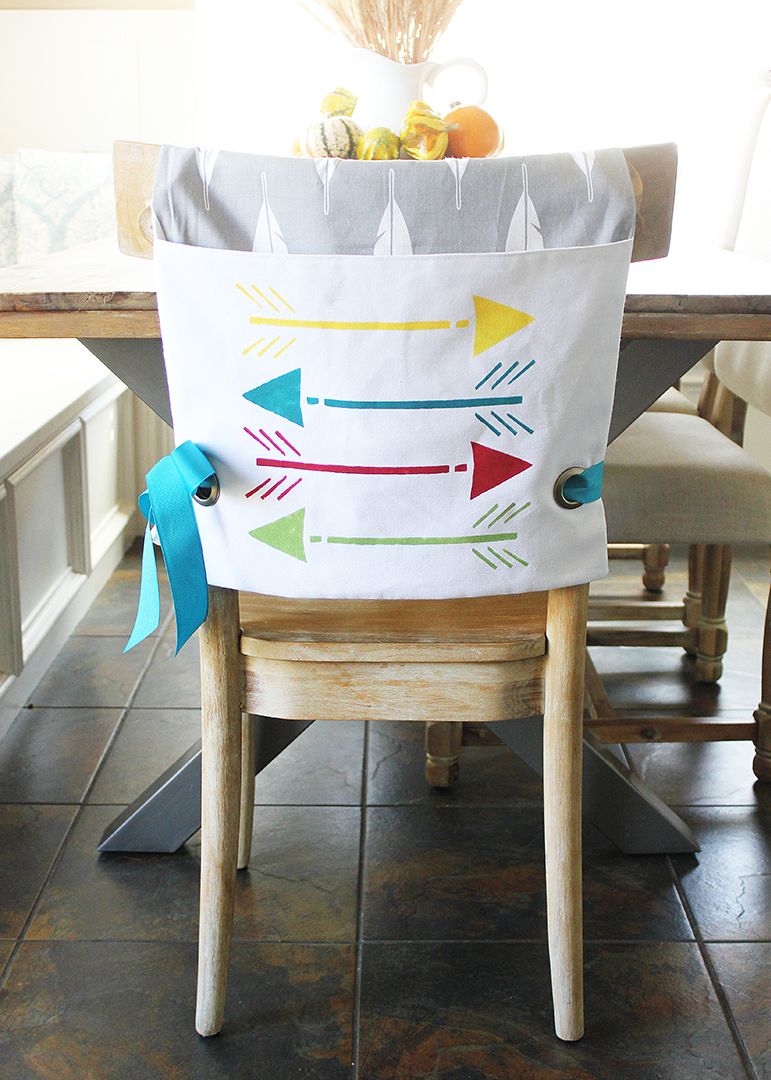
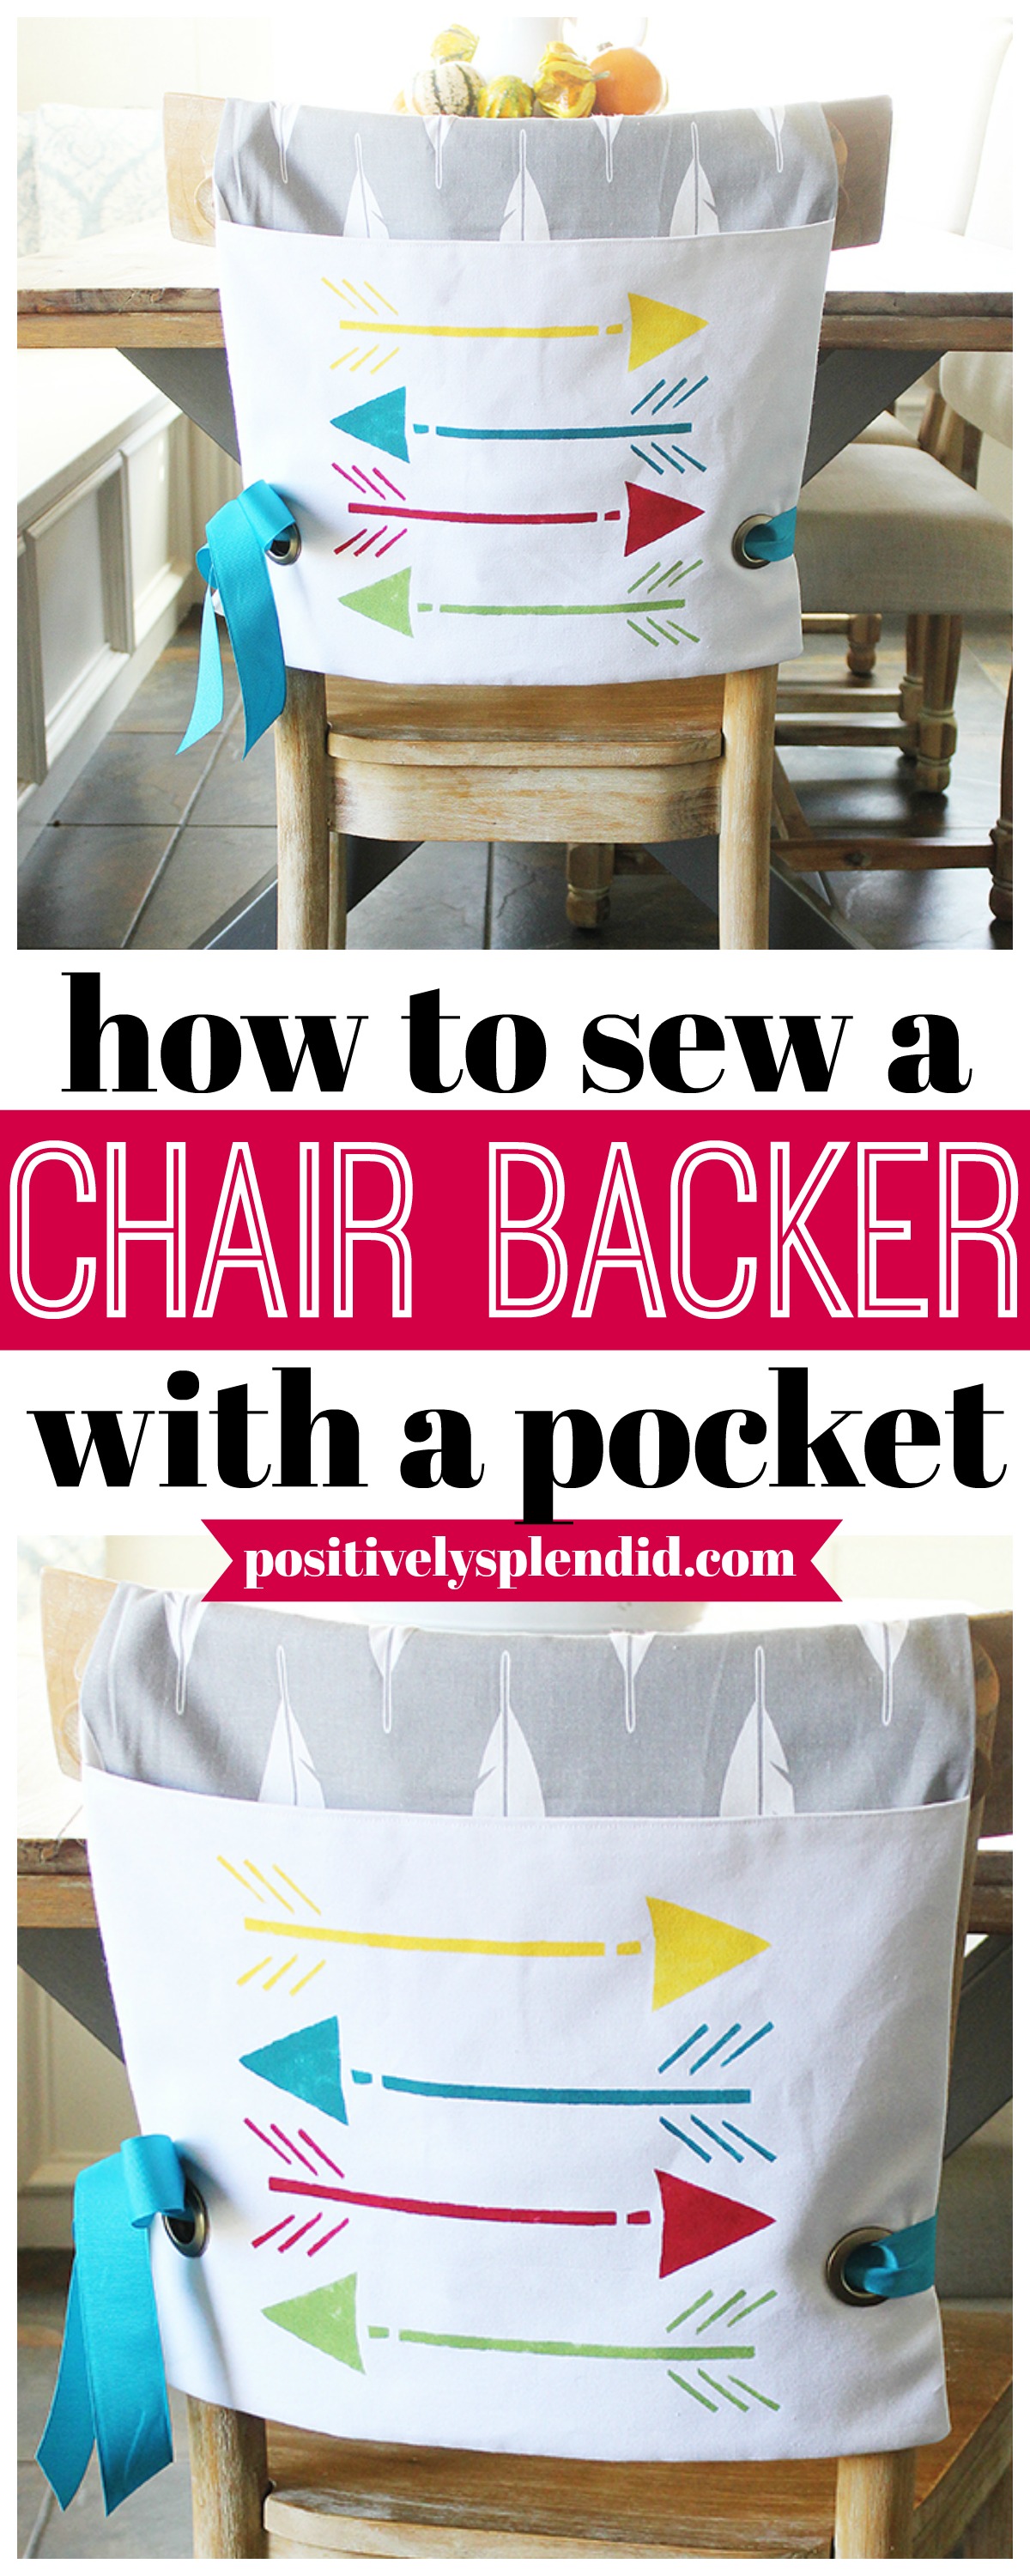
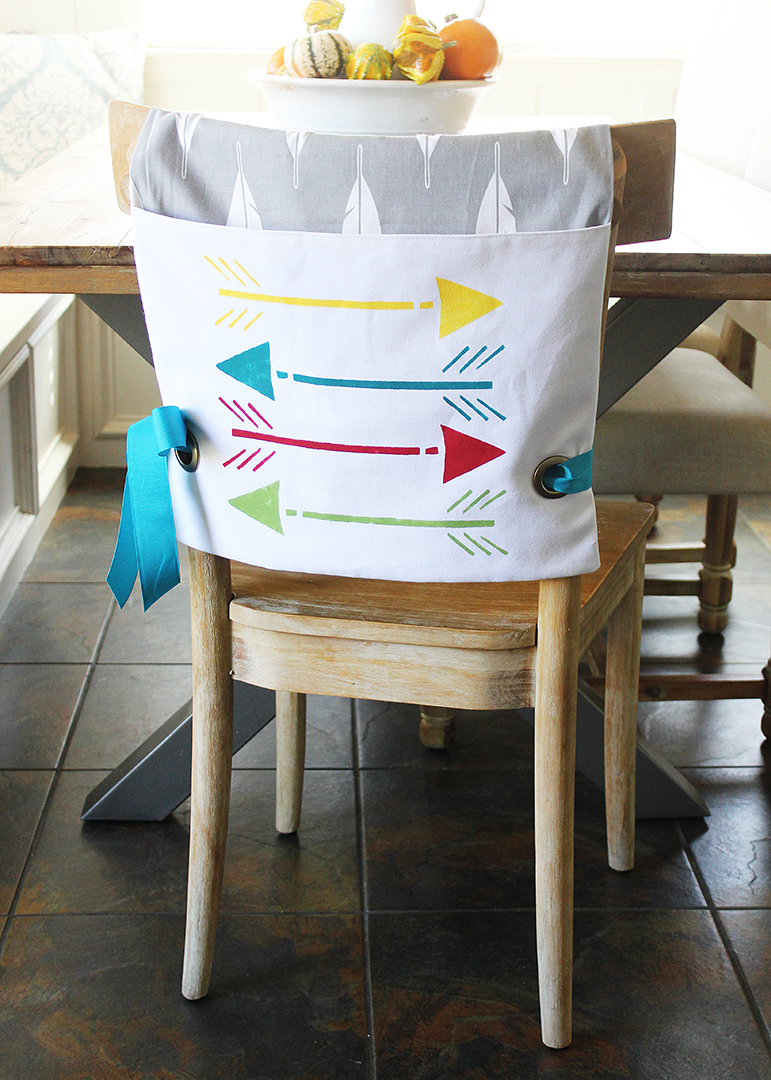
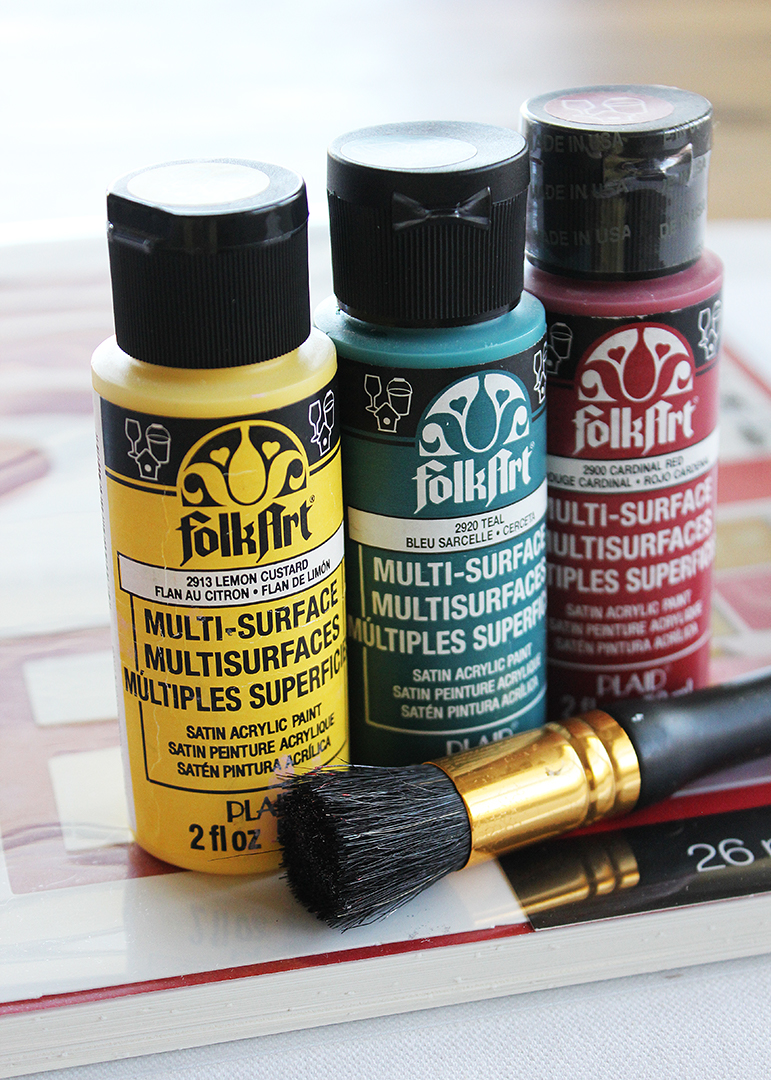
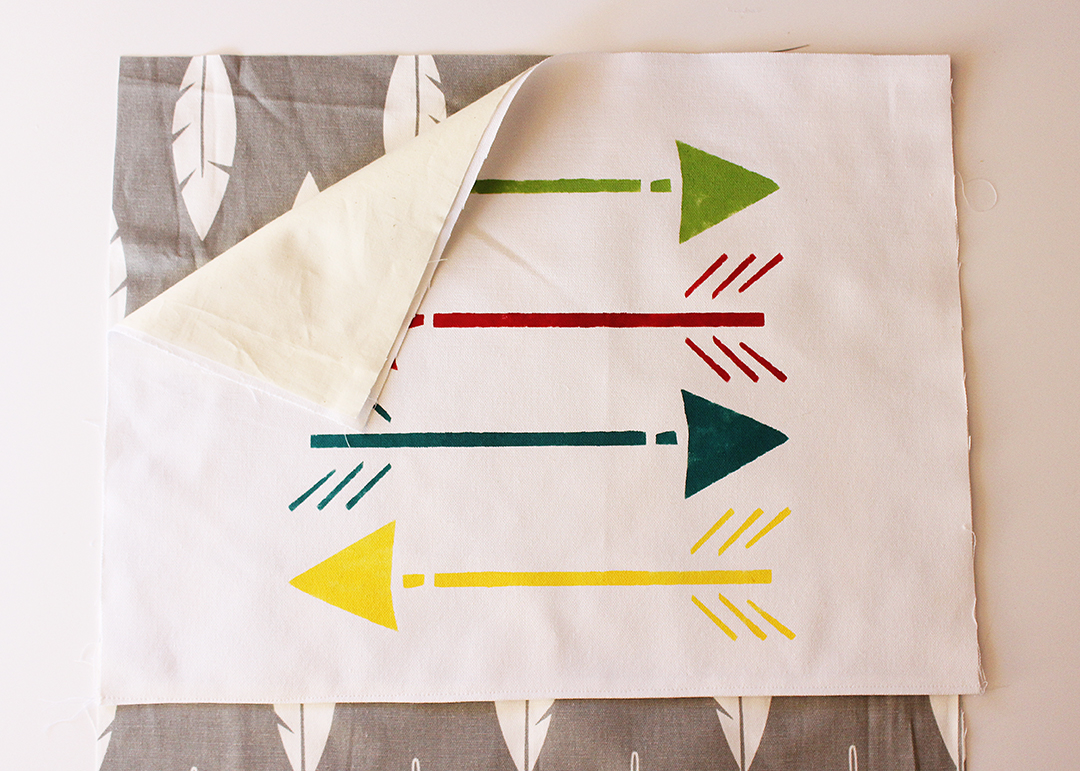
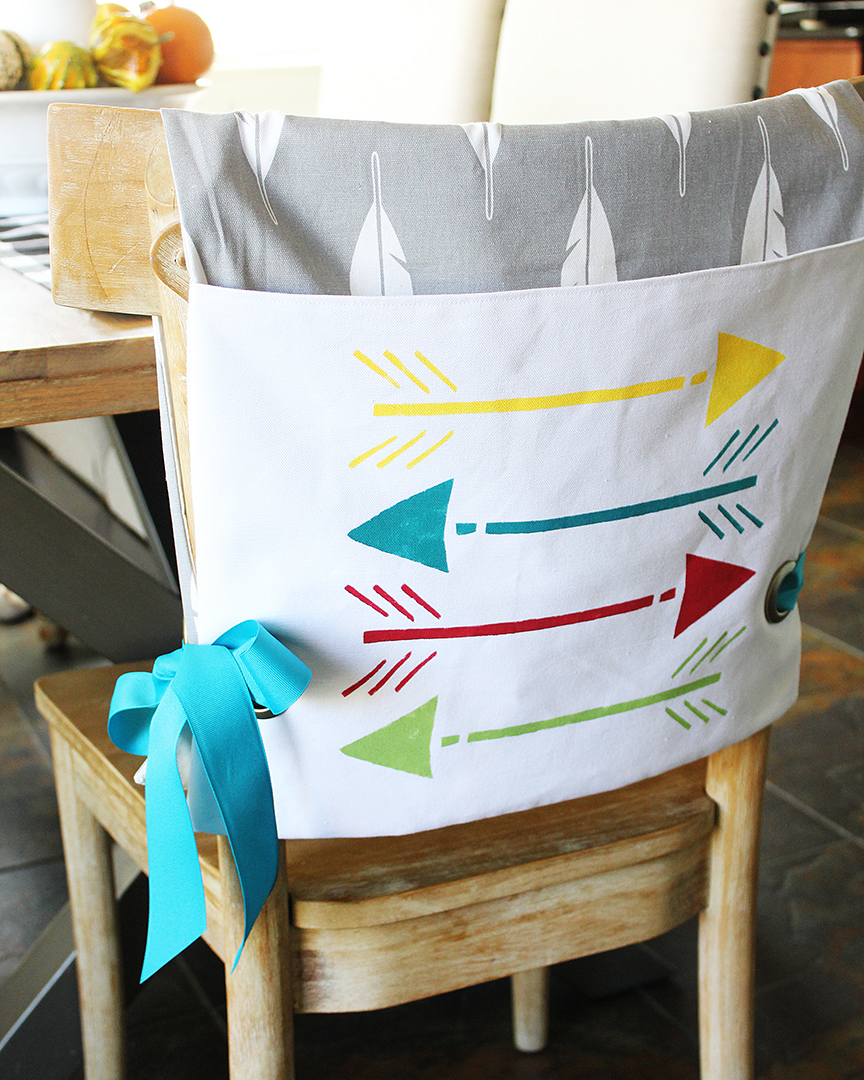
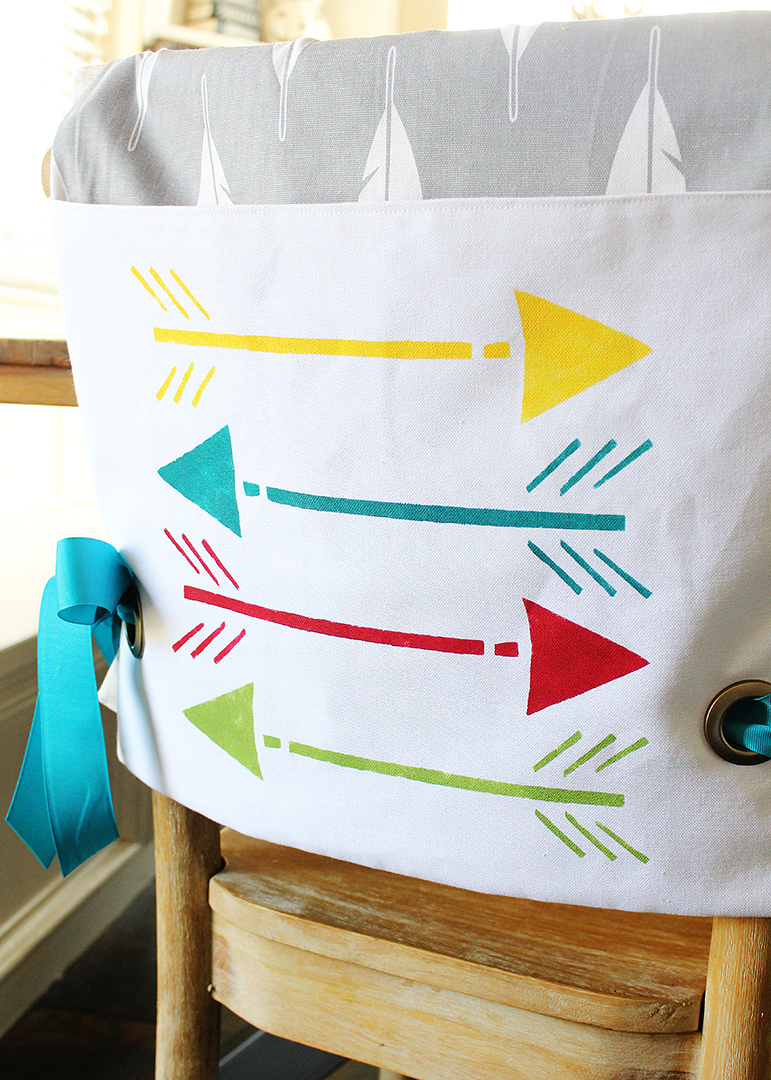
For my chair backer today, I opted to add a fun DIY touch to the front pocket with stenciling. FolkArt Multi-Surface paint is the perfect choice for a project like this, as it is suitable for so many different surfaces including wood, terra cotta, glass, paper, canvas, and–as seen here–fabric. It’s so awesome to have so much functionality in one small bottle of paint, and there are so many beautiful colors to choose from. This paint really is one of my go-to’s, and there is an awesome starter set with 12 great colors available from Amazon that is a great way to build up your craft supply arsenal.
FolkArt has a variety of 12-inch stencil sets that are perfect for using with this particular project, since the designs are perfectly sized for the pocket front. For my chair backers today, I used a teepee and an arrow motif from the FolkArt Modern Variety Pack stencil set. I plan to use my chair backers for the kids’ table this Thanksgiving, and these designs go perfectly with a Thanksgiving theme!
For stenciling, use the stencil tape to secure the stencil design to the center front of the white canvas pocket piece. Make sure to orient the stencil so the top of the design is aligned with one of the long edges of the pocket piece.
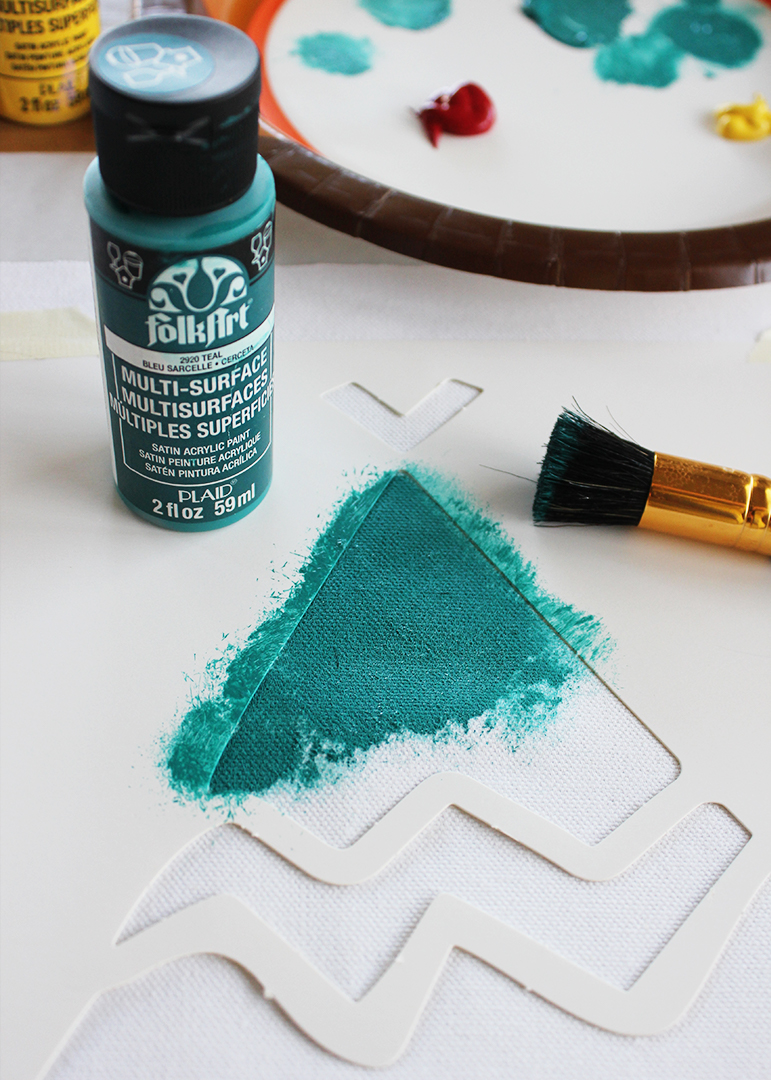
Use the stencil brush to apply paint within the stencil design onto the fabric.
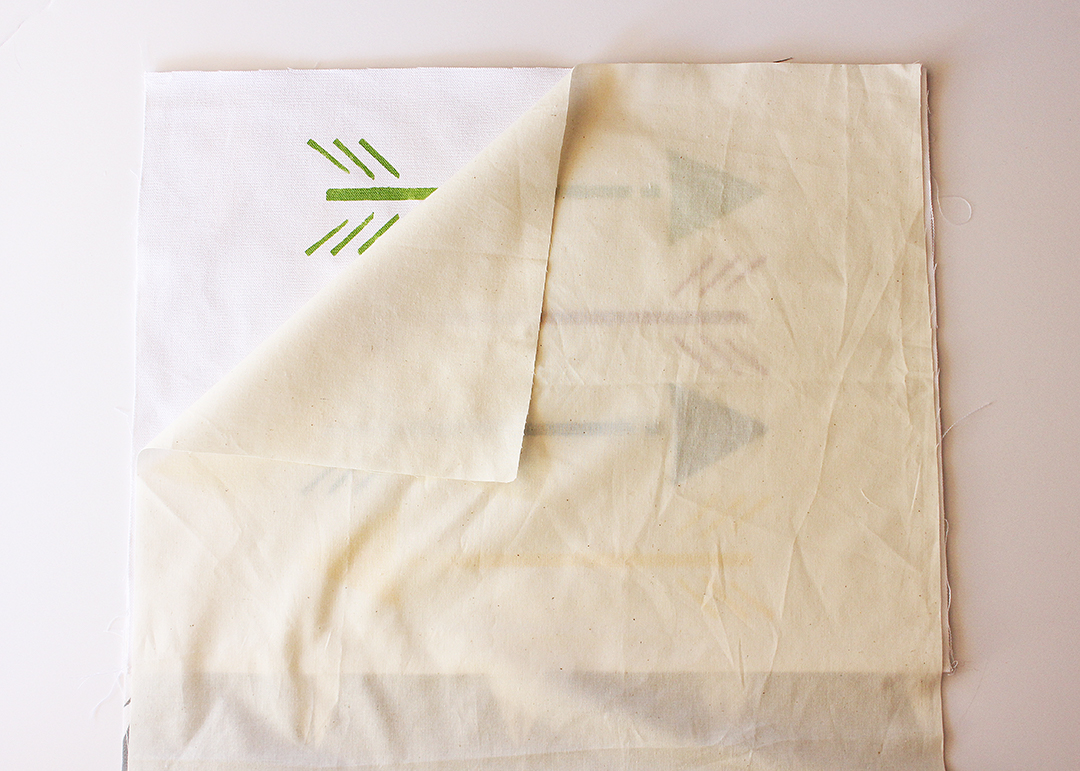
Pro Tip: Make sure not to overload the brush with paint, or else paint might seep under the edges. Instead, load the brush with paint, and then dab the brush onto a paper towel until only a small amount of paint remains in the brush. Apply the paint by dabbing the brush in an up and down motion, instead of brushing from side to side.
When the stenciled design is complete, remove the stencil while the paint is still wet, and set the fabric piece aside to dry completely.
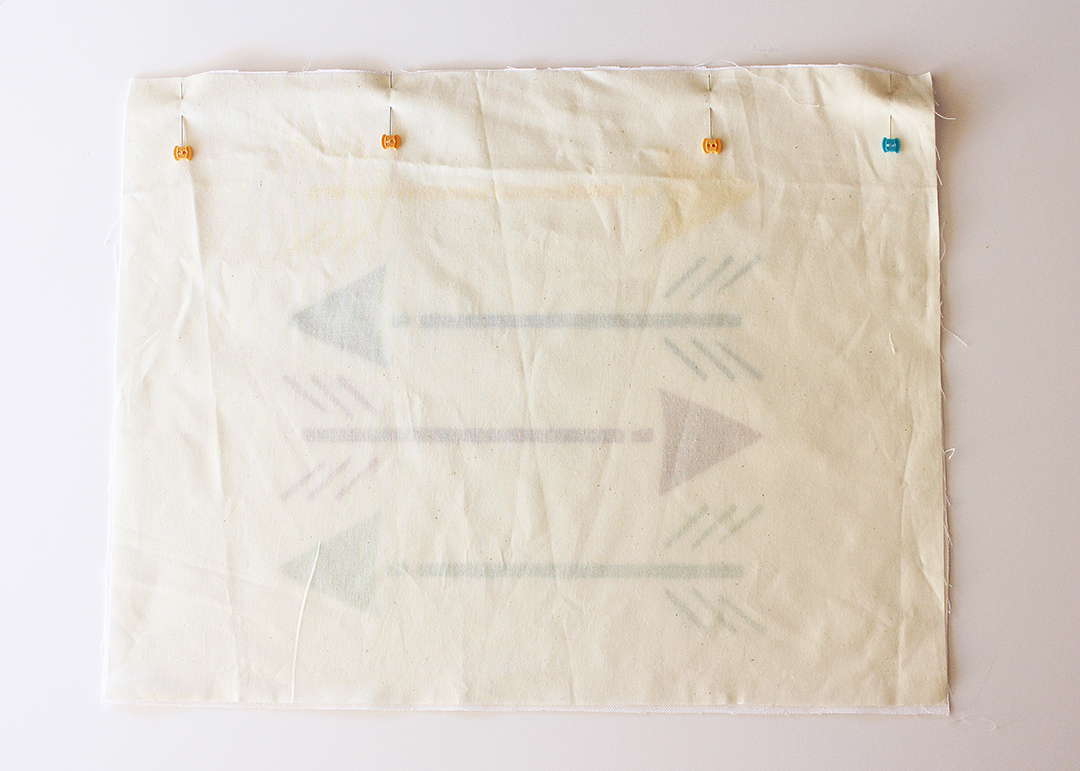
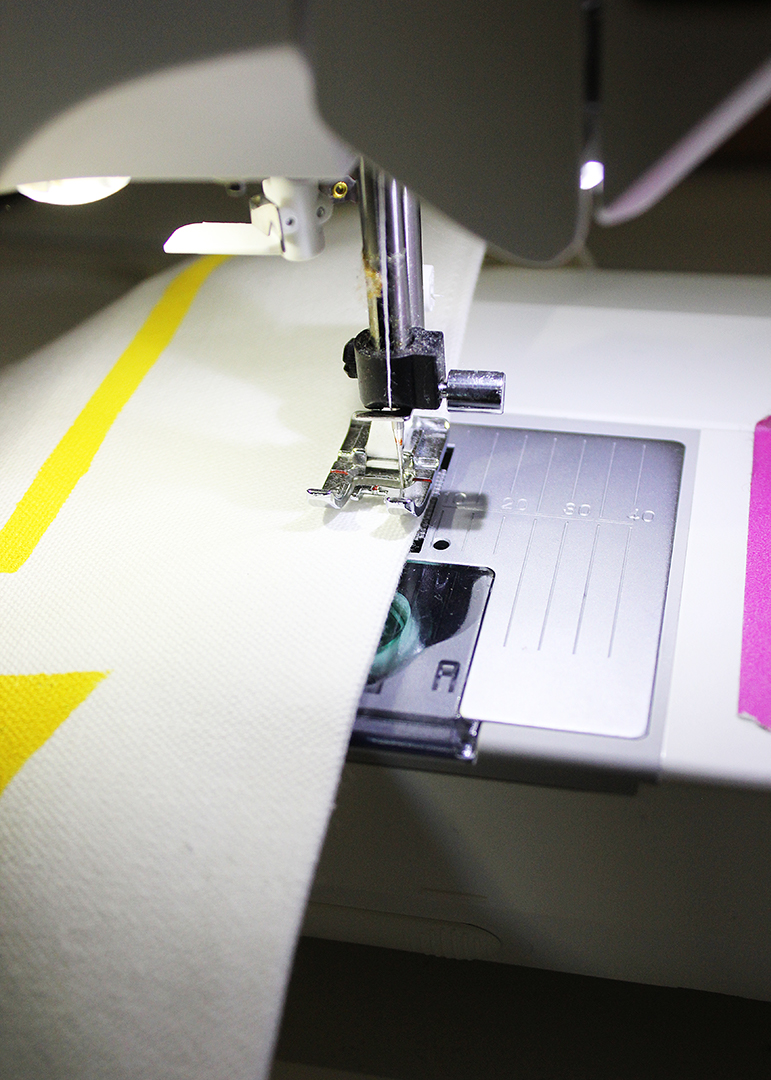
Lay the stenciled pocket piece face up on a work surface. Place the pocket lining muslin piece directly on top of the stenciled front piece, lining up all raw edges. Pin along the top edge (one of the long 18″ edges), as shown. Stitch along this top edge using a 1/4″ seam allowance.
Press the stitched seam open. Fold the piece in half so that the wrong sides are facing and all corners are precisely aligned. Press.
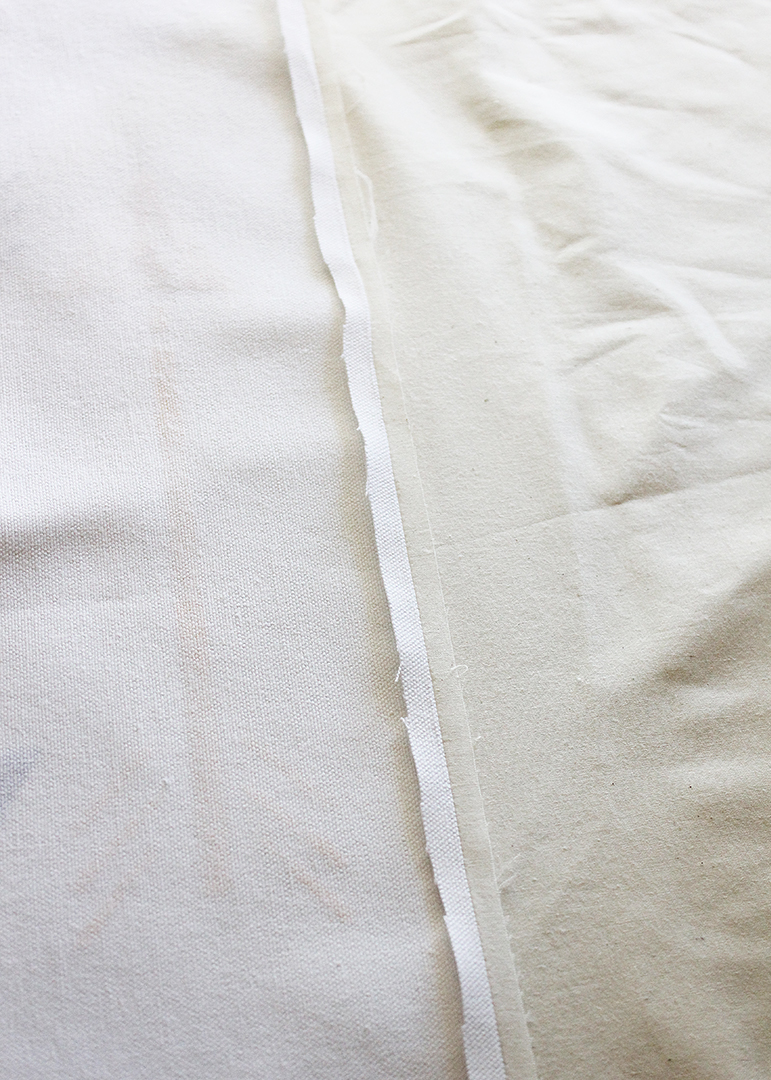
Edge stitch 1/8″ away from the top stitched seam to give the pocket a polished finish.
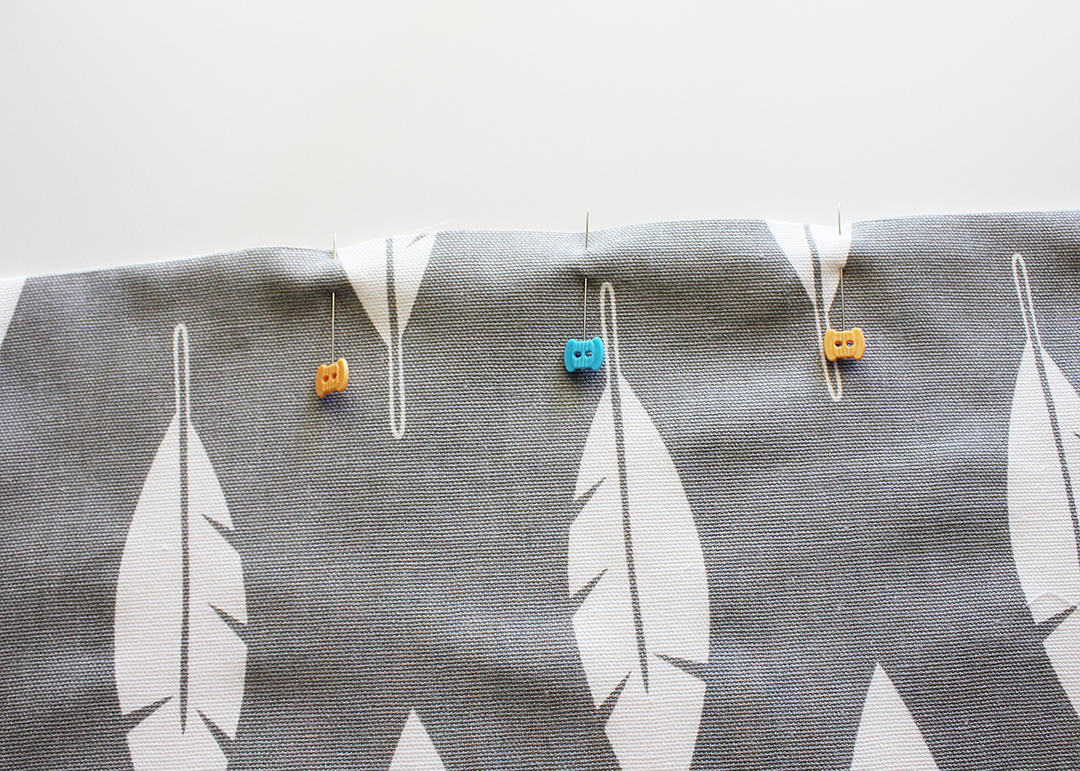
Place the home decor fabric main body piece face up on a work surface. Place the assembled pocket piece face up on top of the main body piece, aligning the long bottom edge and corners of the pocket with the short bottom edge corners of the main body piece.
Place the main body lining muslin piece directly on top of the previous layers so that the 18″ lower edges of all pieces are aligned and all corners and raw edges match up. Pin all the way around the perimeter of the pieces to secure. Stitch all the way around the perimeter of the pinned pieces, starting along the short (18″) end of the piece without the pocket. Leave a 4″ opening unstitched for turning. Clip the corners. Turn the piece right-side out through the opening, using a point turner to make sure the corners are totally turned. Press.
Pin the opening closed, and stitch 1/8″ from this edge to close the opening.
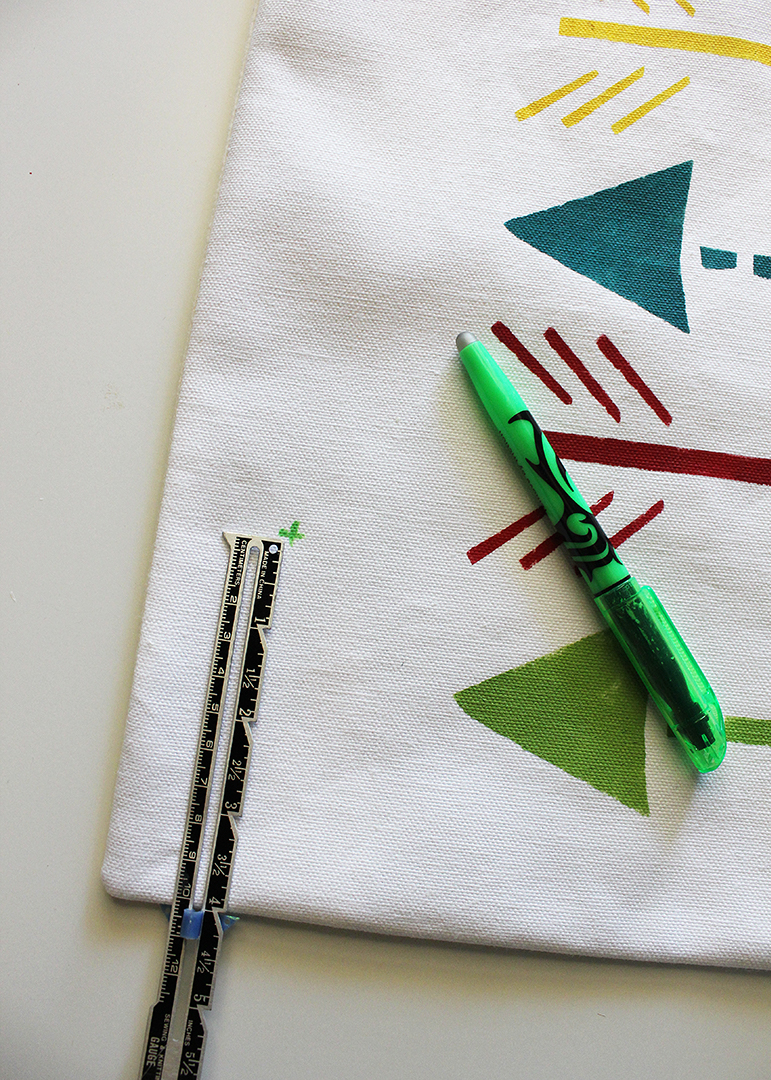
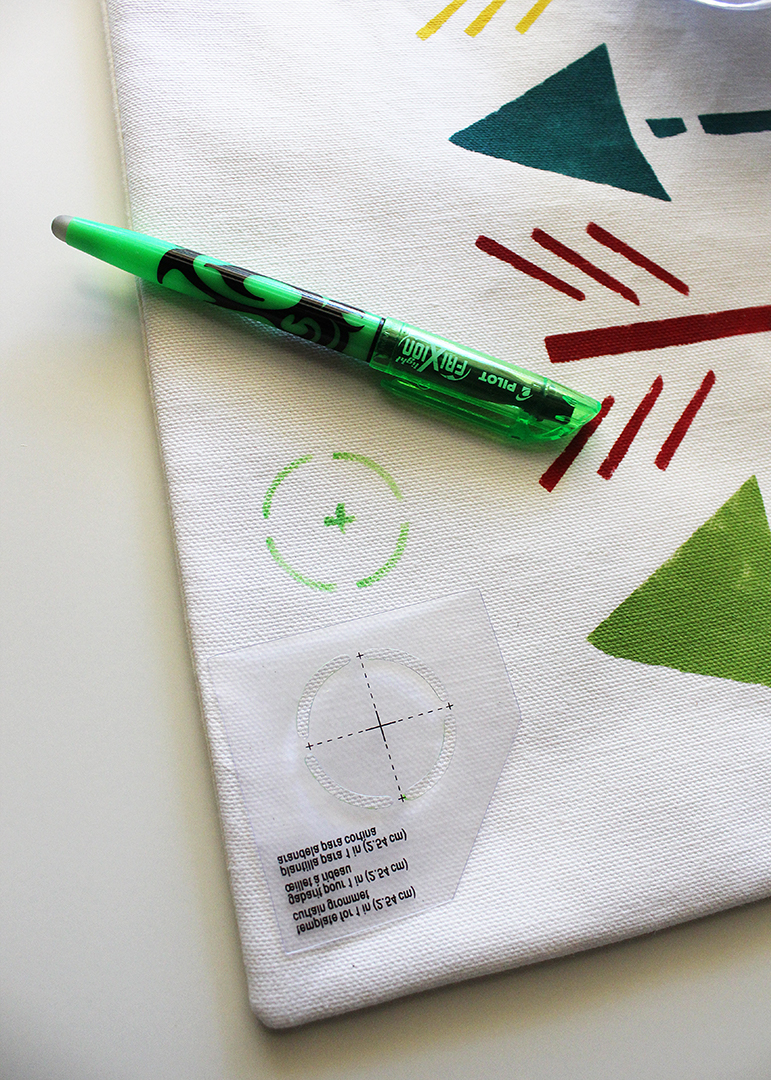
Working at each corner of the piece, use a seam gauge to measure up 4″ from the short edge and over 1.5″ from the long edge. Make a mark where these two measurements intersect, as shown.
Center the placement guide from the grommet set over this mark, and create a circle to designate the positioning of the grommet.
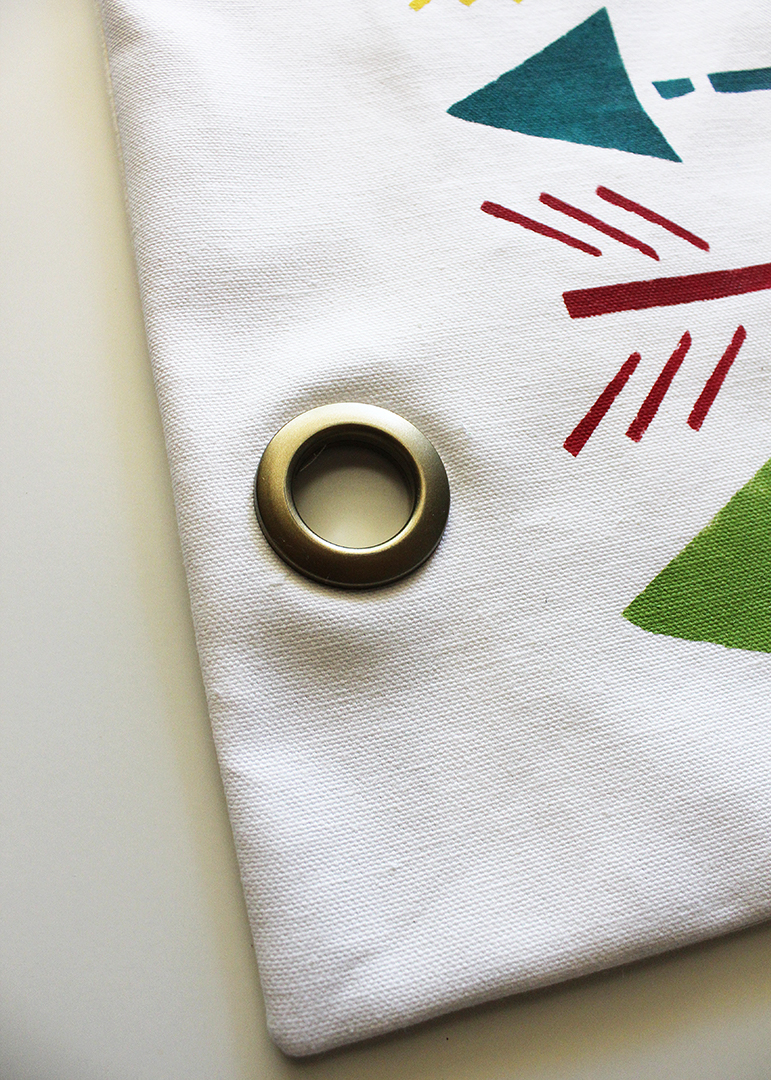
Set a grommet into this space according to the grommet package instructions. Repeat this same process at each of the remaining corners, to set a total of 4 grommets.
Fold the chair backer in half right side out so that all of the corners are aligned. Place the folded chair backer flat on a surface so that the folded edge is on top. Feed the end of the ribbon piece down through the grommet on the left edge of the pocket side, then feed the ribbon up through the grommet on the right edge of the pocket. Flip the chair backer over, and feed the ribbon end down through the grommet on the left edge of the this side and then up through the grommet on the right edge of this side. When finished, you will have two long tails of ribbon that extend from the left side of the chair backer.
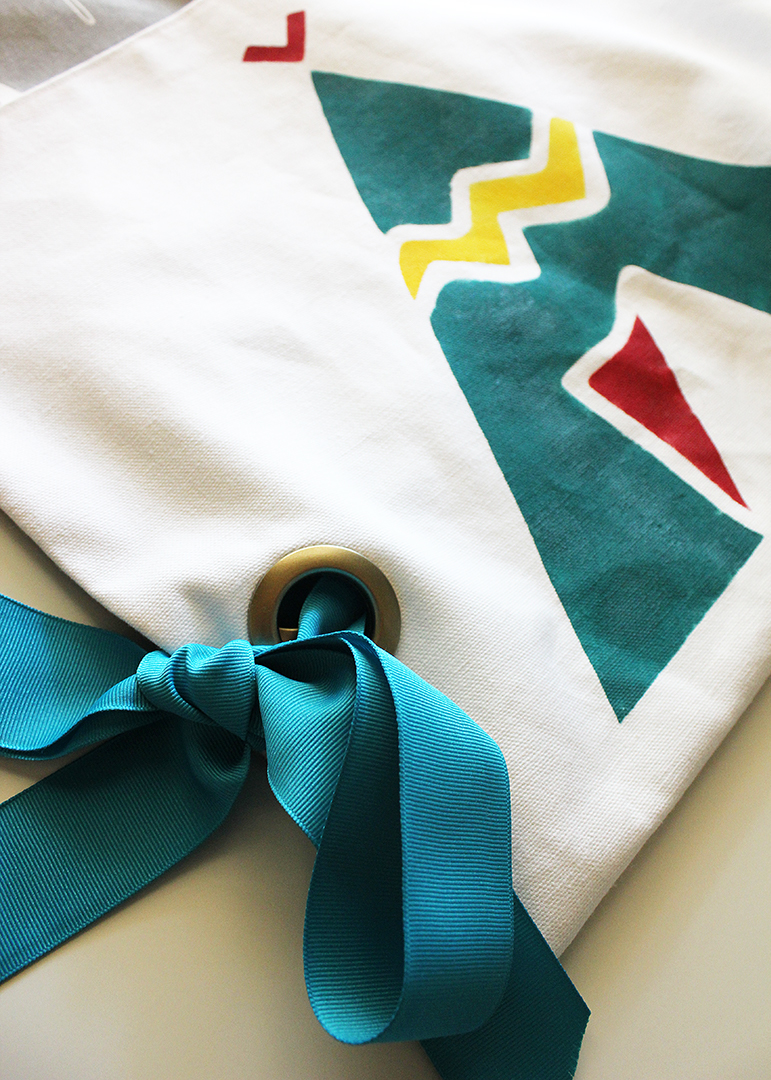
Slip the chair backer over the chair back so that the pocket faces outward, and use the tails of ribbon to tighten. Tie the ribbon ends in a bow to secure, trimming off any excess length of ribbon as needed.
Your chair backer is ready to go!
This chair backer pocket is perfect for holding items like books, crayons and more. These are great for classrooms, or for using at kids’ place settings during big holiday meals like I plan to do with these at Thanksgiving this year.
I love that fact that stenciling enables you to really add tons of personality to these. You could even stencil on a monogram or name for an even more personalized touch.
My fellow Plaid Creators have been hard at work creating fun projects that they plan to use on their Thanksgiving tables this year. There are so many great ideas for place card holders, centerpieces, napkins, and even the kids’ table! I hope you’ll stop by each of their places to be inspired for your own Thanksgiving gathering!
DON’T FORGET TO FOLLOW PLAID ON PINTEREST, FACEBOOK, INSTAGRAM AND YOUTUBE FOR PLENTY OF OTHER CREATIVE IDEAS TO KEEP YOU CRAFTING!
Having grown up in a home brimming with sewing notions and paintbrushes, Amy has a deep love for all things creative. On any given day, you’ll find her knee-deep in her latest creative endeavor, with projects ranging from sewing and crafts to home decor and kid-friendly ideas. Amy believes that everyone, regardless of skill level or experience, possesses the ability to create something beautiful, and Positively Splendid was born of her passion for helping others harness their innate creative potential.