Tip #1: Fuss-Free Ruffles
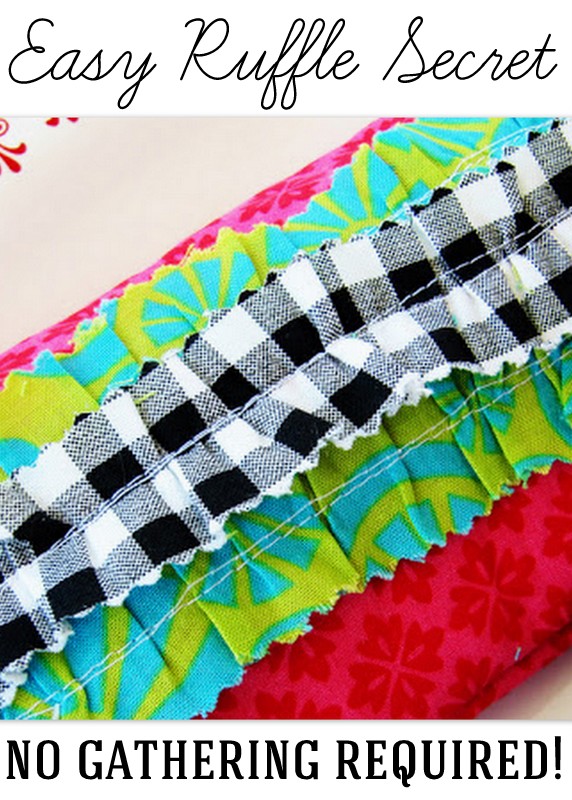
Gathering stitches. Zig-zag stitches and dental floss. When it comes to creating ruffles for projects, there are a number of different techniques out there, but all of them have one thing in common: they require time I sometimes frankly don’t have at my disposal. Imagine my delight, then, when I came across this post a while back on Girl. Inspired. (I totally *love* her blog, by the way.) Aren’t those party hats adorable? And don’t those little ruffles make them truly special? When I saw how she did those ruffles in a way that used only the stitching power of her machine, I was truly inspired. Clever, clever!
The whole process couldn’t be simpler…
- Cut strips of fabric to your desired width.
- Set your machine’s tension to its highest setting and the stitch length to the longest possible length.
- Stitch down the center of the strips. They will magically ruffle as you go!

Admittedly, this technique probably wouldn’t be ideal for garment construction, because adjusting the ruffles as needed might be a challenge. However, for little projects where precision isn’t of the utmost importance, I will be doing ruffles in this manner from here on out. Thanks, Stef!
Tip #2: Faux Rolled Hems
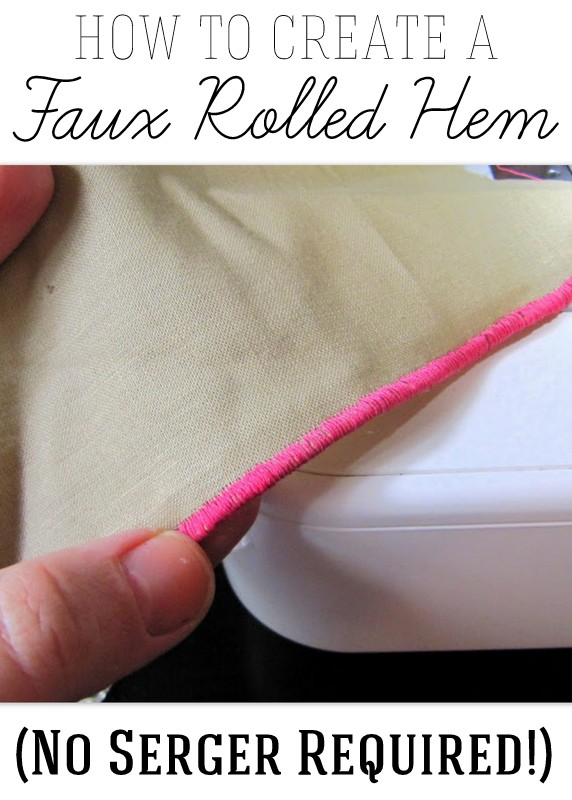
Using a serger to finish raw edges with a rolled hem is a true sewing time-saver. What to do, though, when you don’t have a serger? The answer: the Satinedge Foot made by Creative Feet.
Once you have purchased your foot, read up on how to attach it to your machine in the instruction booklet that comes with your foot. The booklet will also detail how to adjust the little bar on the inside of your foot to enable you to stitch exactly along the outer edge of your fabric. (The Satinedge foot is very similar to an overcast foot that comes with many sewing machines, but after experimenting with my overcast foot, I found the Satinedge Foot to provide a much better result.)

- Line up the inner bar of the foot precisely with the unfinished edge of the fabric.
- On your machine’s zig-zag setting, set the stitch width to 5 mm and the length to .2 mm and the thread tension to about 2. Allow the foot to guide the fabric through as you stitch along the edge of the fabric. It might be necessary to pull just a bit on the back end of the fabric to ensure it glides through evenly as you sew.


5 Simple Tips to Improve Your Sewing
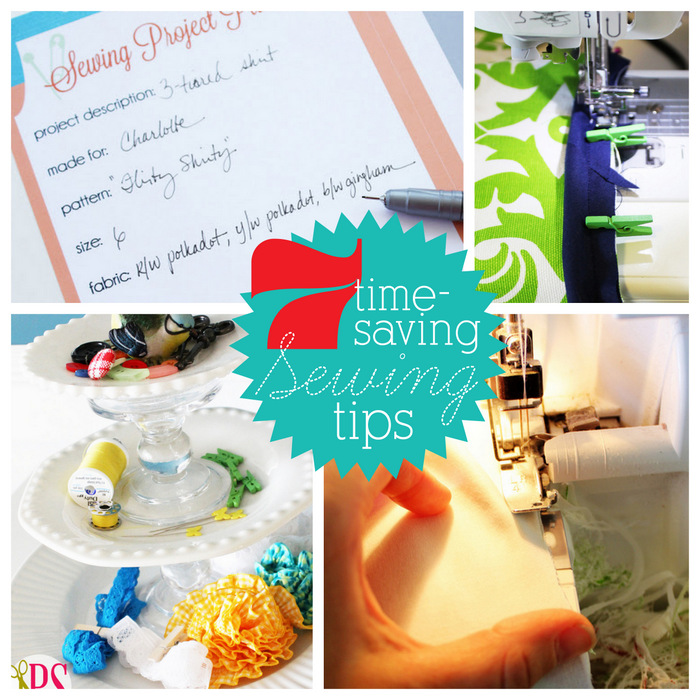
7 Time-Saving Sewing Tips
Having grown up in a home brimming with sewing notions and paintbrushes, Amy has a deep love for all things creative. On any given day, you’ll find her knee-deep in her latest creative endeavor, with projects ranging from sewing and crafts to home decor and kid-friendly ideas. Amy believes that everyone, regardless of skill level or experience, possesses the ability to create something beautiful, and Positively Splendid was born of her passion for helping others harness their innate creative potential.
Thanks for the info about this company! I am always willing try new feet on my machine! Most sewing machine makers now make a rolled hem foot, though it doesn’t look precisely like what you see on a serger. Anther tip for doing a rolled hem is a thread called Wooley Nylon. It is filmy looking, but when you use it, it gives a more proffesional look
Aw, Amy, thanks for the feel-goods today!! You’re so sweet! I’m excited that you got a serger!!! It took me several months before I had enough guts to pull mine out of its box, but it was pretty easy to use once I tried it and the speed with the rolled hem capability is fabulous!!!! However, I have recently been thinking of trying to expand my horizons with new feet for my sewing machine. Thanks for the new resources!
I’ve been thinking of you trying to show your house and move so far. Hopefully you’re moving closer to your mom!!??!! Sometimes the most difficult transitions settle into the best changes overall! I hope the process goes quickly and relatively smooth for you!
xoxo,
Stef
These tips are fabulous! Congratulations on the serger- that’s so exciting! I’ll be linking to this.
Great tips!
Those are great tips! I use that one about the ruffles and it is wonderful. I need to try that binding idea. Wow!
I hope you are having a great week. Can’t wait to see what you have in store for us tomorrow!
xox
Jen
Thanks Amy! I linked to this on our blog today. Send us your address, we have a little sumthin’ sumethin’ for you :o)
Thanks for the tips! I long for a serger but do pretty ok with my machine. And I love me some flylady! 🙂
Hey, I can’t view your site properly within Opera, I actually hope you look into fixing this.
Look at that!!! Too cool! I’ve always wondered about that foot, what good it does with that bar!? Can’t wait to play around with it.