Looking for a fun way to display Christmas cards you receive from friends and family? This Christmas tree DIY Christmas card holder is fun to make, and the perfect way to display cards to enjoy all season long! I’ve teamed up with Dremel to bring this project tutorial to you today. Continue reading for all the details!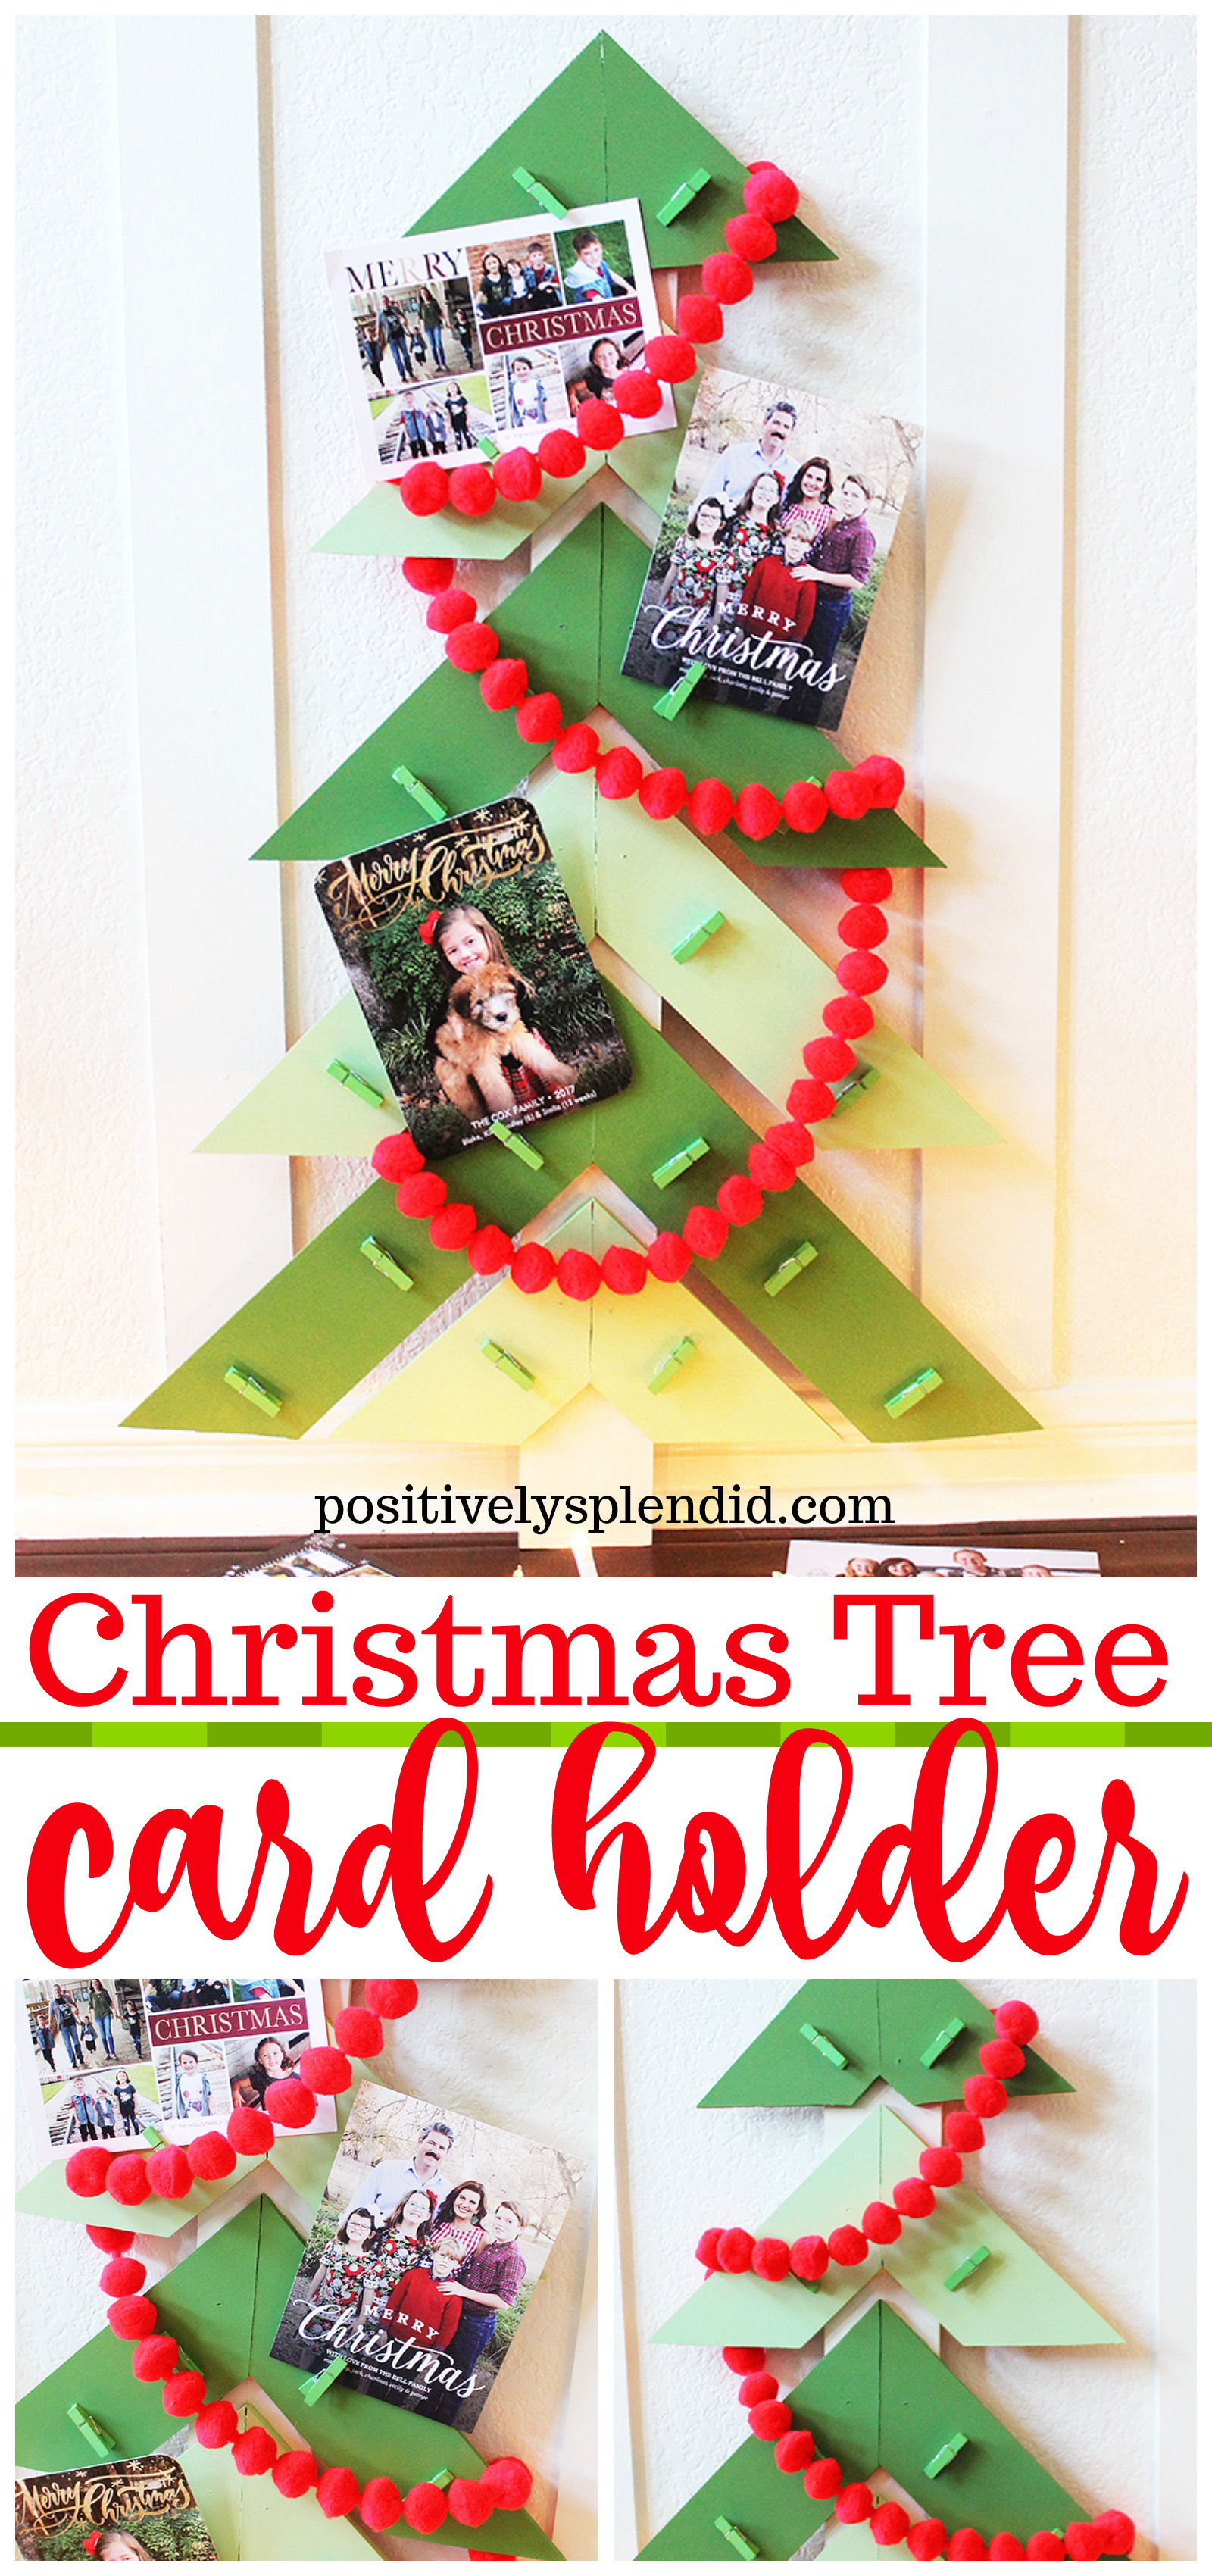
This is a sponsored post written by me for Dremel. All opinions are entirely my own.
Christmas Tree DIY Christmas Card Holder Supplies
- Dremel Saw-Max
- 1/4″ MDF
- Clear ruler
- Sand paper
- Tack cloth
- Liquid Nails
- Acrylic craft paint (Colors used here: FolkArt Multi-Surface in Vintage White, Fresh Cut Grass, Soft Apple)
- 3/8″ brad nails
- Brad nailer
- Paint brushes
- E-6000 Adhesive
- 20 miniature clothespins
- Sawtooth picture hanger
List contains affiliate links
To begin, make all of your cuts. This project is made so simple with the help of my handy Dremel Saw-Max. I truly LOVE this tool! With a blade to cut MDF/wood and plastic and another to cut metal, there really is no limit to the creative ways you can put this tool to good use! I don’t know how I ever lived without it.

Cuts needed for this project:
- 2 branch pieces @ 3×7″
- 2 branch pieces @ 3×9″
- 2 branch pieces @ 3×11″
- 2 branch pieces @ 3×13″
- 2 branch pieces @ 3×15″
- 2 branch pieces @ 3×8″
- 1 trunk piece @ 3×30″
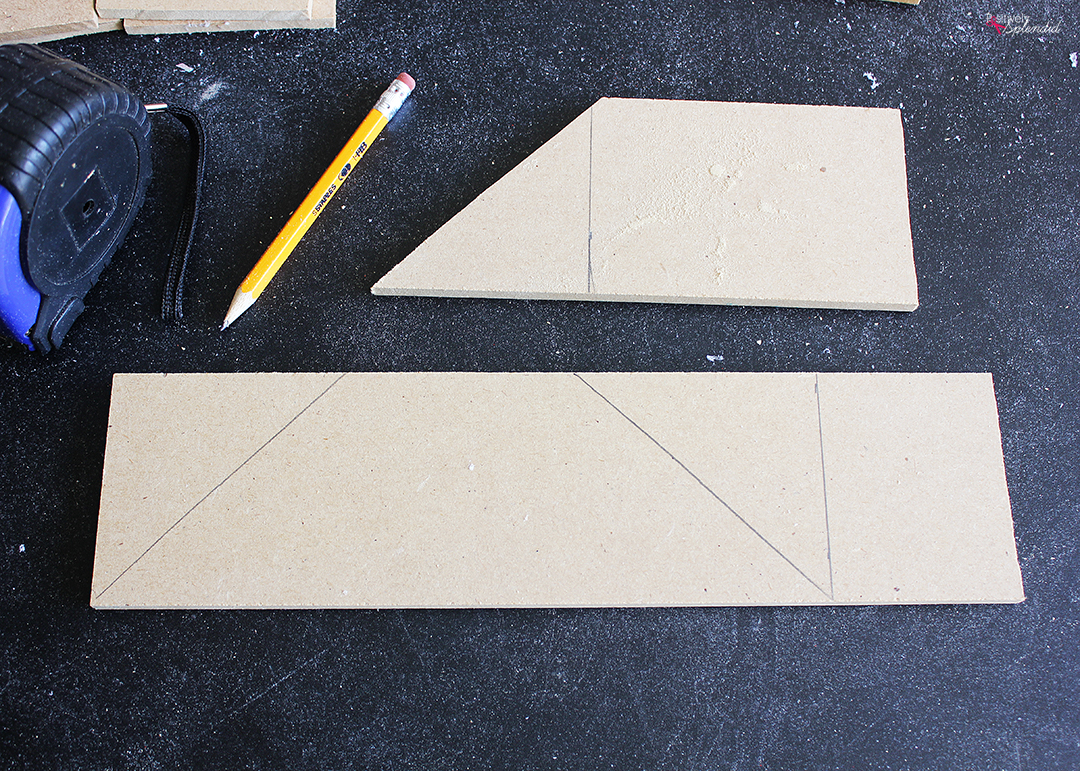
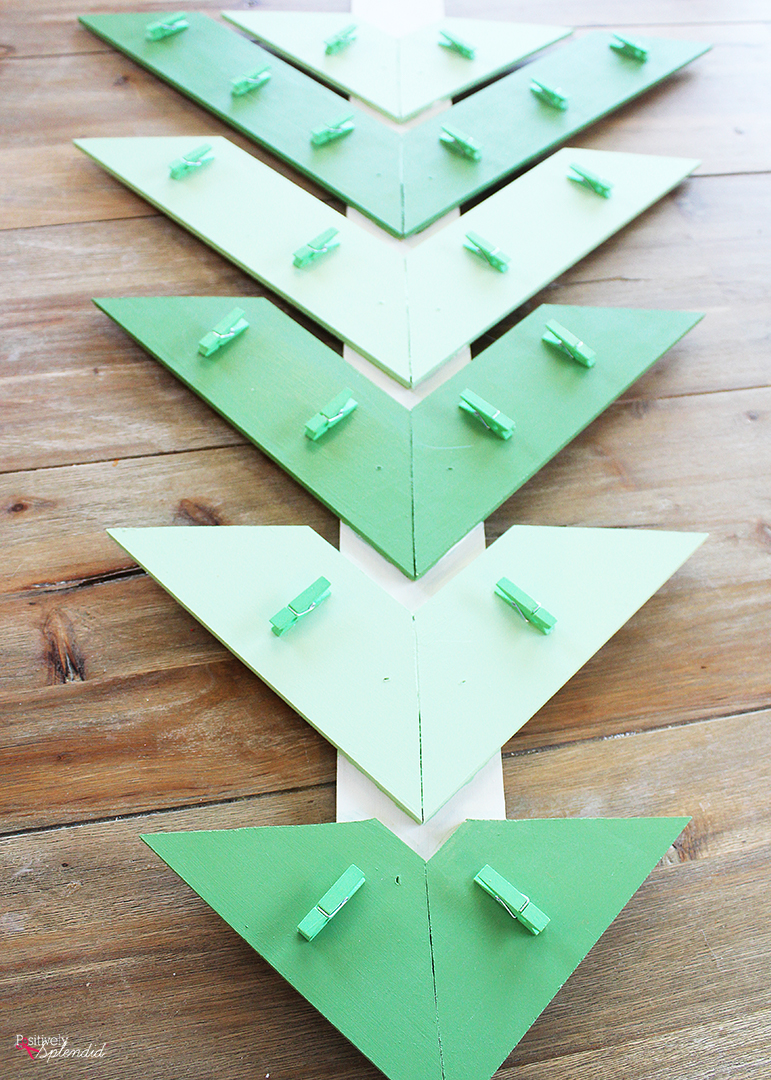
To give the finished card holder the shape of a Christmas tree, cut each short end of the branch pieces at opposing 45-degree angles. To precisely measure those angles, I actually grabbed my clear ruler from my sewing cutting mat. It worked great for the job! The bottom piece pictured below shows the marks I made with my pencil and ruler to designate my cutting lines before trimming each with my Saw-Max.
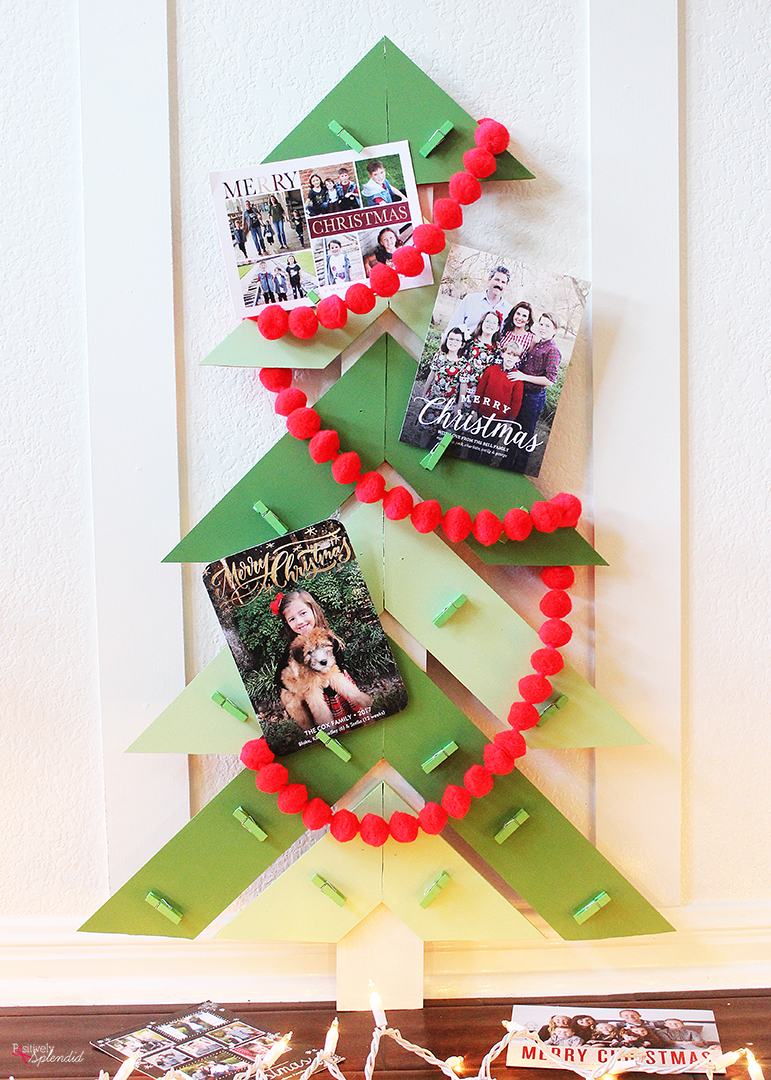
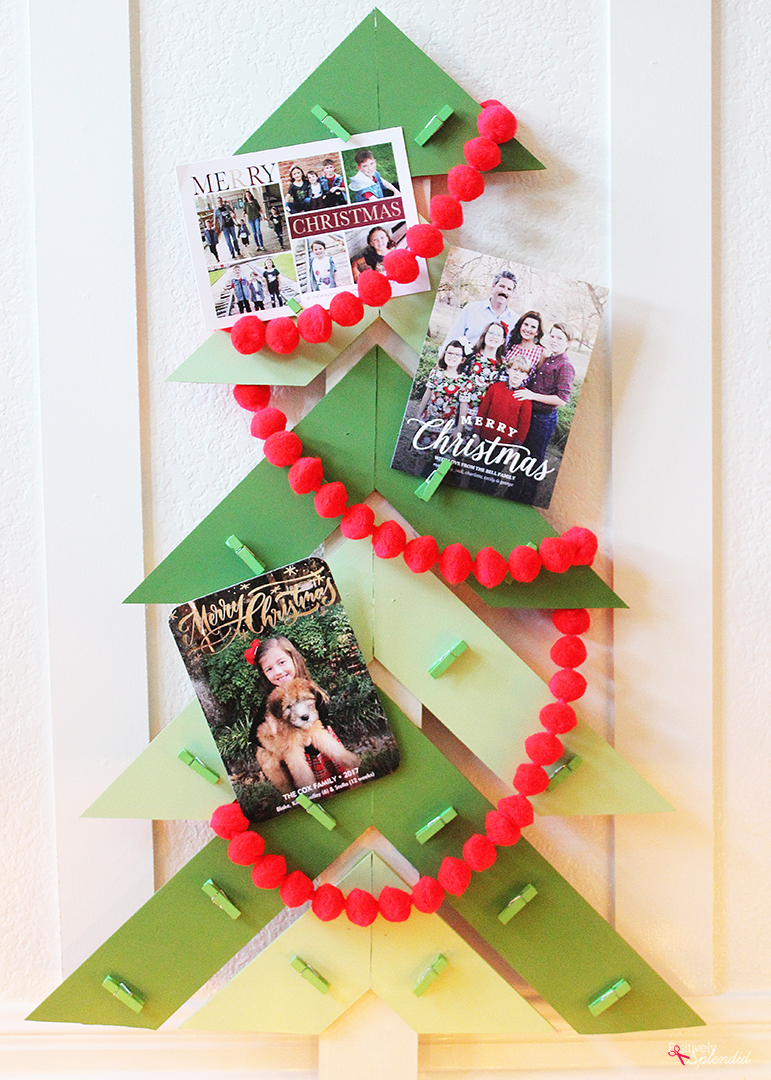
Once all of the pieces are cut, lay the center trunk piece on a flat surface, and then arrange the branch pieces so they join precisely at the center of the trunk piece, leaving 1/2″ between each set of adjoining branches. The 7″ pieces will be at the top of the trunk, followed by the 9, 11, 13, and 15″ pieces. The 8″ pieces will fit just beneath the 15″ branches, as seen below. Sand smooth any rough edges and wipe clean with a tack cloth.

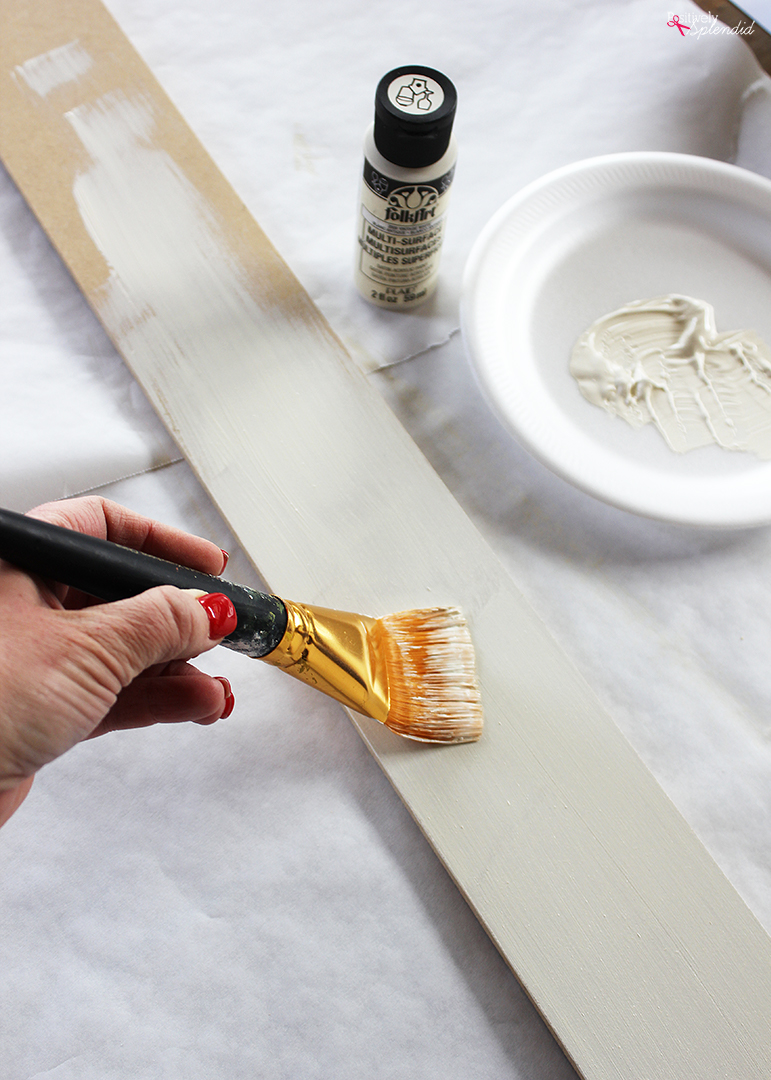
Use a brush to paint the trunk piece white, and each of the branch pieces green. (I used alternating green shades for each set of branches.) Allow the paint to dry completely.
Affix the branches to the trunk with the Liquid Nails, and then further secure with a brad using the brad nailer. If desired, fill the nail holes with wood filler and allow to dry completely.
Note: My branch pieces below are unpainted, but after completing the project, I discovered that painting all of the pieces beforehand made it much easier to get into all of the nooks and crannies!

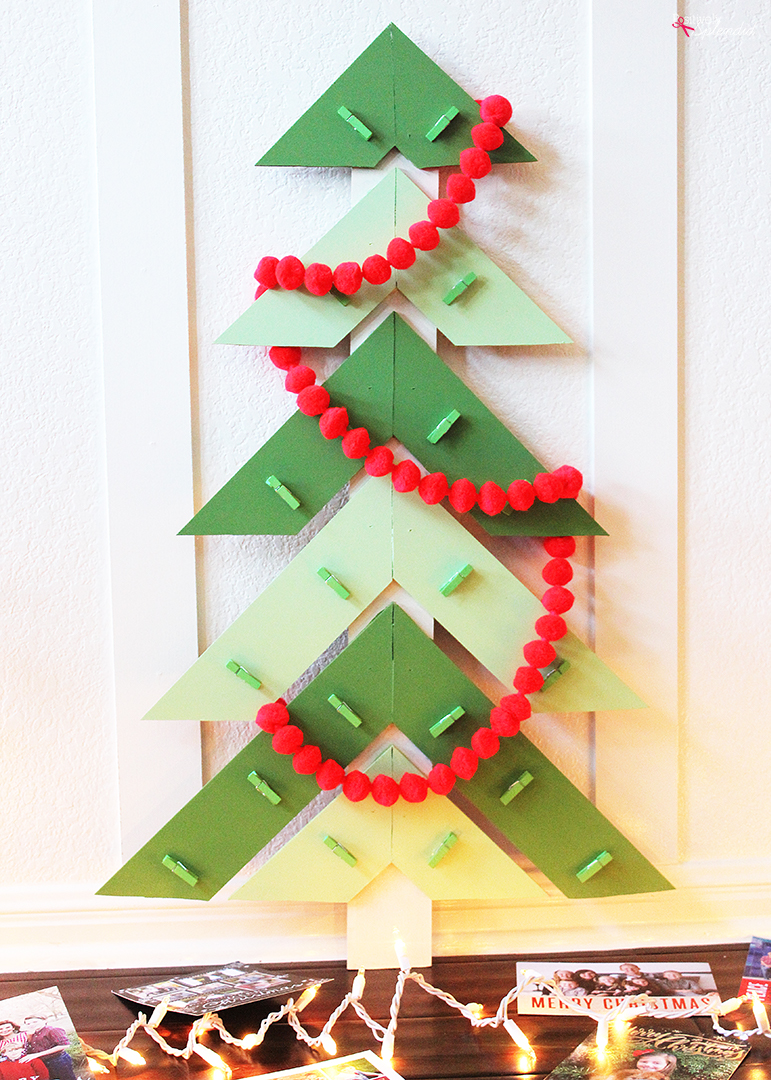
Apply another coat of green paint to the branches with the brush. Allow to dry completely before affixing the miniature clothespins to the branches using the E6000 in the configuration below. Note: My clothespins came in the green shade seen here, but if you are working with plain wood clothespins, you might want to paint each one green before this step.
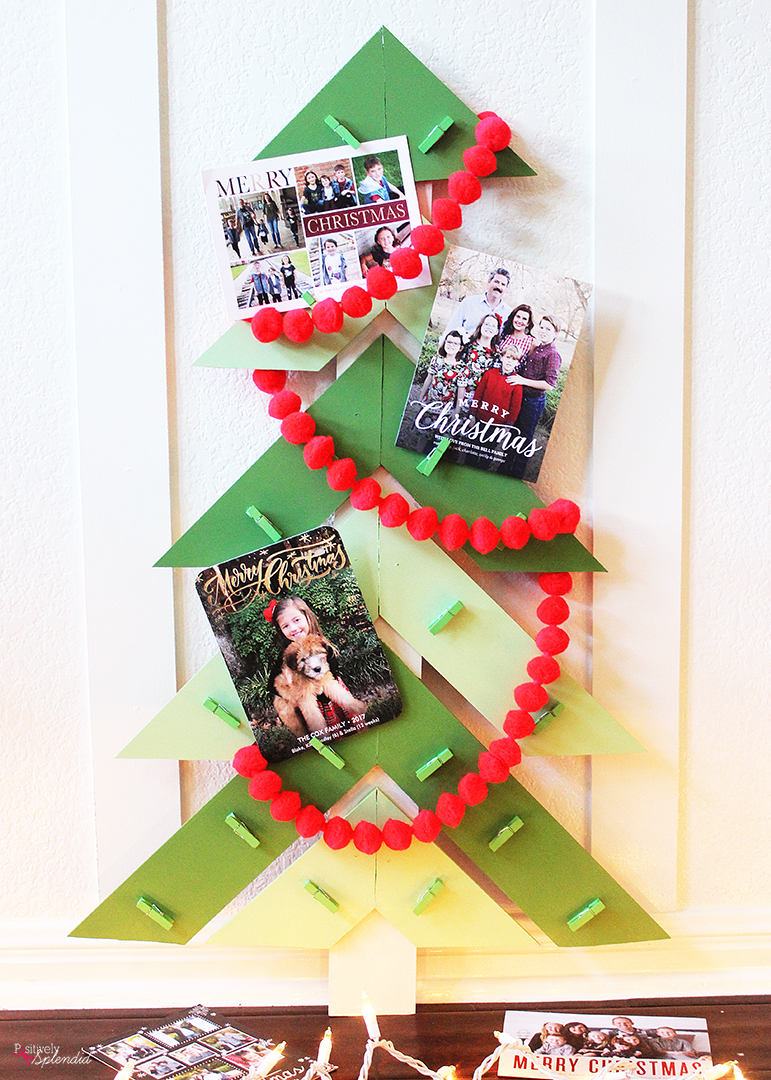
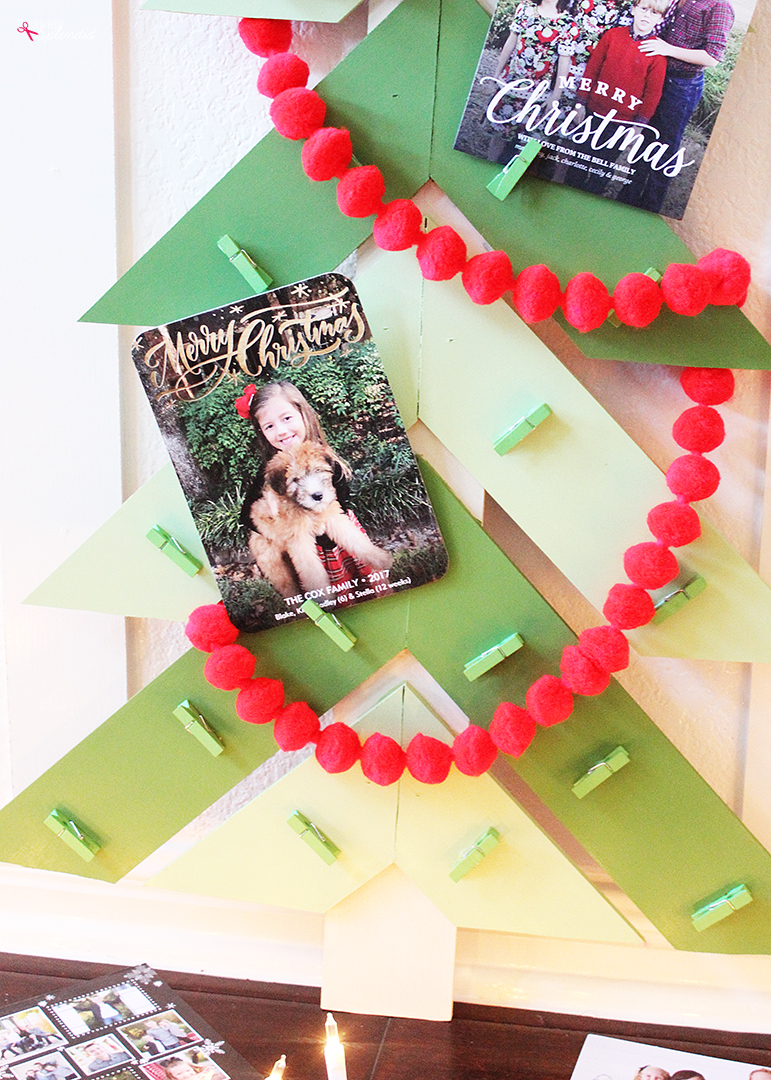
Affix the sawtooth hanger to the back of the finished tree. Your Christmas tree DIY Christmas card holder is ready to hang to display all of the cards you receive throughout the holiday season!
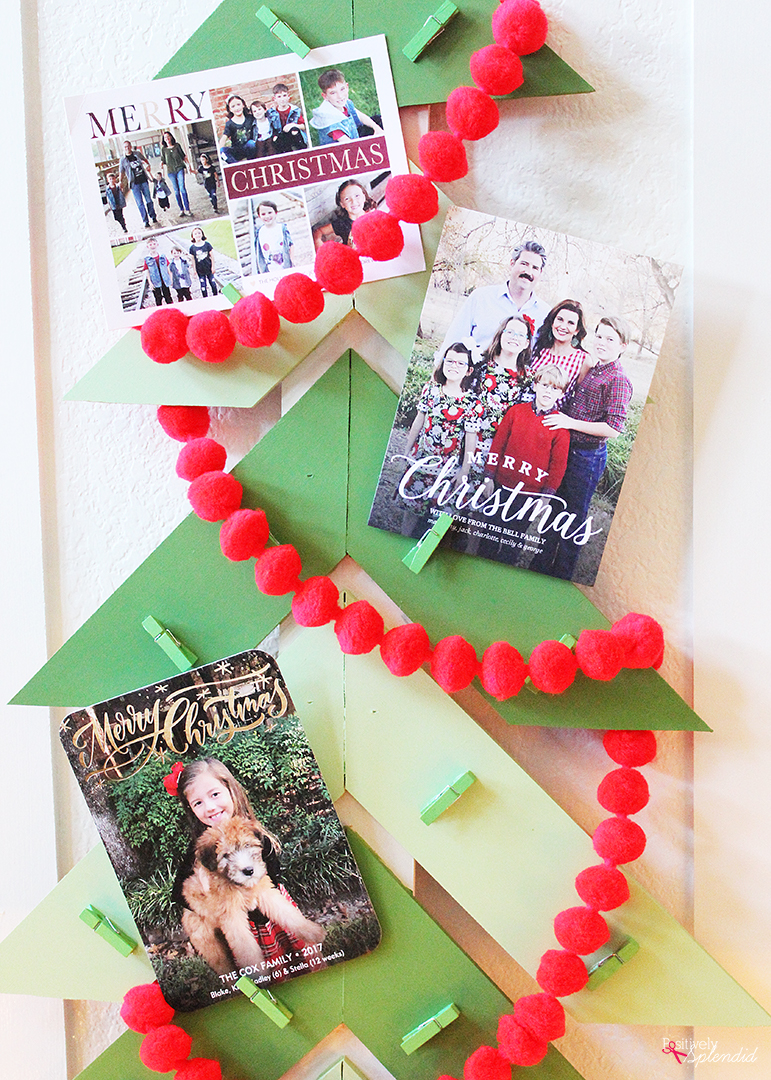
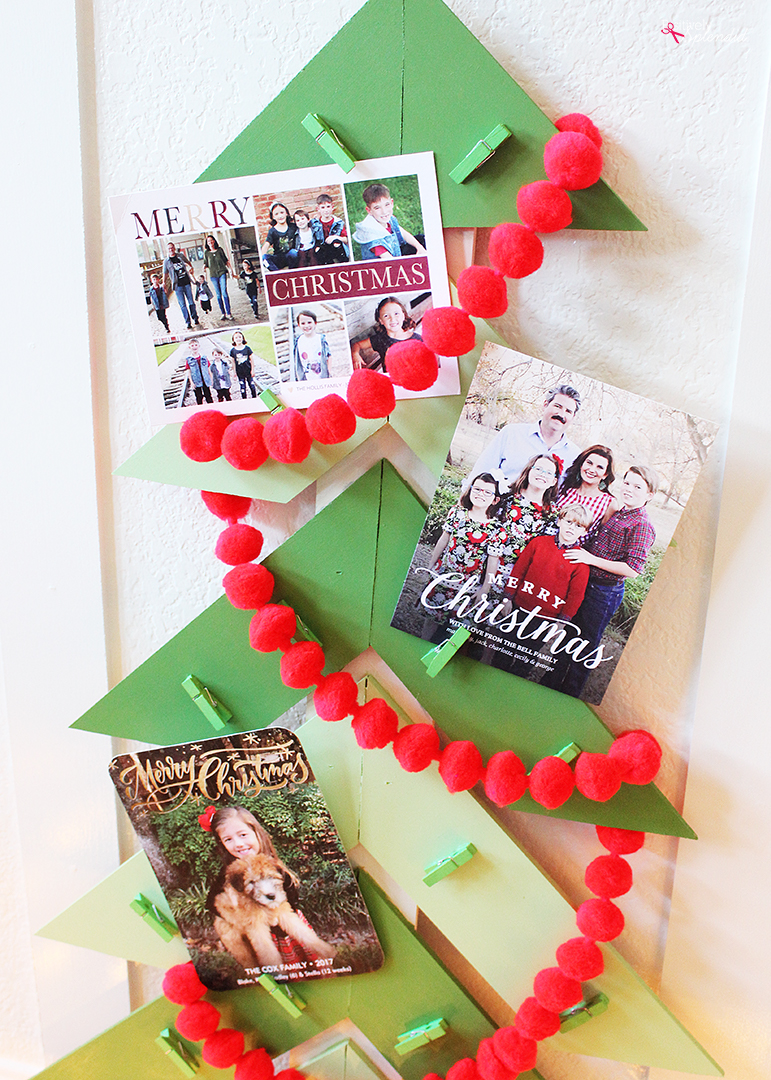
I decided to add a fun pop of red to my display with a pom-pom garland.
The clothespins make hanging cards so easy, and I love that they can be moved around as needed at any time.
Looking for more fun DIY card display ideas? Don’t miss the other projects below!
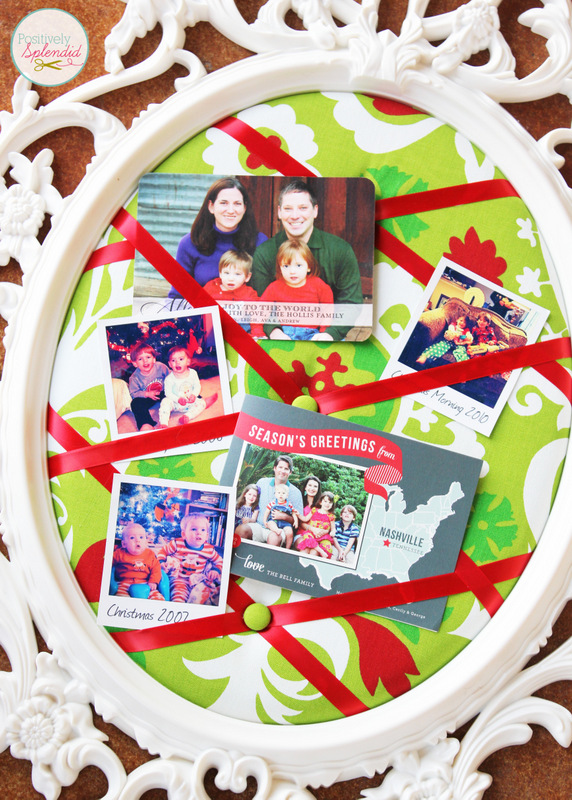
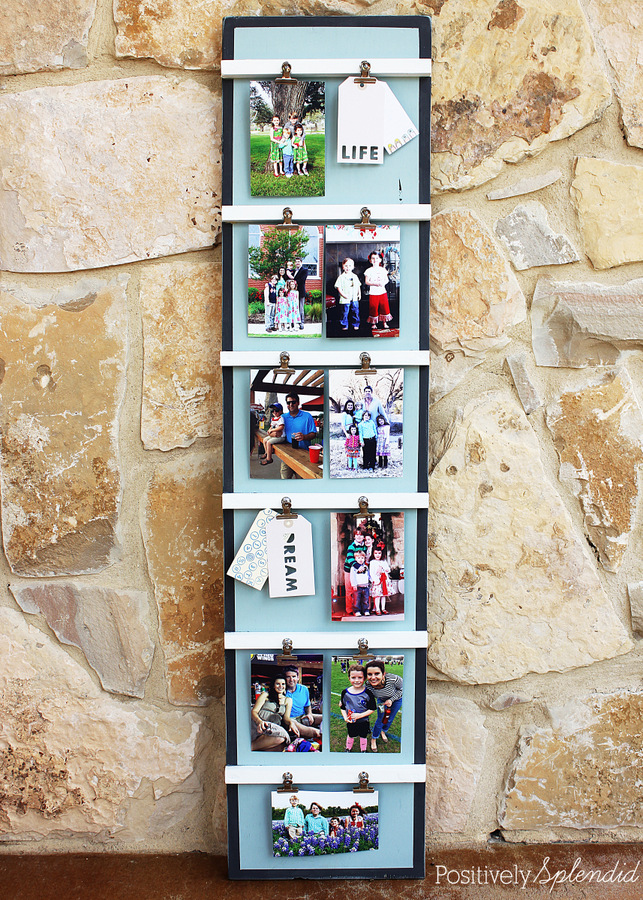
DIY Tufted Memo Board
Ladder Display
Thanks so much for stopping in! Be sure to check out Dremel on social: Facebook, Instagram, and Pinterest!
Having grown up in a home brimming with sewing notions and paintbrushes, Amy has a deep love for all things creative. On any given day, you’ll find her knee-deep in her latest creative endeavor, with projects ranging from sewing and crafts to home decor and kid-friendly ideas. Amy believes that everyone, regardless of skill level or experience, possesses the ability to create something beautiful, and Positively Splendid was born of her passion for helping others harness their innate creative potential.
What a great Post you are! I like your Christmas card designs tips and ideas. you have created an awesome card in your Post. This is very Unique designs feel so good. I am full of inspiring now. I am trying to follow your Technique. Really this is very helpful Post for me. I love your Post.
Thanks for sharing your lovely Post.