• Skip to primary navigation
  • Skip to main content
  • Skip to primary sidebar

Positively Splendid {Crafts, Sewing, Recipes and Home Decor}

Handcrafted. Splendidly.

  • Home
  • Blog
  • + Handmade
    • Crafts
      • Craft Gift Ideas
      • Holiday Crafts
      • Home Decor Crafts
      • Kids’ Crafts
      • Paper Crafts
      • Quick and Easy Crafts
      • Wearable Crafts
      • Wreaths
    • Gift Ideas
      • Budget-Friendly Gifts
      • Gift Wrapping
      • Gifts for Dads and Grandpas
      • Gifts for Kids
      • Gifts for Men
      • Gifts for Moms and Grandmas
      • Gifts for Neighbors
      • Gifts for Sports Fans
      • Gifts for Teachers
      • Gifts for Women
      • Quick and Easy Gifts
    • Kid-Friendly Projects
    • Sewing
      • Sewing for Children
      • Sewing for Men
      • Sewing for the Home
      • Sewing for Women
      • Sewing Techniques
      • Sewn Accessories
      • Sewn Gifts
  • + Home & Garden
    • DIY Home Decor Projects
    • Helpful Tips
    • Home Decor Crafts
    • DIY
    • Home Tour
    • Mantels and Tablescapes
    • Organization
    • Outdoor and Garden
  • + Holidays & Seasons
    • Spring
    • St. Patrick’s Day
    • Summer
    • Teacher Appreciation
    • Thanksgiving
    • Valentine’s Day
    • Winter
    • Back to School
    • Christmas
    • Easter
    • Fall
    • Fathers’ Day
    • Graduation
    • Halloween
    • Independence Day
    • Mothers’ Day
    • New Year’s
  • + Printables
  • + Recipes
    • Soups and Stews
    • Appetizers and Salads
    • Breads
    • Desserts
    • Food Crafts
    • Main Dish

Glittered and Painted DIY Easter Eggs

March 20, 2017 By Amy @ Positively Splendid

FacebookTweetPinYummlyPrint

Do you love making DIY Easter eggs each year, but wish that they would last longer than just a day or two? This year, decorate pretty wooden Easter eggs that will last year after year! These DIY painted and glittered wooden Easter eggs can be displayed in a pretty bowl, or for a unique twist, they can be turned into ornaments like I’ve made here to be strung on a garland or hung on an Easter tree. (Who says trees have to be reserved just for Christmas?) These painted and glittered wooden Easter eggs are easily made with just a few simple supplies, and today I’m going to fill you in on how they come together. Let’s get started!

Painted and glittered DIY Easter eggs--so pretty, and can be used year after year!

Painted and glittered Easter eggs--so pretty, and can be used year after year!

Growing up, I always loved the fun Easter tree my mom would decorate each year with brightly colored eggs and other items, and now I am happy to continue that tradition with my own children. This year, our Easter tree will be brimming with pretty sparkle with hand-painted ornaments in a variety of bright Easter colors. 

To make these painted and glittered DIY Easter eggs, you will need…

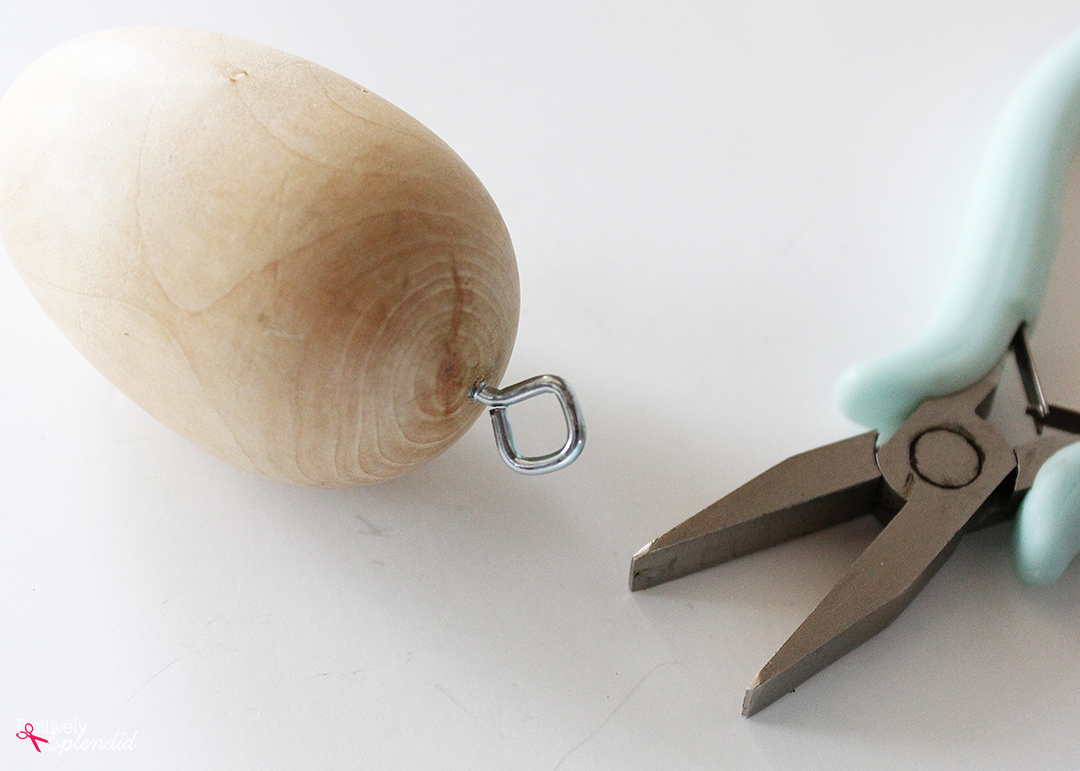
  • Unfinished Wooden Eggs
  • Eye Screws
  • Flat-Nosed Jewelry Pliers
  • Extra-Fine Glitter
  • Craft Paint
  • Paint brushes
  • Mod Podge
  • Ribbon
  • Styrofoam board

To begin, screw an eye hook into the top of each egg using the flat-nosed pliers, as shown. (Note: You can also make these eggs without turning them into ornaments, but the eye screws really make the painting and decorating process much easier!)

Painted and glittered Easter eggs--so pretty, and can be used year after year!

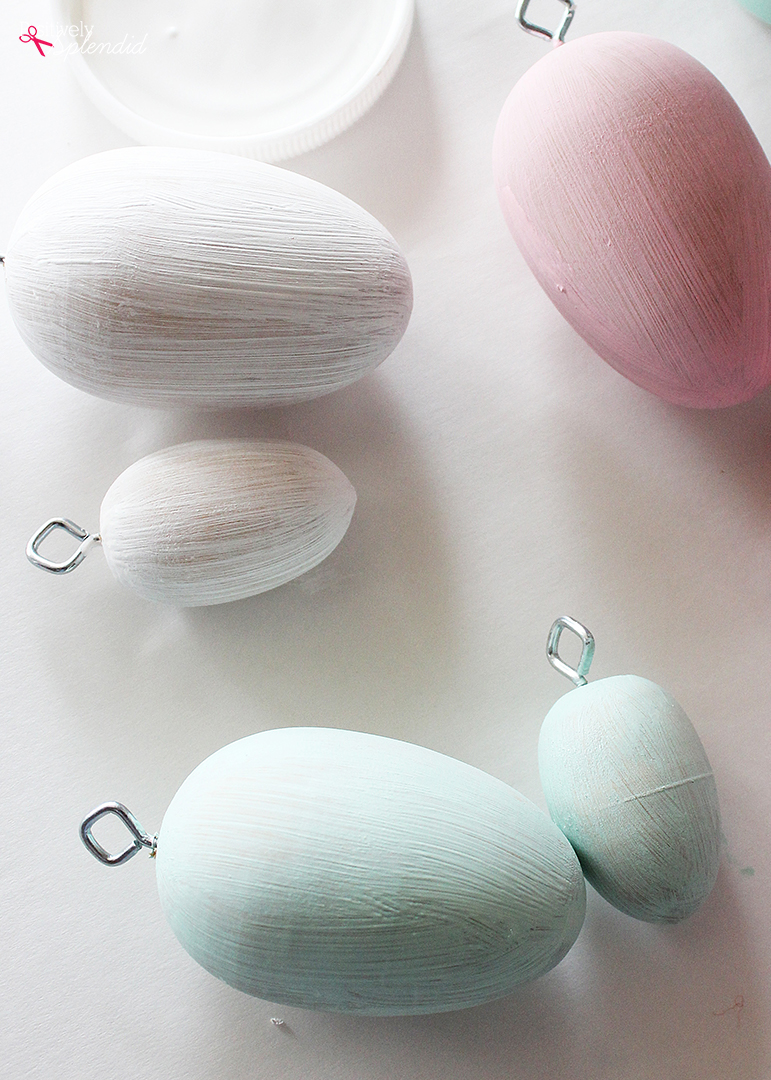
Using the paintbrush, paint the entire surface of each egg with the craft paint, applying 2-3 coats as needed for even coverage. Allow paint to dry completely.

Painted and glittered Easter eggs--so pretty, and can be used year after year!

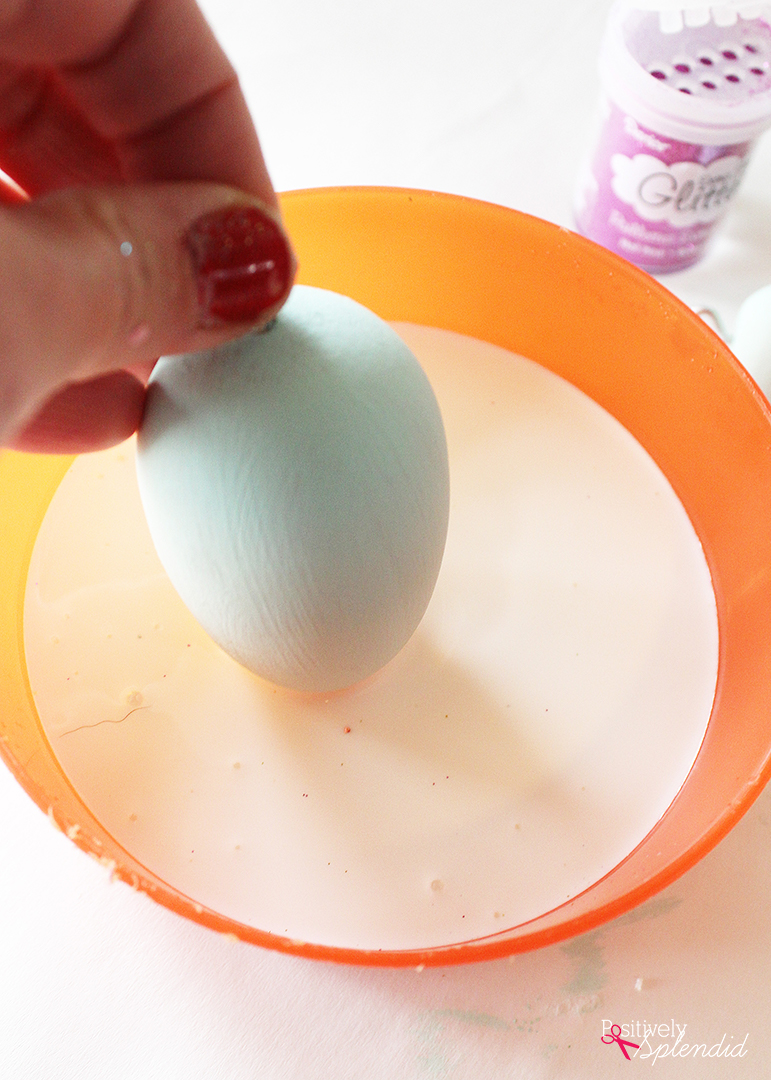
Pour the Mod Podge into a medium bowl, and dip the bottom portion of each egg into the bowl, using the screw eye as a “handle” as you work.

Painted and glittered Easter eggs--so pretty, and can be used year after year!

Pour a generous amount of glitter over the Mod Podge, shaking off any excess. 

Painted and glittered Easter eggs--so pretty, and can be used year after year!

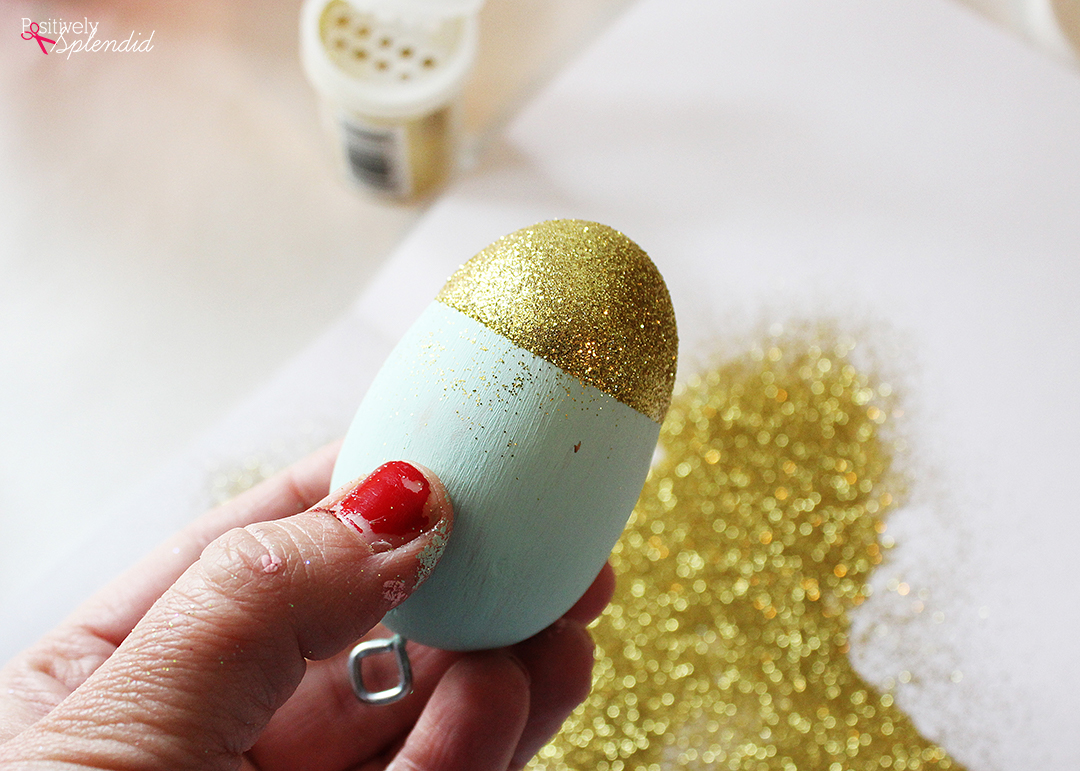
TIP: Insert the screw eye down into the Styrofoam piece to anchor the pieces upright as they dry and keep the glittered portion from becoming smudged.

Painted and glittered Easter eggs--so pretty, and can be used year after year!

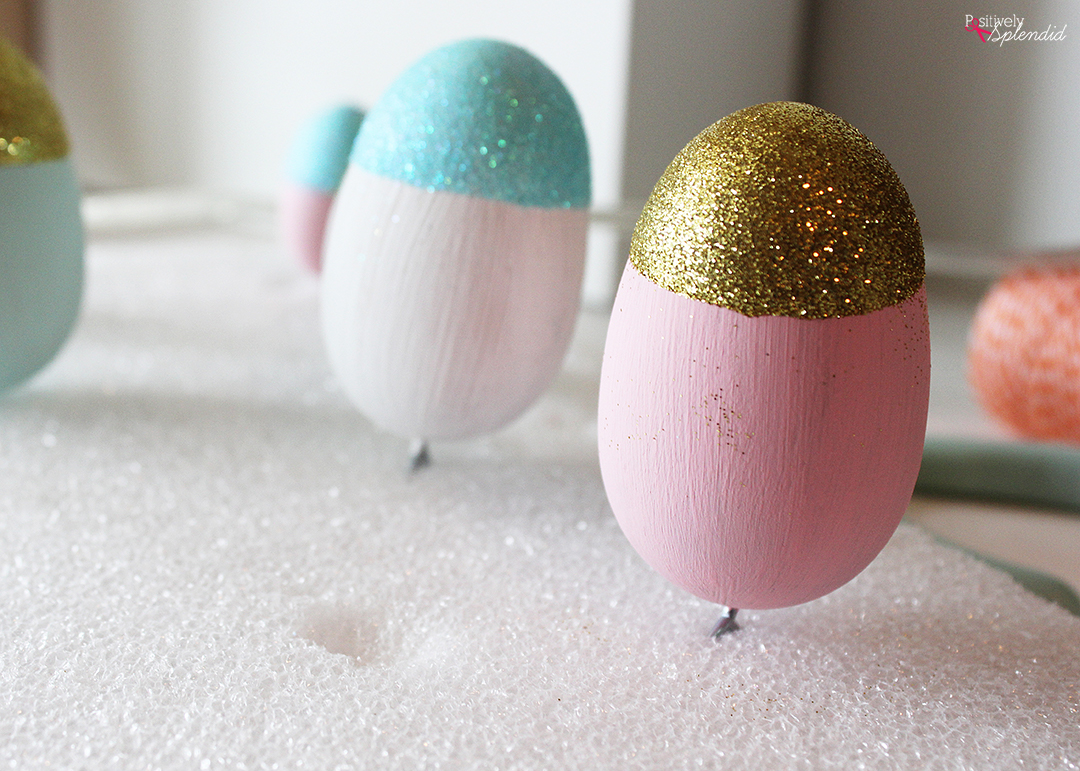
When the Mod Podge is dry, use a very small paintbrush to doodle various designs over the top portion of each egg, as shown. This is a fun way to show some creative flair! When the paint is dry, loop a piece of ribbon through the screw eye, and tie in a knot for hanging.

Painted and glittered Easter eggs--so pretty, and can be used year after year!

In no time at all, you’ve got beautiful glittered and painted wooden DIY Easter eggs perfect for hanging on an Easter tree, or even placing on a mantel, wreath and more!

Painted and glittered Easter eggs--so pretty, and can be used year after year!


The sparkle and shine of these eggs is pretty and delicate, and so perfect for the spring season.

Painted and glittered Easter eggs--so pretty, and can be used year after year!

These eggs would also be lovely made without the screw eye, and used simply as a vase filler. There are so many fun possibilities!

Painted and glittered Easter eggs--so pretty, and can be used year after year! Painted and glittered Easter eggs--so pretty, and can be used year after year!


Thanks so much for stopping in today! If you’re looking for even more fun Easter craft ideas, check out these other great ideas!

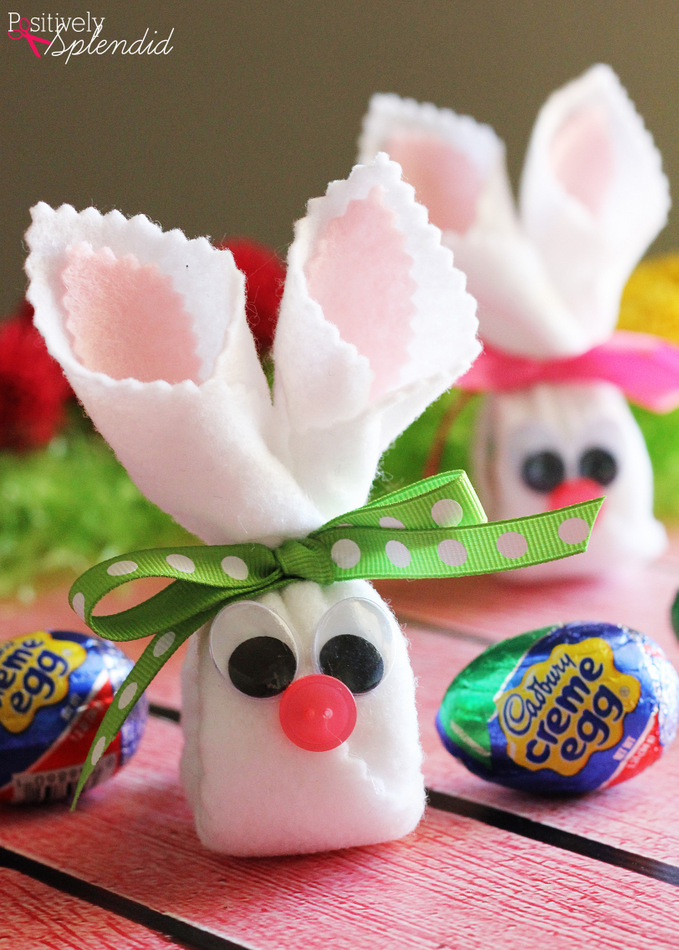
Cadbury Creme Egg Easter Bunnies

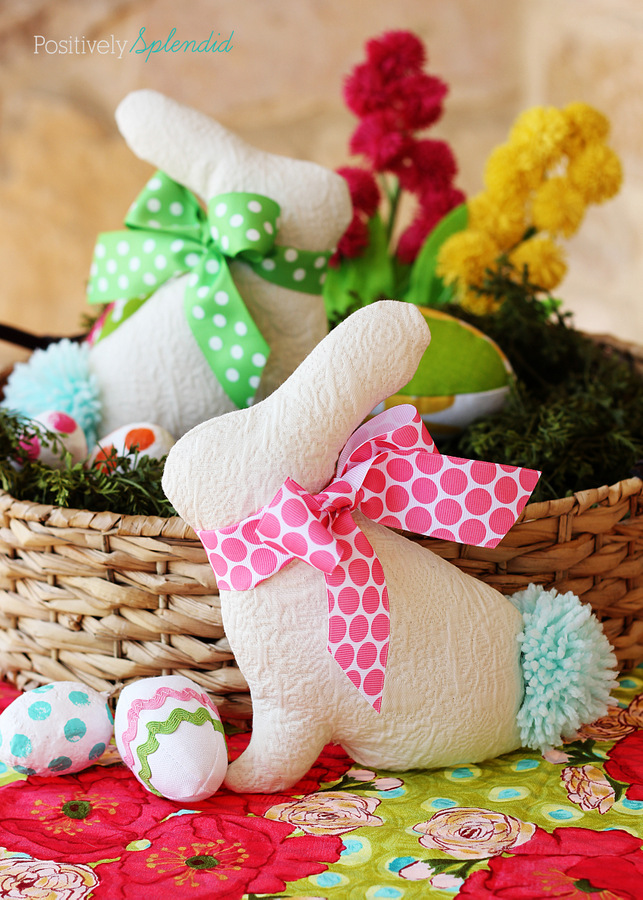
Easter Bunny Softie Sewing Pattern

Yarn-Wrapped Carrots


Amy @ Positively Splendid

Having grown up in a home brimming with sewing notions and paintbrushes, Amy has a deep love for all things creative. On any given day, you’ll find her knee-deep in her latest creative endeavor, with projects ranging from sewing and crafts to home decor and kid-friendly ideas. Amy believes that everyone, regardless of skill level or experience, possesses the ability to create something beautiful, and Positively Splendid was born of her passion for helping others harness their innate creative potential.

EVEN MORE GREAT IDEAS JUST FOR YOU!

FacebookTweetPinYummlyPrint

Filed Under: Crafts, Easter, Holiday Crafts, Positively Handmade, Positively Seasons, Tutorials Tagged With: Crafts, Easter, Tutorials

Previous Post: « DIY Flowerbox Door Hanging
Next Post: Easy Easter Craft Idea: Carrot Mason Jar »

Primary Sidebar

PS Search

Search this website

Seasonal Inspiration

Hocus Pocus Wreath
Ghost Plushies
Paper Pumpkins
Fabric Yo-Yo Pumpkins

Copyright © 2025 · Positively Splendid · All Rights Reserved. · Privacy Policy

Privacy & Cookies: This site uses cookies and other tracking technologies to assist with navigation and your ability to provide feedback, analyse your use of our products and services, assist with our promotional and marketing efforts, and provide content from third parties. To find out more, as well as how to remove or block these, see here: Our Cookie/Privacy Policy


Loading Comments...