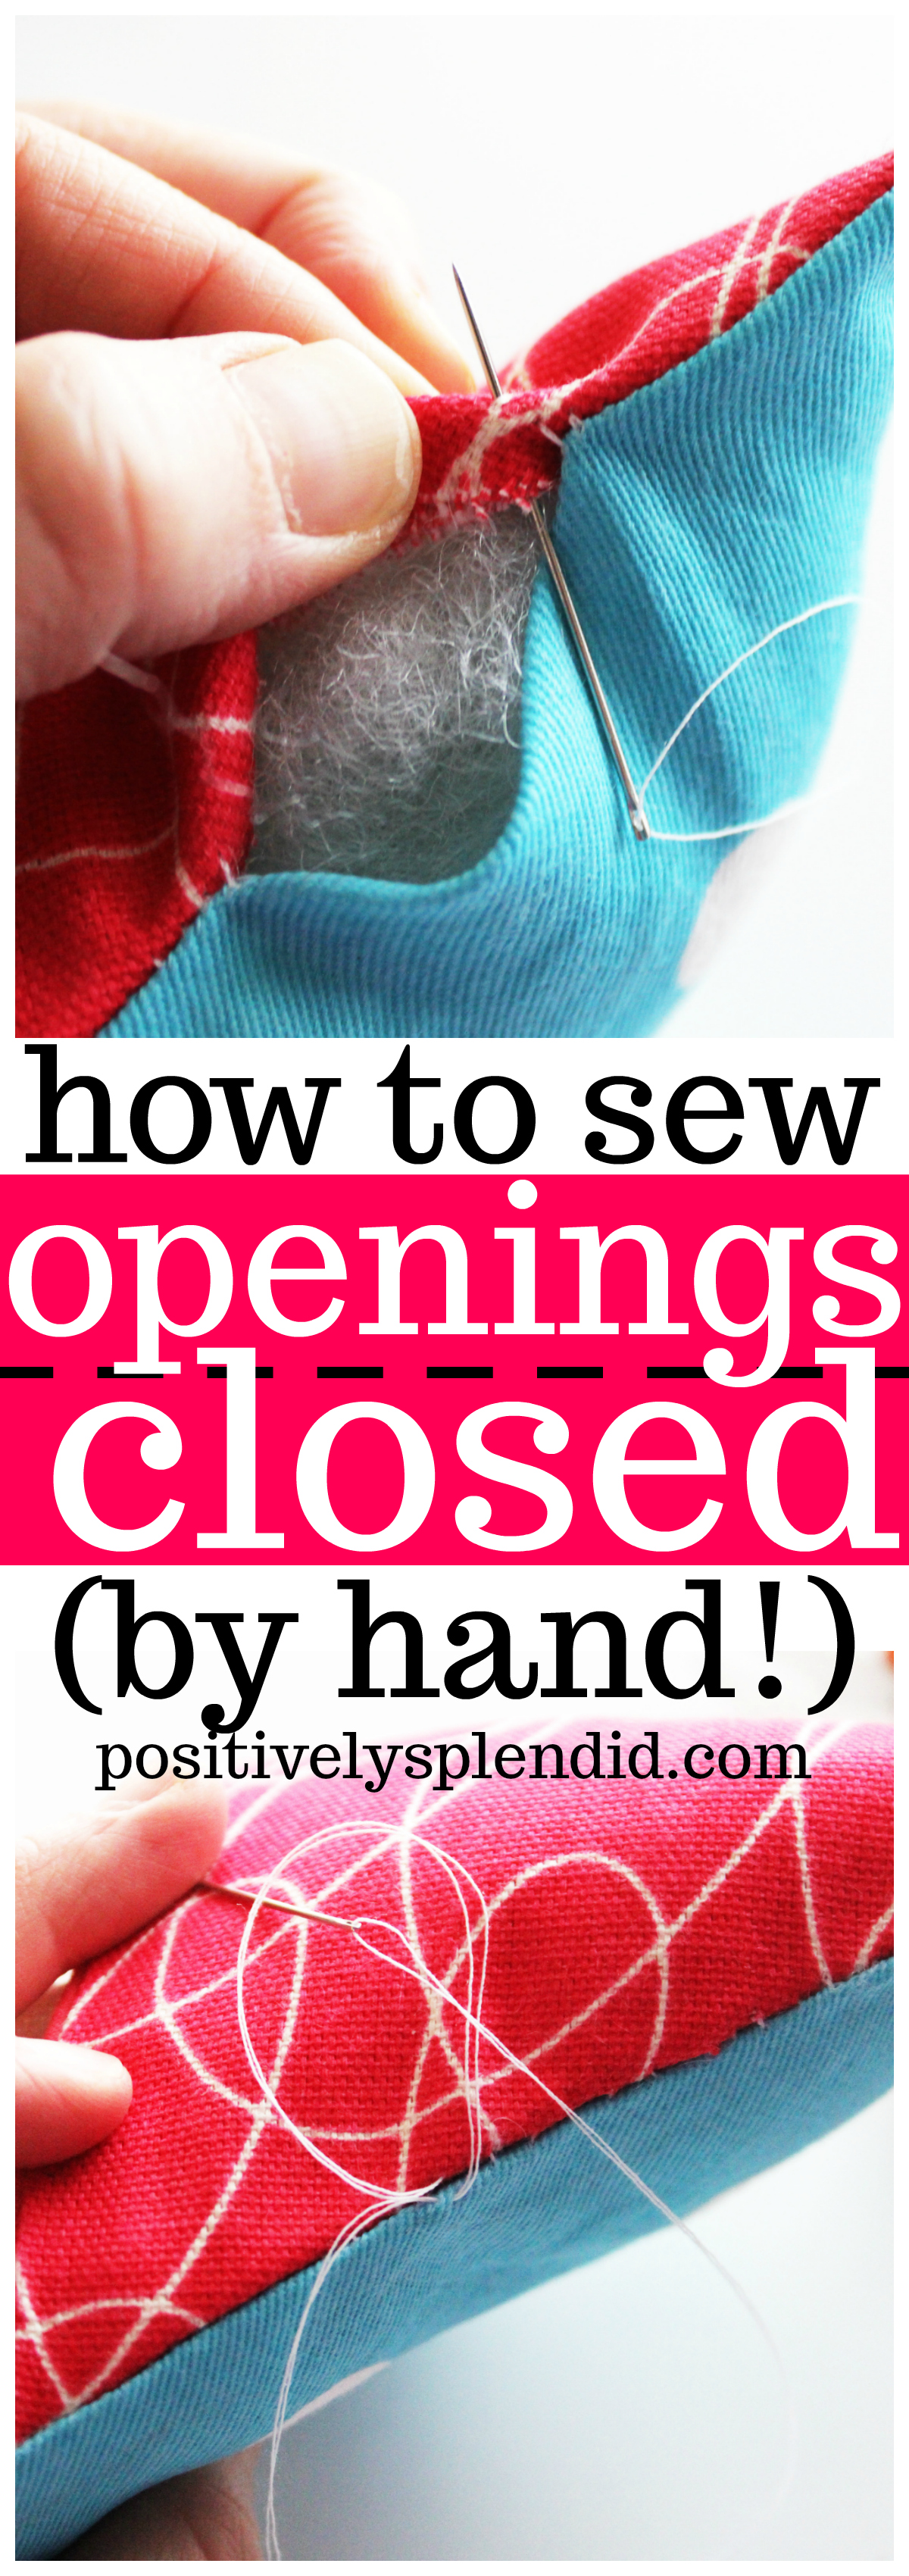
A ladder stitch is the very best way to sew openings closed by hand! Learn how to hand sew a ladder stitch with this step-by-step photo guide.
If you ever have wanted to make a pillow but have been intimidated by the hand stitching involved, today’s tutorial for how sew a ladder stitch (sometimes called an invisible stitch or a blind stitch) will be invaluable to you! This hand-sewing technique really is very simple to execute, and with a bit of practice, it results in a nice, tidy seam every time. Let me show you how it’s done!
Ladder Stitch Instructions
To begin, thread your needle, and tie the two thread tail ends together in a knot. Stitching with two strands of thread will provide added strength to your finished seam.
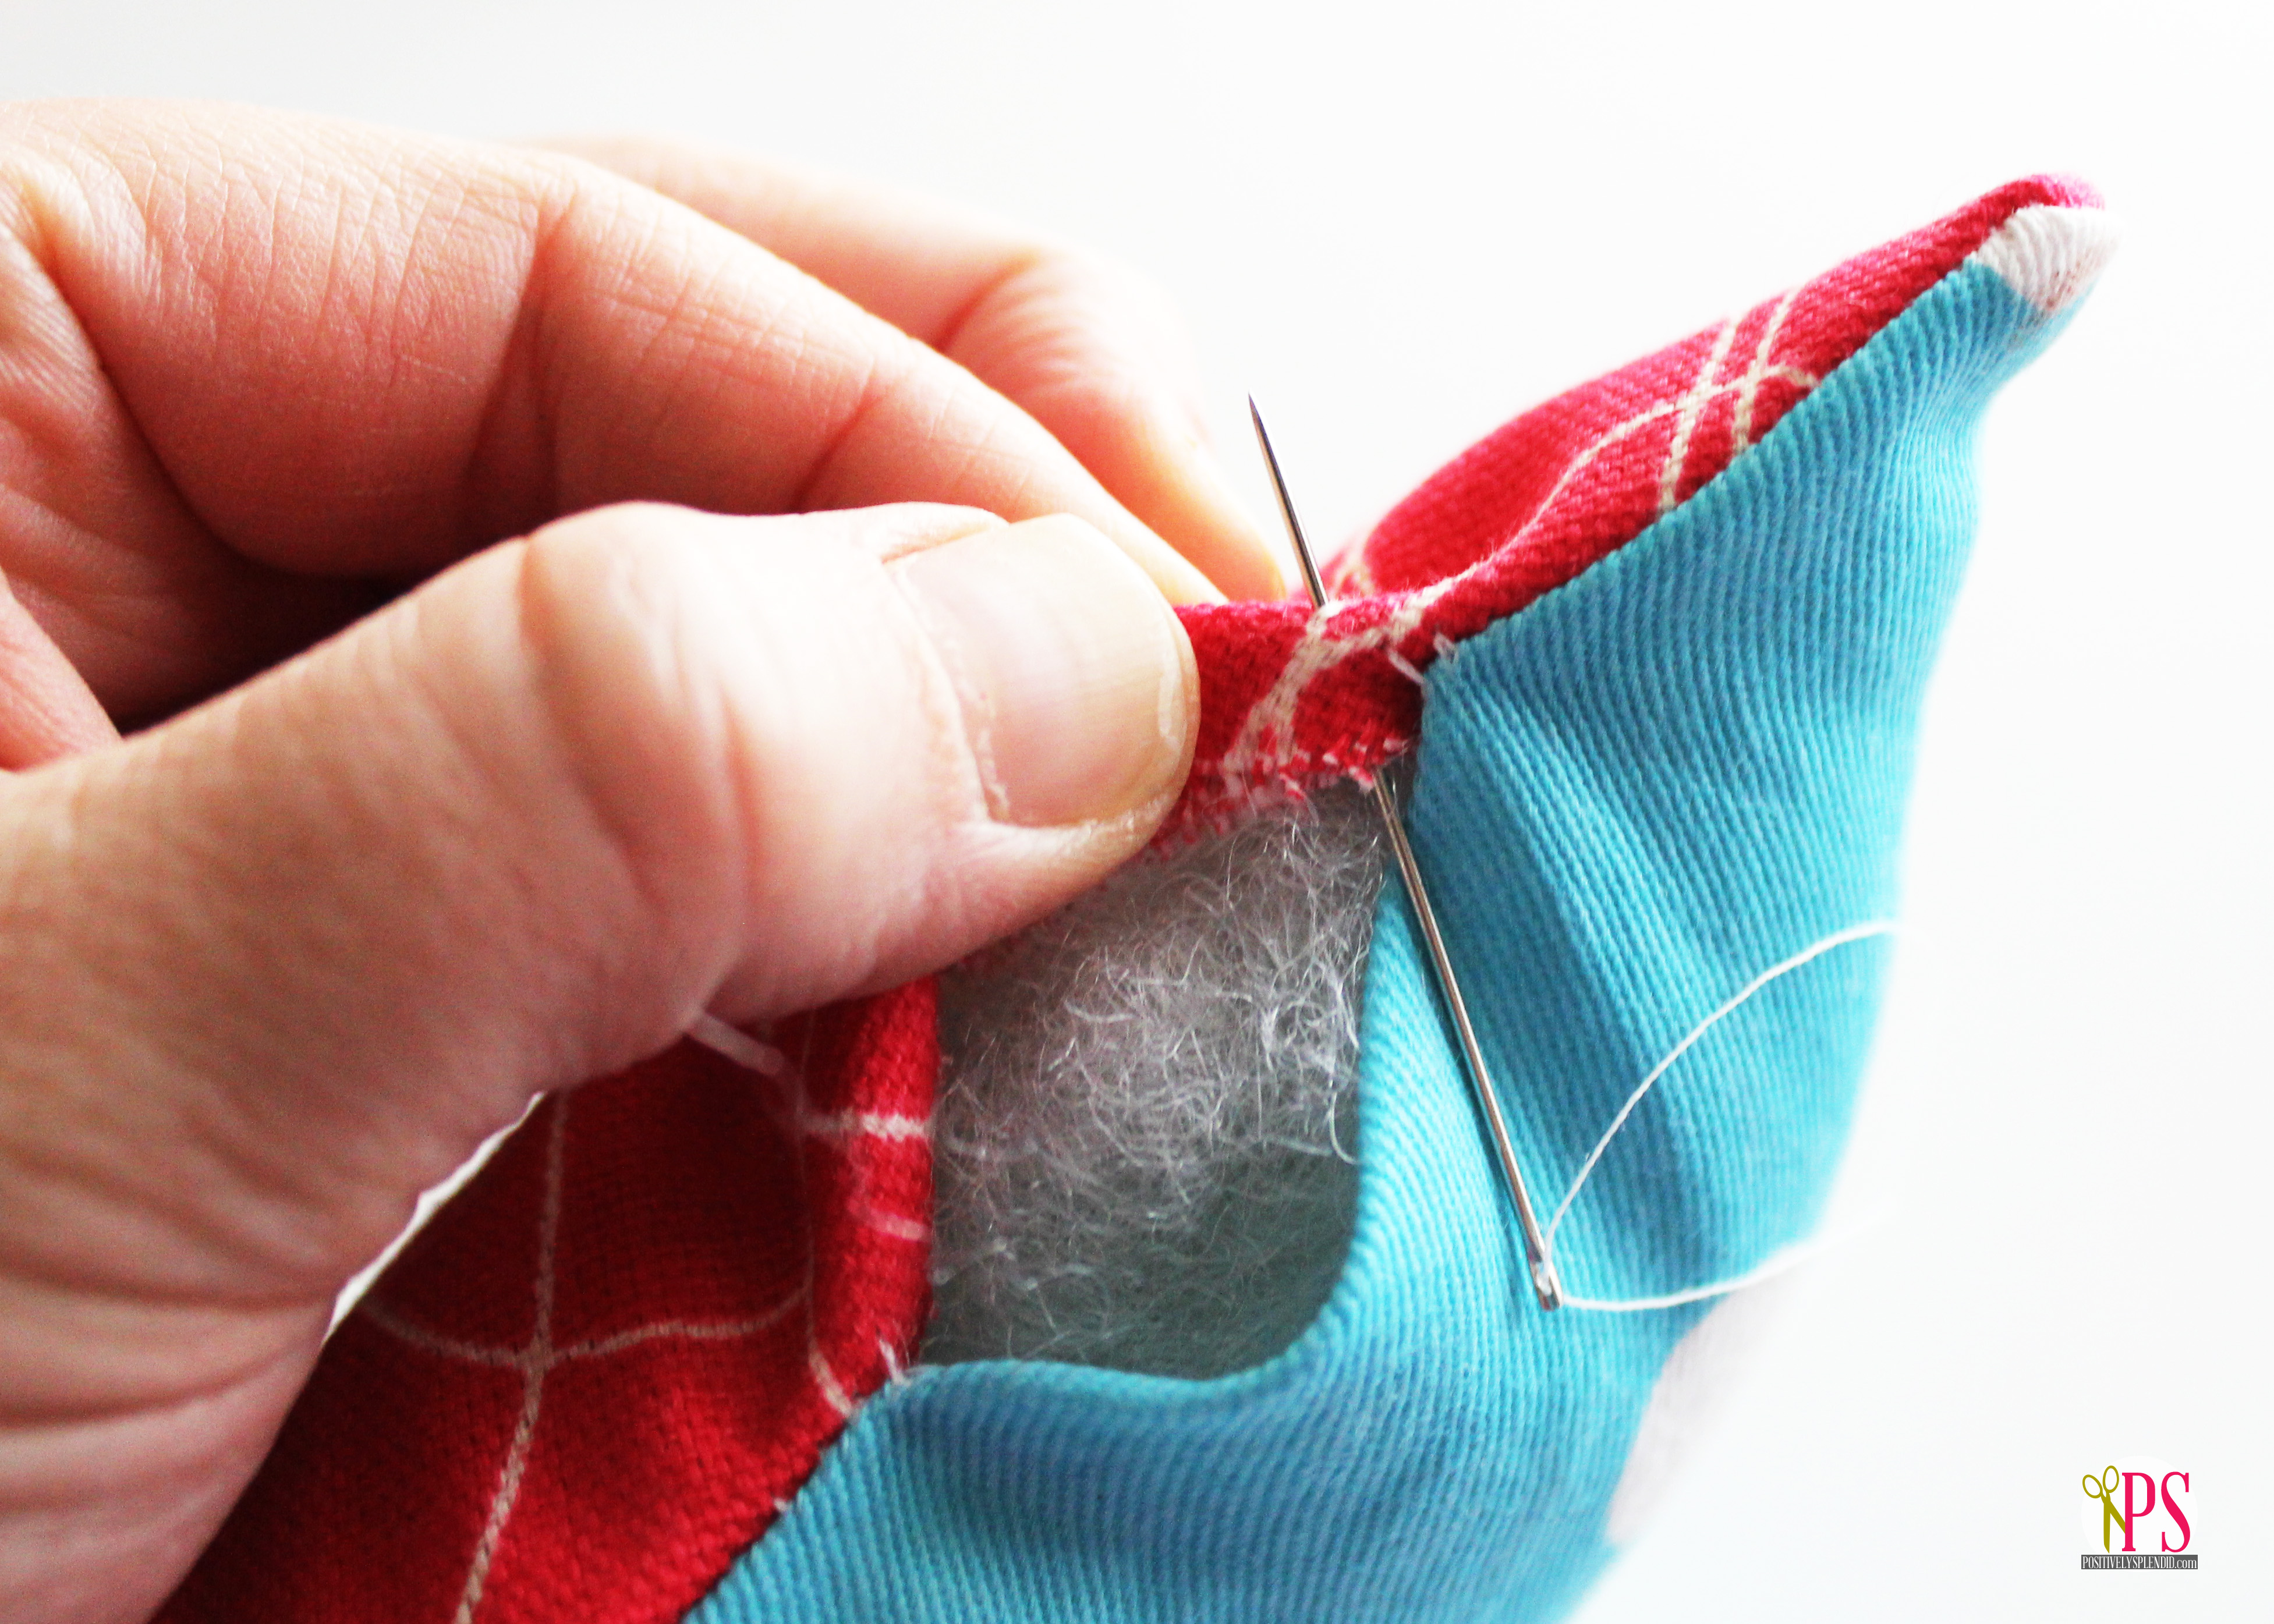
Next, grab any project with an opening that needs to be stitched closed, such as my pillow below. It is very important at this point to make sure the seam allowance at the opening is folded over and pressed very crisply. You will use the creases of these folds to guide you as you sew.
Now, let’s stitch! Push your threaded needle up and through one of the folded seams, from back to front, and pull the thread tail completely through. The knotted end of your thread will now be nicely concealed within the seam on the inside of the project.
 :: PositivelySplendid.com")
Now, directly across from the point at which your thread emerges at your starting point, push the needle down and then back up through the opposite seam crease to create a stitch that is between 1/8-1/4″ long.
 :: PositivelySplendid.com")
When you pull the thread through, you will notice that the stitch you just made is concealed within the seam crease, and there will be a horizontal stitch connecting the left and right sides of your opening.
 :: PositivelySplendid.com")
The rest of the process is essentially a repeat of the previous step. Directly across from the point at which the thread emerges from the seam crease, make another 1/8-1/4″ stitch through the opposite seam crease: down, through, and up.
Note how I pinch both sides together as I work to pull things nice and taught. This helps ensure your stitching is even.
 :: PositivelySplendid.com")
You will continue this process until you reach the end of your opening, creating a “ladder” of connecting stitches as you work.
 :: PositivelySplendid.com")
When you reach the end of the opening, pull the thread to tighten the stitches, so that each of the connecting “ladder” stitches is magically concealed between the two sides of the seam. So nice and tidy!
To finish, use your needle to pick up a tiny section of the seam opposite where the thread emerges…
 :: PositivelySplendid.com")
…and then pass the needle and thread through this loop and tighten and form a knot. You can repeat this step if you wish to further reinforce the stitching.
 :: PositivelySplendid.com")
Now, snip your threads, and you are finished. Congratulations on creating a nice, tidy seam to close your project!

With a bit of practice, you will soon have the ladder stitch mastered. Then, you will no longer have to be intimidated by any project that requires stitching an opening closed by hand! (Yay!)
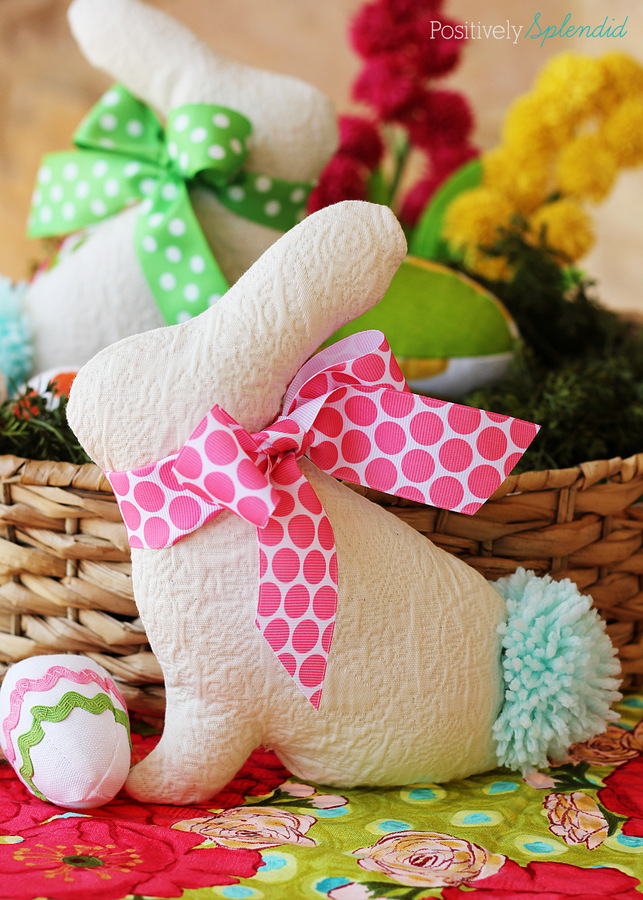
Use this ladder stitch technique in these fun projects!
Bunny Softies
Heart Pocket Pillows

…and my Plush Patchwork Pumpkins.

Having grown up in a home brimming with sewing notions and paintbrushes, Amy has a deep love for all things creative. On any given day, you’ll find her knee-deep in her latest creative endeavor, with projects ranging from sewing and crafts to home decor and kid-friendly ideas. Amy believes that everyone, regardless of skill level or experience, possesses the ability to create something beautiful, and Positively Splendid was born of her passion for helping others harness their innate creative potential.
Thanks so much for sharing this, great to know!
Thanks for this! I could never understand how to do this!
oh, i needed this 2 posts ago- thank you!
Aaaaa, I’ve needed to learn this and haven’t. Thank you for such a great tutorial!!
That is an incredibly timely post! I just used this stitch in a project this afternoon!! Have a great weekend!
Thank you so much for this post! I’ve been waiting on it since you mentioned it on facebook…you are a life saver! I’m in love with those little pumpkins too!
Thank you! I may have squealed out load when I saw this post. I’ve been trying to do this for weeks and the tutorials I found weren’t very clear. Great photos and just what I needed!
This.Is.Awesome. simple yet very important! I have always needed to know this….
Thank you so much for the tutorial! I needed it!
Thanks for the great instructions and photos.
Great pictures and explanation! This is exactly how I do it with one small addition. At the very end, after you’ve made the knot, insert your needle back into the fabric right next to the knot and bring it up about an inch away; pull the threads through. Then clip the threads right next to the fabric and the tails will be completely hidden.
Great tip, Sheryl! Thanks for sharing.
I am interested in the pattern and instructions for Plush Patchwork Pumpkins.
Here is a link to that tutorial, Michele: http://www.positivelysplendid.com/2012/09/plush-patchwork-pumpkin-tutorial.html
Thank you so much for this! I have been avoiding learning how to close a pillow opening properly for some time now. I’ve been using a whipstitch and I always feel a little disappointed. I was set tonight to close a little pillow I made properly and I stumbled on your tutorial. It turned out great and it wasn’t as difficult as I thought it would be. Thanks again!
This was a wonderful explanation and I sewed my first pillow last night using two beautiful placemats and a travel pillow for stuffing. I followed your fantastic instructions and the pillow looks amazing!! Thank you so much for doing this tutorial!
Thanks for this – it’s the easiest-to-follow tutorial of the ladder stitch that I’ve found! 🙂
What a great tutorial for an intimidating bit of sewing! The directions are clear and the photos are large enough to actually see the weave of the fabric. Thank you!
Thank you! this was a very helpful explanation of how to sew a pillow closed and make it look good!
Terrific, Kathy! I am so glad you found this helpful.
Thank you so much! This is a life saver for an idiot like me attempting to sew a pillow for my baby daughter! 😀
Does anyone know if this stitch is strong enough to handle the abuse of being used for corn hole bags
I’m gonna make my own bags and really reather use a hidden stitch so you can’t tell where the last seem is but was wondering if it will hold up
Maybe if I use more thread like 4 or 6 or even 8+ if need be
Any tips would be apreicated
Hi, Adam! I think this stitch would definitely be strong enough to withstand heavy use, so long as you make each stitch close together as you work. I might also recommend using a heavy-duty thread. Hope this helps!
I am so grateful to discover this stitch. My pillows look much cleaner. I was always a little embarrassed of that one seam/edge. Only one of 12 edges (boxes pillows), yet it has always bothered me.
ADAM—I have just made outdoor cushions that will get a lot of abuse and rough handling.
I used Coats Extra Strong Upholstery thread with this ladder stitch. It certainly seems durable.
I will post any problems that I may encounter, but certainly don’t expect any.
Hi Amy,
I want to thank you very much for your blind/ladder stitch tutorial. You just saved me over $300! I have an old leather recliner whose head pillow was sagging and needed additional stuffing. The headrest pillow didn’t have a zipper and it was permanently attached to the chair on all four sides and could not be removed. I needed to open it up to put more stuffing into it but I couldn’t see how to do it without leaving a permanent scar on it. It did have a seam sewn along the top and sides but since the stitches were invisible, I figured they were interior stitches and I would have to turn the pillow inside out to restitch it. That is how I have always had to do it in the past. And how do you do that with a permanently attached recliner headrest pillow?? I got over four estimates from local upholsterers for over $250-$350 plus pickup and delivery charges. That was too much money so I resigned myself to having to slice a new disfiguring seam in the top of the pillow parallel to the existing seam, putting in the new filling, and closing it with a chain stitch or a baseball stitch. I had spent hours googling for information about how to do this repair with no decent information. I wasn’t sure what stitch to use so I googled, “how to resew pillow seam” and miraculously discovered your tutorial. Immediately upon seeing it, I knew I had my solution. I immediately recognized the existing seam as a blind/ladder stitch and your tutorial showed that it could be opened and closed without turning it inside out. You rock! I was able to open the seam and restuff it myself with the contents of an old dacron polyfill pillow and close it without difficulty following your fantastic instructions. It was even easier since I was able to reuse the old stitch holes. Again, you just saved me over $300!! You rock! Thank you very much!!
I am so thrilled to hear this tutorial was so helpful to you! Thanks so much for stopping by to let me know! Have a great day.
Thanks so much. I have been sewing for a long time and didn’t know this stitch and I have to say it is fabulous! Made 2 pillows for a friend and they turned out so nice I had to make another just because the finish was so much nicer than any I have done before!
I am so glad to hear it, Robin! Thanks so much for the comment!
I enjoyed reading the blog and information, it is similar to my site. You should visit it sometime!
Thank you so much. I have tried so many websites to learn this and when I saw this, I finished my teddy bear I has been working on!
Thanks for this usefull tip!!
Where has this tutorial been all my life?! Now I understand it all makes sense now. ♥ Muchos Gracias !
Wonderful, Ari! So glad you found this helpful.
Thanks for the great tutorial! I made some Cathedral Window Pincushions and was having a hard time closing them properly. This was just the ticket!
Thank you very much for your clear instructions of the blind stitch or ladder stitch. I like the term blind stitch more, because that describes the goal of this stitch. I was expecting a YouTube video, which I usually prefer, but your clear directions and up-close photos did the job perfectly for me. I will use this technique for hand stitching my quilt binding closed, once I wrap the binding around the edge of the quilt. Now if only I can master this stitch…
there are too many ads. now how do i cancel my subsciption.
Thank you so much! This was truly a lifesaver!!
I use this stitch when hand sewing the binding to the back of the quilt. Non-quilters always ask how I managed to put the binding on! It’s invisible.