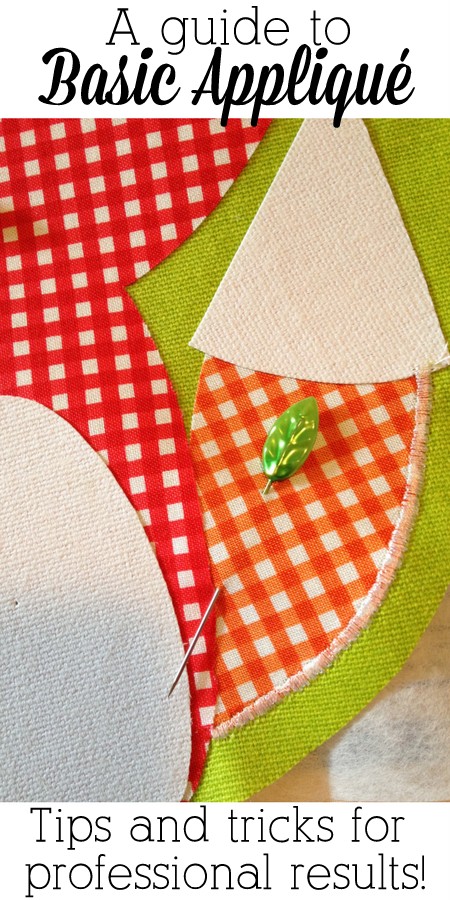
A Guide to Basic Appliqué Projects
- Fabric (Scraps left over from another project work great here)
- Fusible web (I use Heat’n Bond Lite)
- Pencil
- Sewing shears
- Tear-away stabilizer
- Thread
- Additional embellishments: ribbon, buttons, rhinestones, etc. (optional)
- Garment to be embellished
Step 1: Select an Appliqué Template

Step 2: Select Your Fabric
- Quilting cotton
- Jersey Knit
- Twill
- Corduroy
- Felt
- Fleece
- Leather, Suede and Ultra Suede
- Marine vinyl
Step 3: Apply Fusible Web to the Wrong Side of Your Material
Remove one side of the backing from your fusible web sections. With the wrong side of your material facing up, apply the fusible web to the material. Your iron should be set at a cotton setting with no steam.
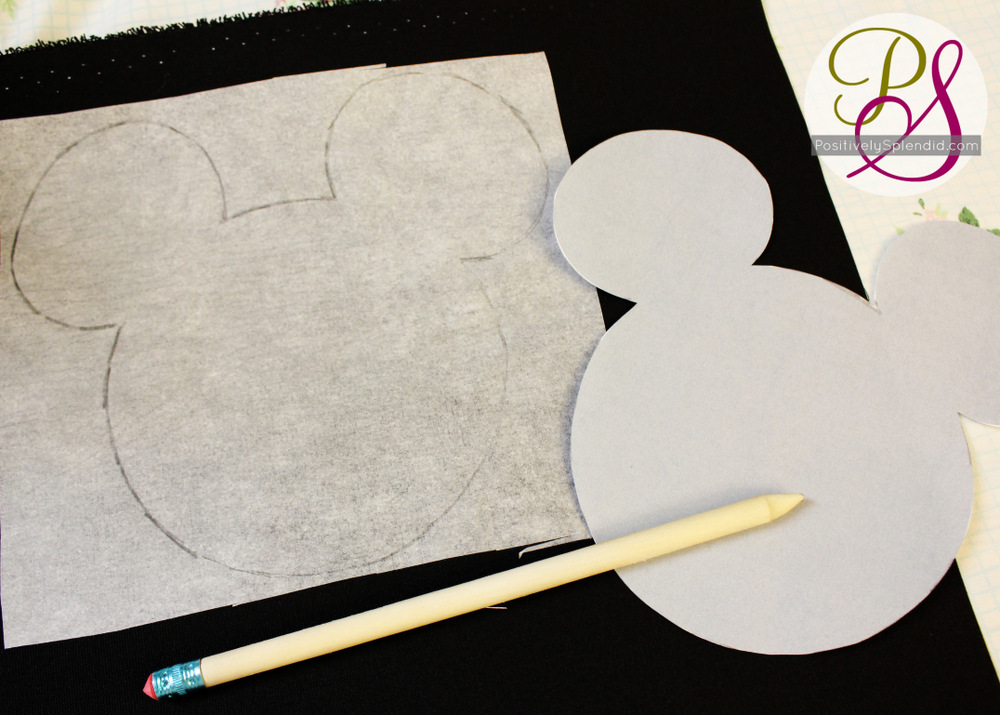
Step 4: Trace Appliqué Templates onto the Fusible Web Backing
With the right side of your templates facing down, trace each layer onto its respective fusible web-backed fabric piece. Important: You will need to trace a mirror image of your design so that your appliqué will display correctly once it’s affixed to your garment.
Step 5: Cut Out Appliqué Pieces and Iron to Garment
Using sharp sewing shears, carefully cut out each layer of your appliqué design. It is important to cut very carefully, as this edge will be visible on your finished garment. Remove the paper backing from these pieces, and then arrange them, starting with the bottom-most layer and working up, onto your garment in your desired configuration. Using your hot iron, carefully press these pieces to affix them to your garment. Be careful not to drag your iron across your design, as this could cause your appliqué design pieces to shift. Instead, lift the iron up and then place it down onto the next section of your design as you work.
Step 6: Pin Stabilizer to the Inside of Your Garment
This is a step that often gets overlooked in basic appliqué projects, but it is incredibly important and not to be skipped! Cut a piece of tear-away stabilizer (I love Sulky stabilizers) that is just larger than the entirety of your appliqué design. Pin the stabilizer piece to the inside of your garment directly behind your appliqué design. Why use stabilizer? It will prevent ugly puckering during the next step, which will give your finished project a much more professional look.


Step 7: Stitch Your Appliqué Design into Place
You have a few different stitch options for securing your design to your garment.
- Satin stitch (the traditional option)
- A zig-zag (this minimizes fraying)
- A straight stitch (by far the easiest option, but does allow some fraying to occur)
There are some sewing purists who feel very strongly that appliqué can only be done properly when finished with a satin stitch, which is essentially very tight zig-zag stitch. If you find that look to be the most appealing to you, this is a great video how-to.
Although I tend to love the more traditional look of satin stitch appliqué, it is also possible to finish appliqué designs with a simple machine straight stitch. This method is far less time consuming and complex than a satin stitch, although the results are not as durable as a satin stitch would be. On boys’ garments, though, I think the fraying that occurs can actually add character to the finished project.
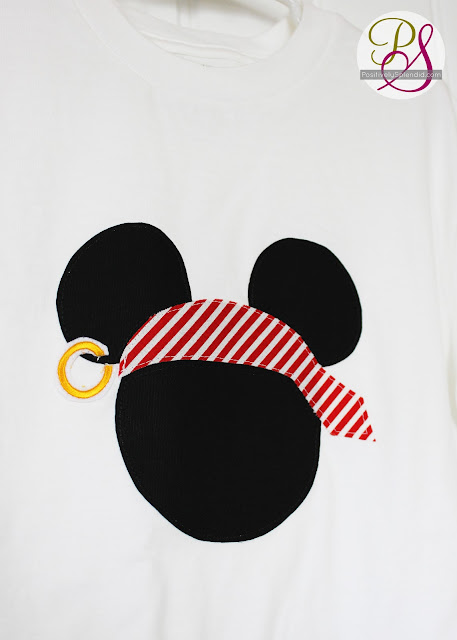
To finish with a straight stitch as I’ve done in my pirate Mickey, use a straight stitch set to a medium length (I set my machine at 3), and stitch all the way around your design, as closely as you can to the outer edge. Make sure to backtack at the beginning and end of your stitches so they don’t come loose later on. Work in sections as you stitch, stitching around each layer of the design as you go. Make sure not to try to work too quickly here: slow and steady is the way to go! If you find curves to be too challenging, stop your machine with the needle down, lift the presser foot, and carefully pivot just a touch. Lower the presser foot, stitch one or two times, and then repeat. Although this process does take a fair amount of time, this will allow you to have a steady, well-rounded line of stitches even around the most challenging curves.
If you prefer to use a satin or zig-zag stitch, stitch all the way around the perimeter of the design as you would with a straight stitch, making sure that the “zig” of the stitch falls within the design, and the “zag” of the stitch falls just outside of it. This way the entire outer edge will be protected from fraying. I think designs finished with a zig-zag have a more homespun, cozy feel.
An important note about thread: I firmly believe that for projects done with a satin stitch, there is no substitute for a high-quality rayon thread (some brands are Sulky and Madeira). The produce a lovely, shiny finish that just isn’t achievable with 1oo% cotton.
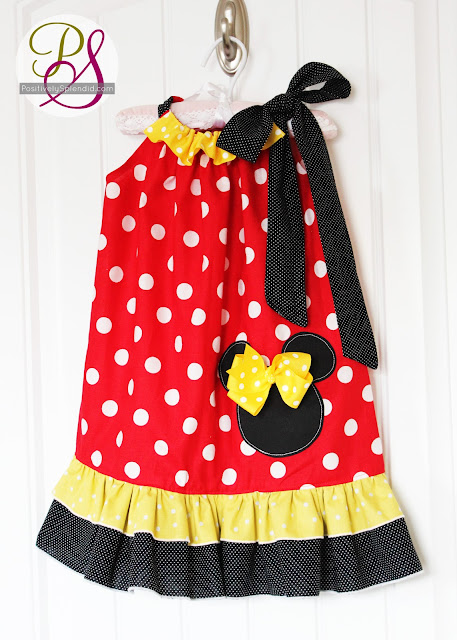
An important note about thread color: For appliqué beginners, I highly recommend using a thread color that matches well with the material in your appliqué design. For instance, in my Mickey shirt below, I used black thread to match the black fabric of the bottom layer, and white thread to blend well with the top striped layer. It is extremely difficult even for experienced sewists to make stitching look completely polished when using a thread color that contrasts considerably with the background!

Step 8: Tear Away Stabilizer
Once your design is stitched into place, turn the garment inside out and tear away the stabilizer. A pair of tweezers can be handy for getting rid of the any tiny pieces that remain.

Step 9: Apply Additional Embellishments to Your Design (Optional)
If desired, use a needle and thread to affix any additional embellishments to your design by hand. Great options here are bows, buttons and beads.


Having grown up in a home brimming with sewing notions and paintbrushes, Amy has a deep love for all things creative. On any given day, you’ll find her knee-deep in her latest creative endeavor, with projects ranging from sewing and crafts to home decor and kid-friendly ideas. Amy believes that everyone, regardless of skill level or experience, possesses the ability to create something beautiful, and Positively Splendid was born of her passion for helping others harness their innate creative potential.
Thank you so much for the tutorial! I’ve just began learning about applique and was wondering how to sew the pieces to a t-shirt or onesie–good to know about using a stabilazer.
Thanks so much for sharing. I was wondering if I could do it with just a simple sewing machine.
HI, Amy
These are awesome, I love the pillow case dress with Mickey. : )
This is great! Thank you for the tips!
I just bought my kids some nylon lunch boxes. They’re pretty floppy and I was wondering if an appliqué would work on them. What do you think?
Awesome tutorial, Amy! 🙂 Love the “Pinable” graphic you made too…made it much easier to Pin this. 😉
Great info! I just wanted to add that I use freezer paper as a stabilizer.. works great, and a huge box of it will last forever.I put the shiny side towards the fabric inside the garment and press briefly with an iron. Also, one way to avoid fraying is to use a zig zag stitch rather than a straight stitch.
I’m disappointed to see that you are only straight stitching the applique on the background. I’ve taught many sewing classes before and for a lasting piece, that won’t ravel out, I always taught to use a satin stitch (a very close zigzag) that covered the raw edge of the fabric. Try it…I think you’ll like it better and be happier with the results!
Actually the frayed look is very popular right now. I like to use a zig zag stitch on the edges to allow a tad bit of fray, and to give my pieces character, especially for little boys. It still holds up very well. The satin stitch is a more traditional look, and while it is very beautiful, sometimes a straight or zig zag looks better.
Amy, you are amazing!
such a great tutorial. love it!
xo
kellie
great tutorial Amy!! LOVE LOVE how your appliques look!!
One thing that I struggle with in my head… If I am appliquing onto a onsie or t-shirt, obviously you can’t turn the peice 360 degrees. What do you do?
Thank you for posting this. I am also learning to cut fabric with my cricut and wanted to try my hand at appliqué but have been so nervous. I’m a newbie at sewing and it’s been a long time since I’ve seen anything. But this tutorial seems like I just might be able to do it!
Great guide! I am a big appliquer and picked up a few great tools from this! Thank you!
I have never attempted it, but now I am going to. Thankyou
Hi there! I know this is kind of off-topic however I needed
to ask. Does running a well-established website
like yours take a large amount of work? I’m brand new to blogging however I do write in my diary everyday. I’d like to start a
blog so I can share my own experience and views online.
Please let me know if you have any kind of suggestions or tips for
new aspiring bloggers. Thankyou!
Hi Amy! Just found this tutorial and I love it, thanks! I am happy to see that it is “OK” to use straight stitch sewing for applique!! I also happen to like a little bit of fraying after a few washes!!
I have a question and I hope you read this and can help! What do you do with the threads after you are done? I pull them through the back and tie them off, but sometimes I have trouble when I backstitch in the beginning and ending– sometimes the thread gets caught up or sewn into those stitches and I can’t find the loop to pull the top thread through to the back (if that makes sense?) Just wondering if you have any tips or do it another way?
Thank you! 🙂