
I was the lucky recipient a few weeks back of a downright impressive shipment of Rit Dye, and I knew the moment I cracked open the box that I wanted to use the dye for something Christmassy. The array of vibrant colors contained in that one humble package made my heart sing!

Since I had never dyed anything before, I was a bit apprehensive about coming up with a project idea for using my goodies. In my quest for just the perfect idea, I did the one thing any southern girl knows is essential before trying something new: I called my mama. 🙂
So before I go any further, full credit must go to Mama Reita for this project idea. After telling her that I really needed something fun to dye – an outside-the-box idea for something other than the typical fabric – she said, “Why don’t you do something with corn husks? Those are a natural fiber and should dye well.” Eureka!
Did you know that Rit Dye can be used to dye anything from wood and wicker to paper and even certain types of plastics? It’s true! And trust me: once you get your feet wet with dyeing, you will want to add new color to everything in sight! With the Rit Color Formula Guide, you can achieve just about any color under the rainbow by combining different amounts of different colors of dye.

I actually mixed two colors for my project today to achieve just the look I was going for, and I couldn’t be more pleased with the result!
So, let’s get started creating, shall we?
For this project, you will need…
Rit Dye: Teal, Cherry Red, and Tangerine
Gloves
1 package of corn husks (found in the Hispanic foods section of most markets)
Styrofoam cones
U-shaped floral greening pins
Twine
Hot glue
Bells or other small baubles
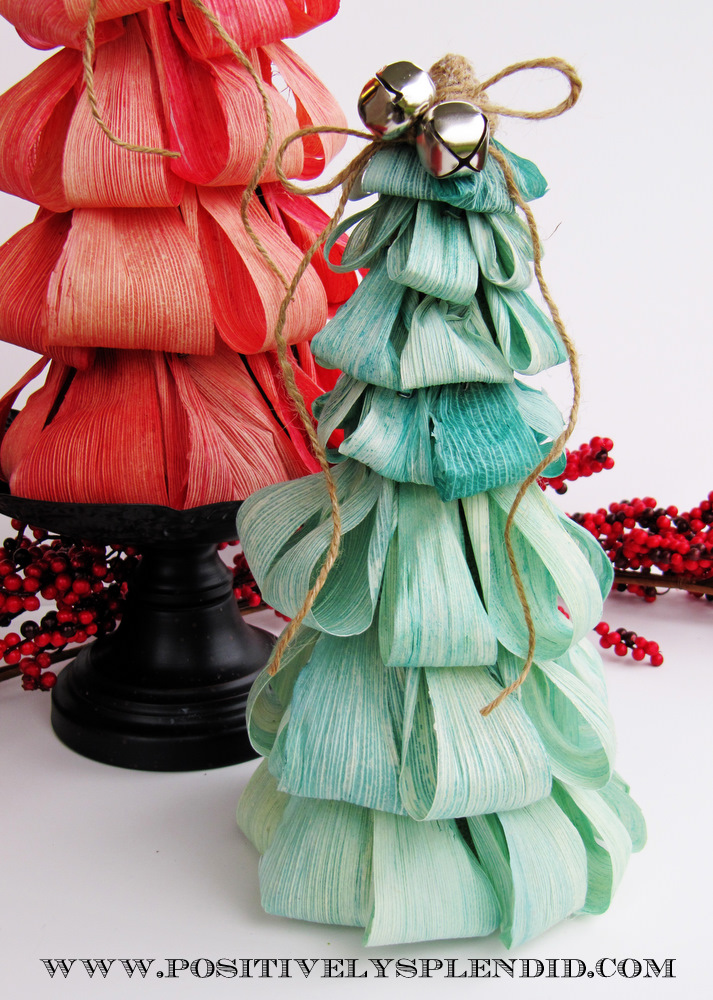
step 1 / For the teal trees, mix 7-8 teaspoons teal dye with 3 cups of hot water. For the rust-colored trees, mix 5 teaspoons tangerine dye and 2 teaspoons cherry red with 3 cups of hot water. While wearing plastic gloves, submerge your corn husks completely in the dye, making sure none of them are stuck together. Allow your husks to percolate for 15 minutes or so, or until they are your desired intensity of color. Remove your husks from the dye and allow them to dry slightly on sheets of freezer paper or newspaper, using a paper towel to blot away any beads of dye that remain.
Note: This short soaking time results in a rustic, striated look. I would imagine that soaking for a longer period would result in a more intense color. Also, when you first submerge your husks, the dye will bead off a bit, and that is okay. Once they are fully wet, they will absorb more of the color.

step 2 / While your husks are still wet, tear each into three sections, following their natural grain as you tear. Fold the individual pieces in half to form a loop and, starting at the bottom of your cone, attach at the end with a greening pin, as shown. Continue working around your cone to form rows of slightly overlapped loops.

step 3 / When you get to the top half of your cone, cut smaller pieces of husk to form your loops. I found that trimming each husk in half with a pair of scissors across the grain before tearing into strips worked perfectly for achieving just the right size for these pieces. Continue adhering your husk loops with greening pins until your entire cone is covered.

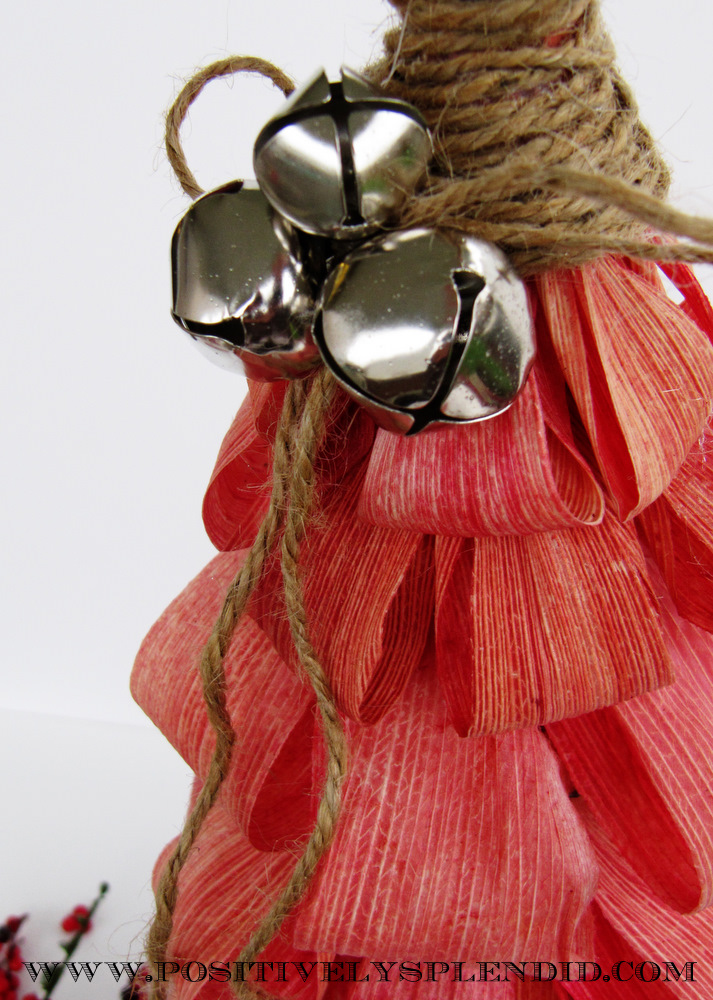
step 4 / To finish your tree, wrap twine around the tip of your corn, securing with hot glue as you work.

step 5 / Cut a long length of twine, and tie it just below your twine-covered top. Slip two bells onto the tails of your twine piece, and tie the twine into a bow to secure them in place.

All finished!
I have to say that these little gems make me very nostalgic for New Mexico. I think they convey such a funky, Southwestern feel!


So how would you like to win every single color in the Rit Dye rainbow? You **might** just want to make it a point to stop back by here on Friday. Hint, hint. 😉
And to keep up with all of the latest goings-on with Rit Dye (and for lots more fun dyeing ideas!), be sure to tune in to all of their spots on the web:
Rit Dye Site: https://www.ritdye.com/
Rit Dye Blog: https://www.ritdye.com/blogs
Rit Dye on Facebook: https://www.facebook.com/RitDyeColorCommunity
Rit Dye on Twitter: https://twitter.com/#!/ritdye
Thanks for stopping in!

Having grown up in a home brimming with sewing notions and paintbrushes, Amy has a deep love for all things creative. On any given day, you’ll find her knee-deep in her latest creative endeavor, with projects ranging from sewing and crafts to home decor and kid-friendly ideas. Amy believes that everyone, regardless of skill level or experience, possesses the ability to create something beautiful, and Positively Splendid was born of her passion for helping others harness their innate creative potential.
Very Cute!
I think this might be a Daisy Girl Scout activity for my troop this Sunday, along with a few other tree tutorials you posted!
Neat project!
This would be a great scout activity!
Who knew you could dye corn husks?! Apparently your mama did! 😉 Great project!
Such a fun idea Amy!! You are so clever.
I featured it on my TT&J FB page 🙂 Love ya!!
xoxoxo
Jen
Very clever, and I love the twine & jingle bell toppers. I just shared this on the StyroCraft Facebook page. Thank you! Sharon
Love your trees! Very unique!