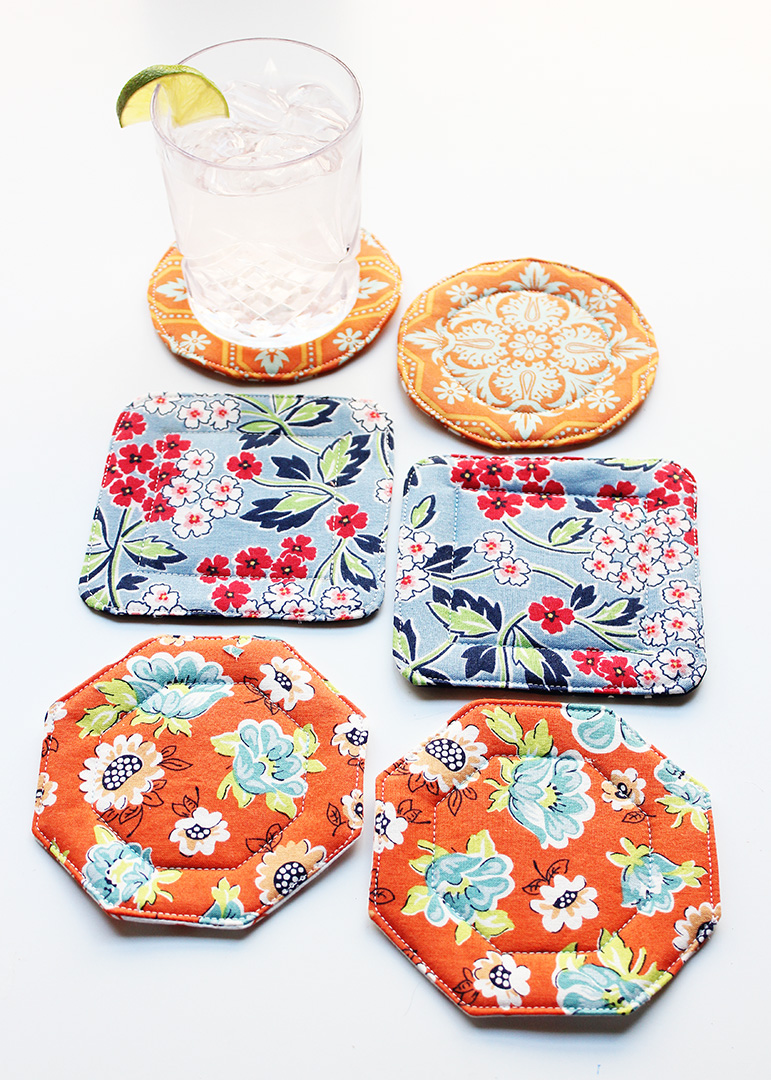
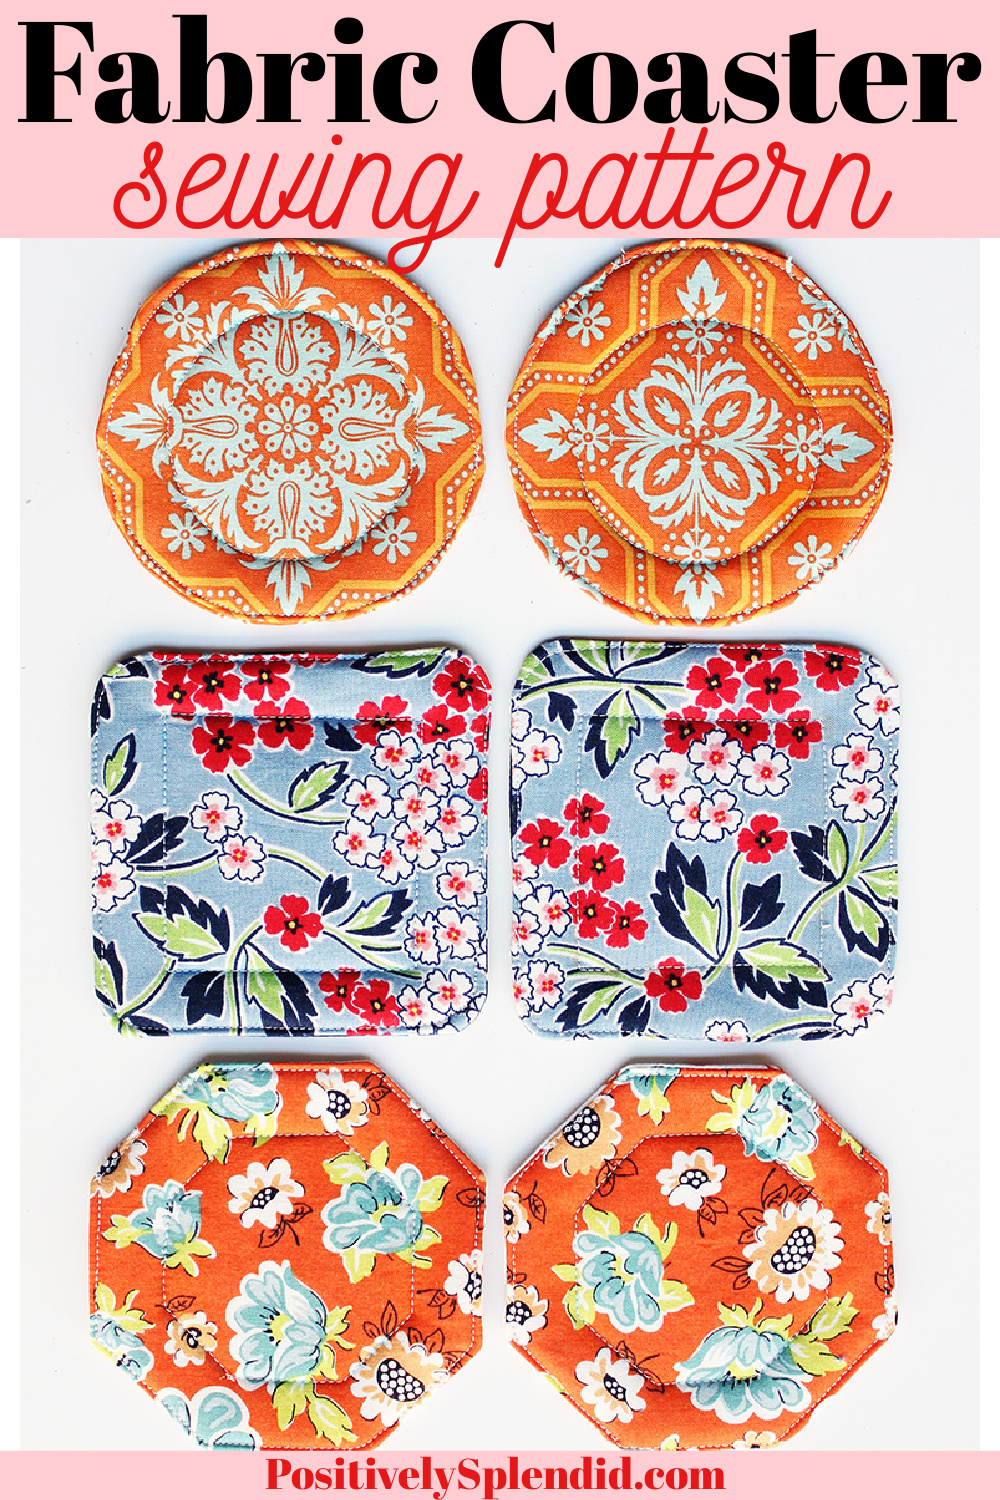
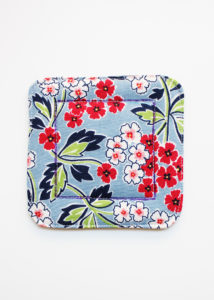
I love a good sewing project that uses up fabric scraps, and these easy fabric coasters are absolutely perfect for that! I’ve got a free pattern for fabric coasters in three fun styles: circle, square, and geometric. All of the styles are sewn with the same process, which takes just a matter of minutes. These fabric coasters are an easy sewing project for beginners, and a set of them makes a great handmade gift idea. In this post, I’ll walk you through all of the steps to make fabric coasters with my free downloadable pattern. Let’s get started!
To make these fabric coasters, you will need…
Supplies:
-
Fabric Coaster Sewing Pattern (click link for the free download)
- Fabric in two patterns (scraps and fat quarters are perfect)
- Fusible fleece
- Coordinating thread
Equipment:
- Sewing machine
- Point turning tool
- Washable marking pen
- Basic sewing tools (check out my must-have sewing tools here)
A printable PDF version of the tutorial is available below.
Make Your Cuts
For each of the fabric coaster styles, cut the following pieces for each coaster you wish to make:
- 1 front fabric piece
- 1 back fabric piece
- 2 fusible fleece pieces
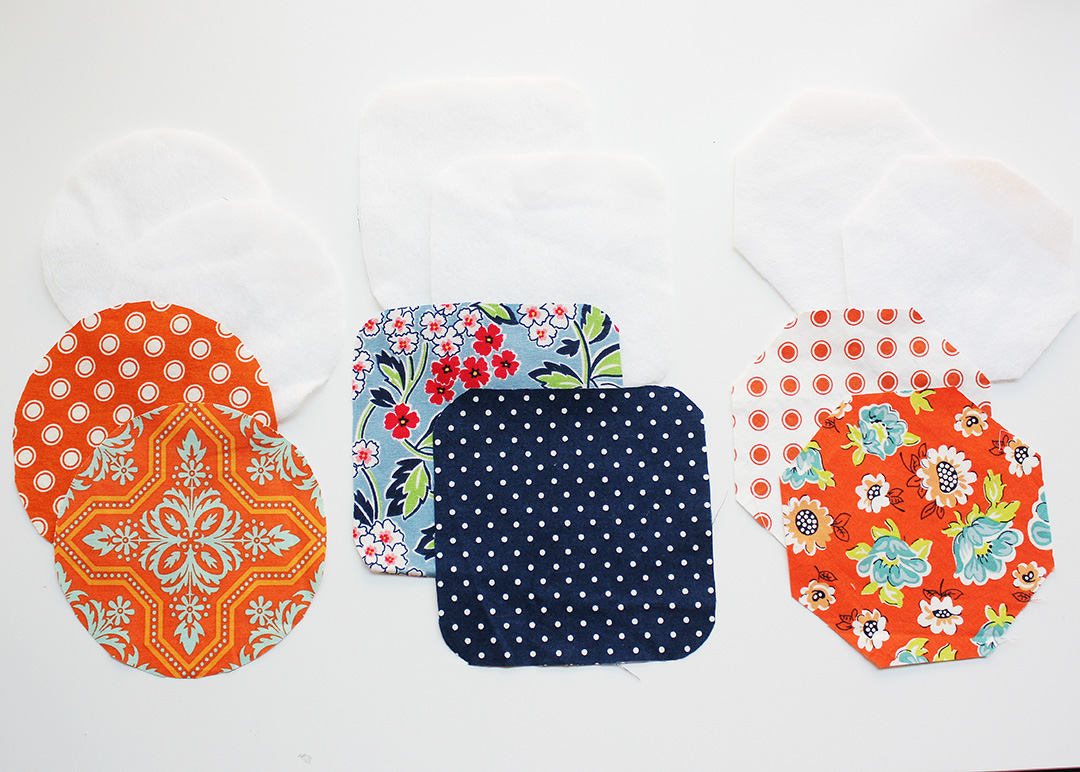
Note: I’ll show the steps for sewing the coasters using the square design, but the same method applies to how you will make the other two designs, as well.
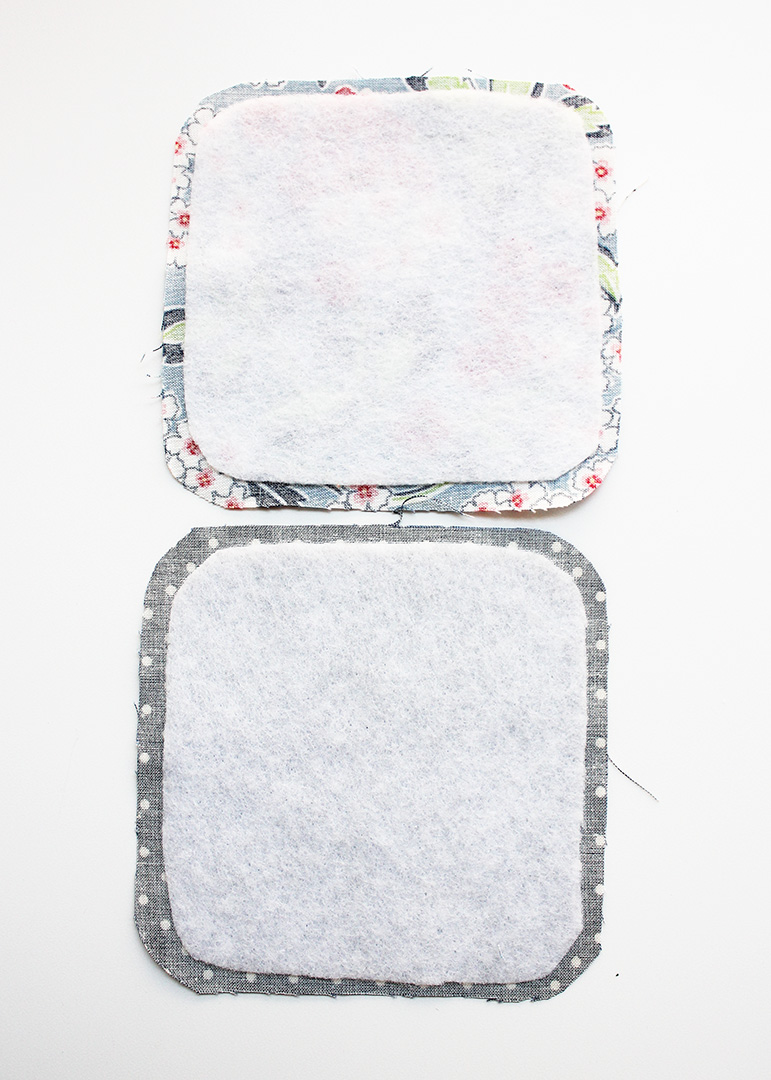
Prepare Pieces for Sewing
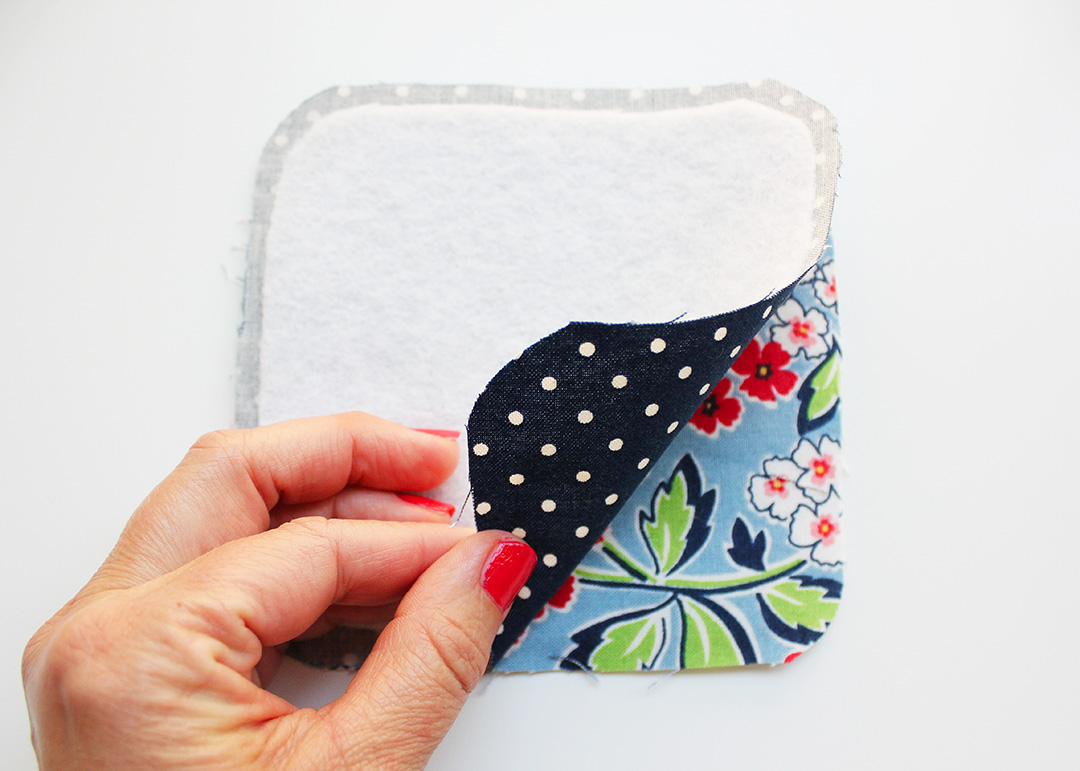
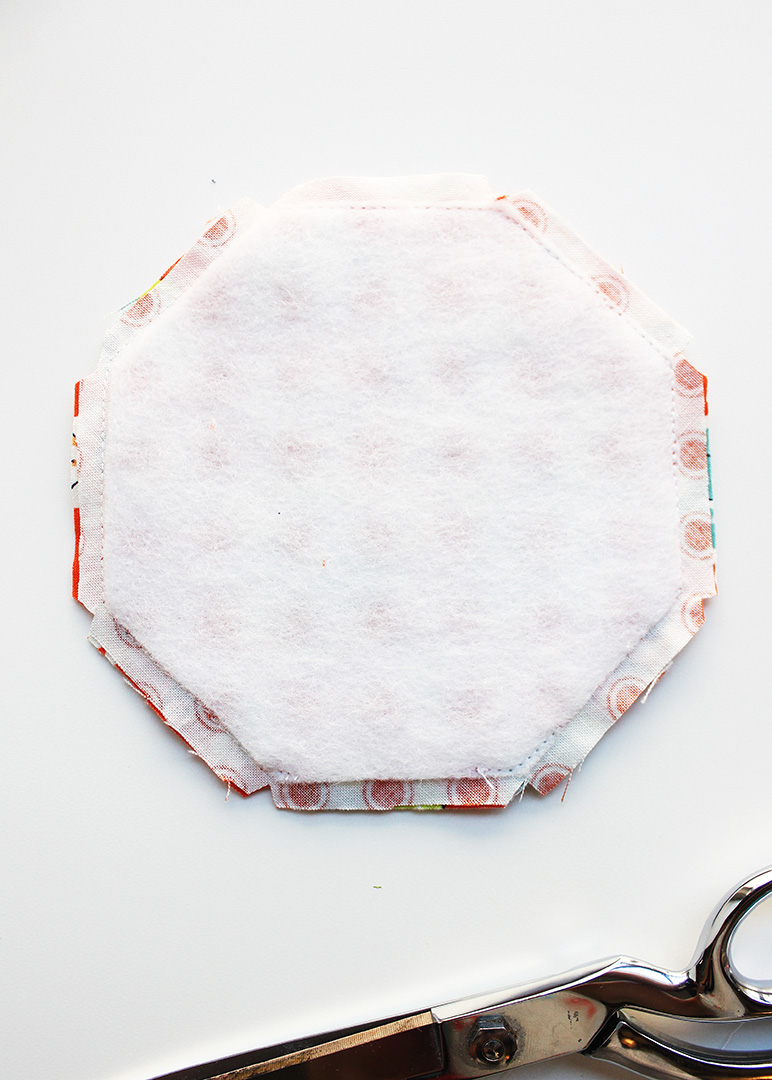
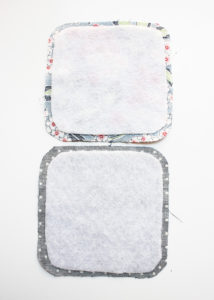
At your ironing board, center the fusible fleece pieces on the back side of the fabric pieces, making sure there is an even border around all sides of the fleece, as shown. Making sure the fleece stays in place, carefully flip over each piece so that the right side of the fabric is visible and the fleece layer is underneath. With an iron set to the wool setting, press the fabric side for about 10 seconds, until the fleece is bonded to the fabric.
Lay one of the fused fabric/fleece pieces right side up on your work surface. Position the other fused piece face down on the first piece, so that all of the sides are precisely aligned. Pin.
Sew Pieces Together
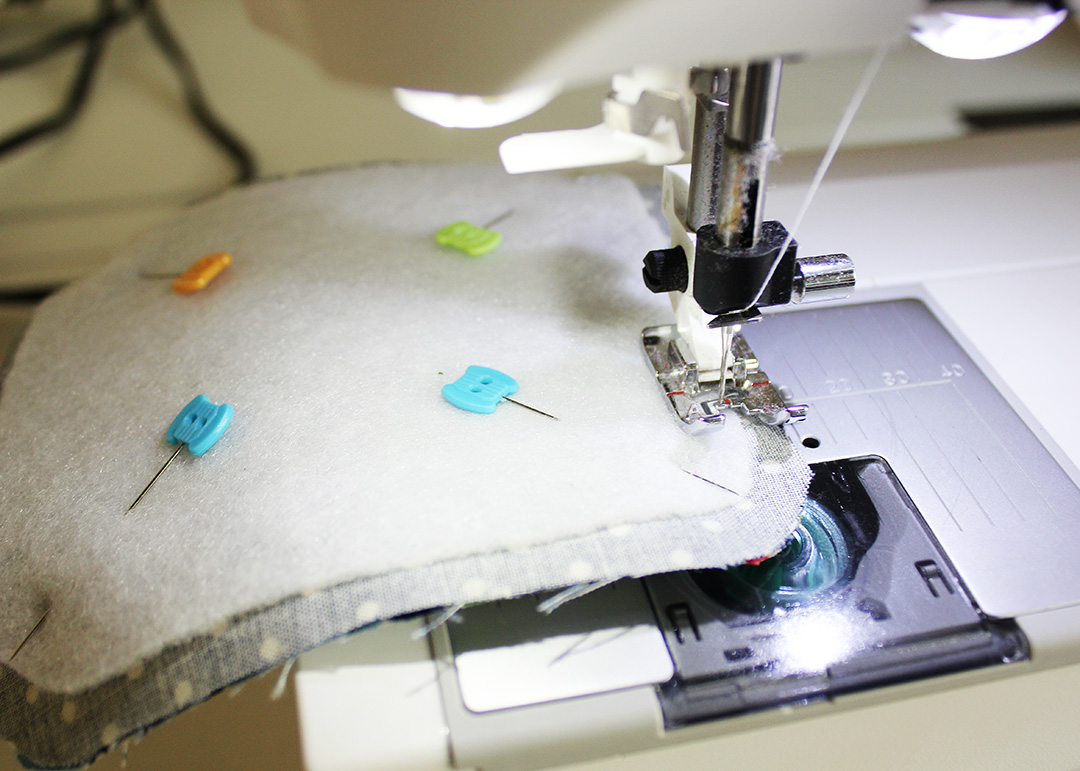
Using a 1/4″ seam, stitch the pieces together, leaving a 1.5″ opening on one of the sides for turning.
Note: A 1/4″ seam is used for the circle and geometric coasters, as well. For the circle fabric coasters, leave a 1.5″ opening for turning. For the geometric fabric coasters, leave one of the straight sides unstitched for turning.
Notch Seams and Turn
For the square coasters, use shears to carefully make notches at each of the curved corners, as shown.
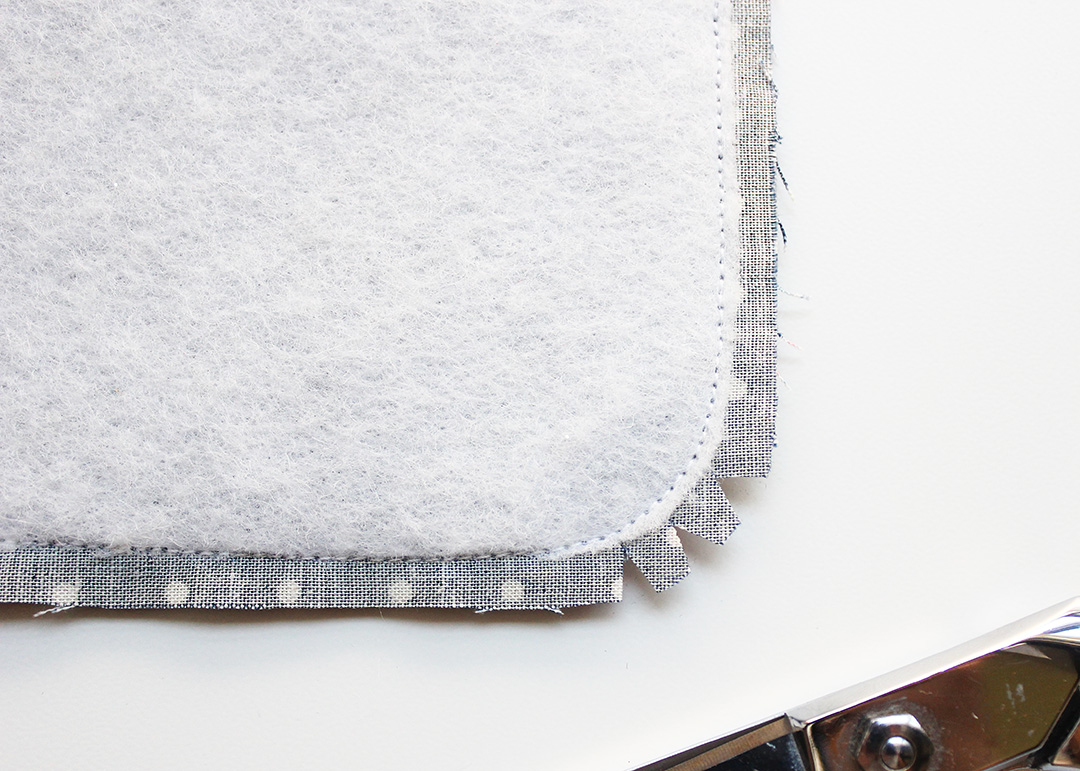
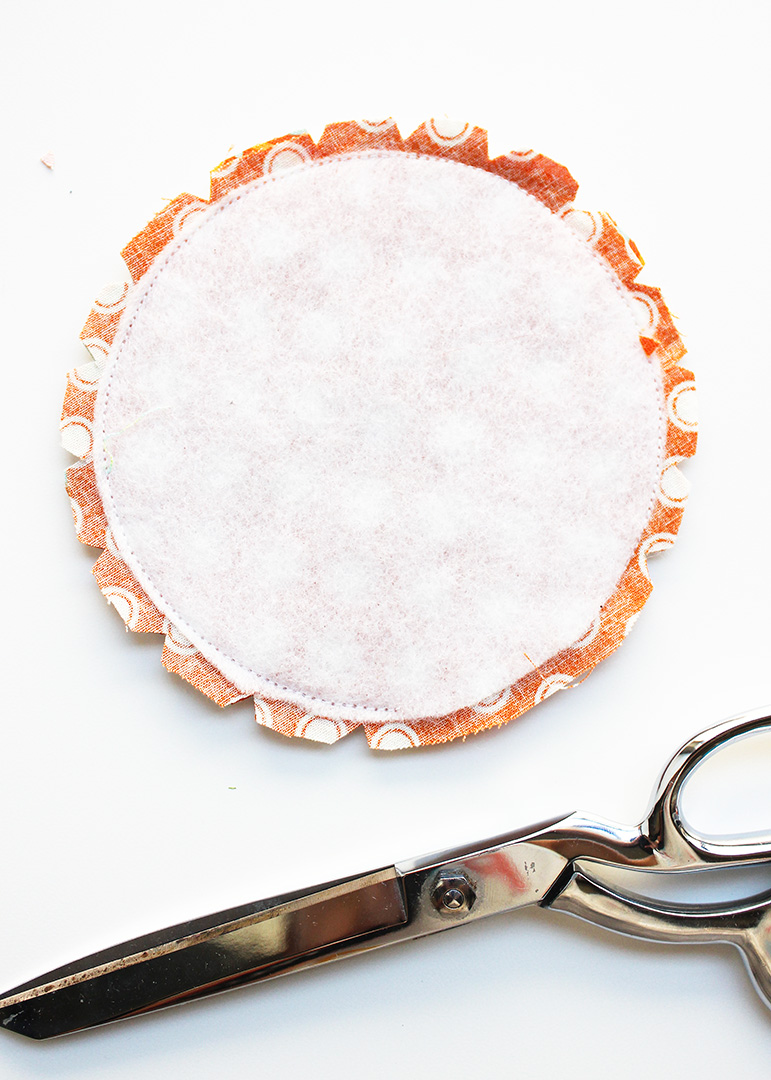
For the circle coasters, make notches around the entire curved perimeter of the stitched pieces, leaving the unstitched portion of the seam (the opening you left for turning) without notches. (This will make it easier to tuck that unstitched seam into the coaster to finish later on.)
For the geometric coasters, make a small notch at each of the corners.
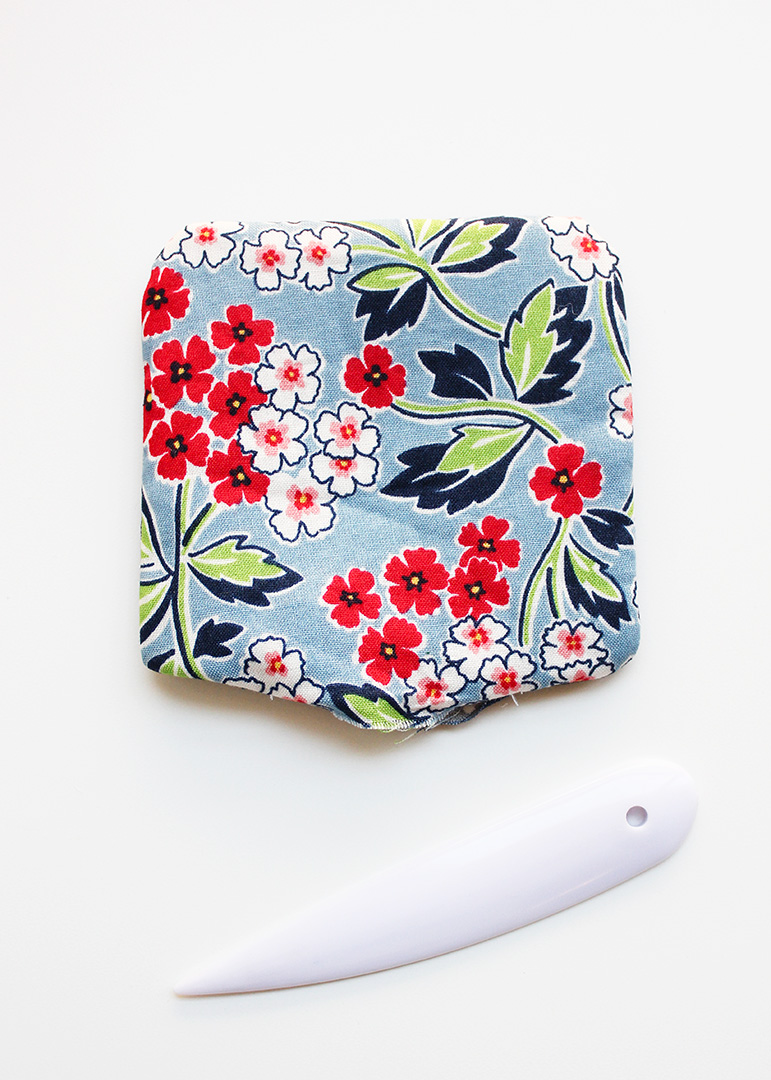
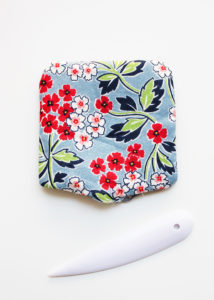
Turn the fabric coaster right side out, using a point turning tool to make the seam and corners nice and crisp. Tuck the unstitched edges into the opening and press everything flat.
Finish Sewing
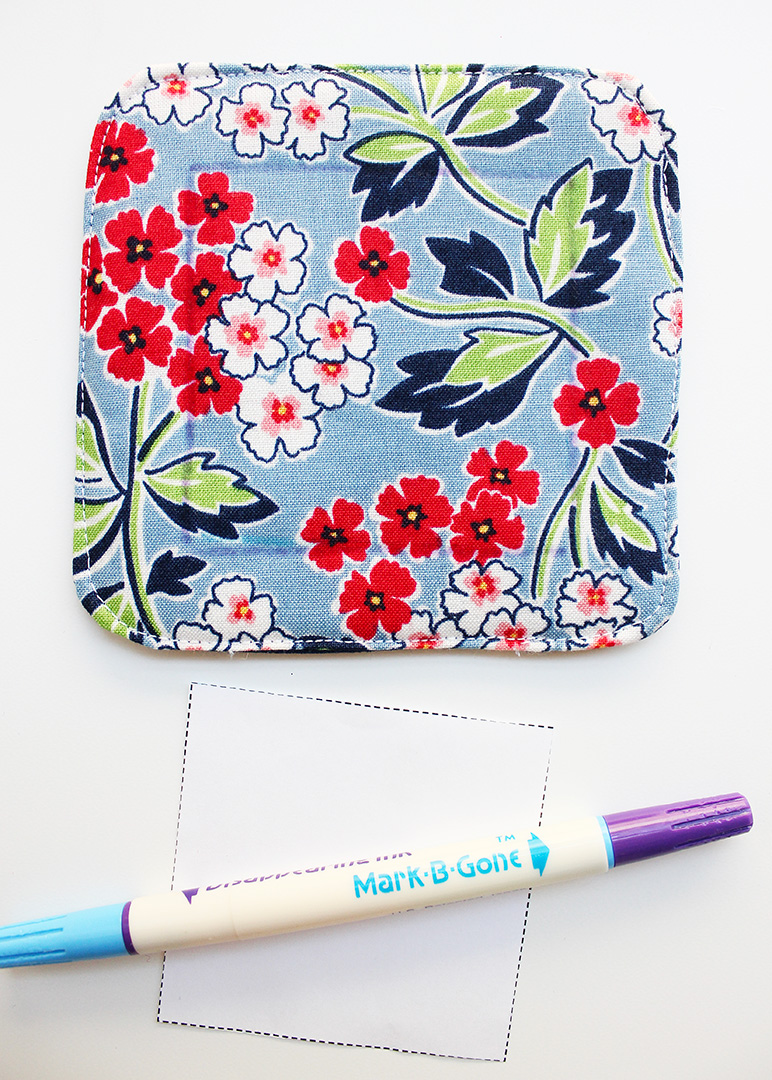
Edgestitch 1/8″ from the edge of the entire outer perimeter of the pressed piece, stitching the opening closed as you go.
Carefully center the Topstitch Tracing Template from the printed pattern onto the coaster and use the washable marking pen to trace around all sides of the template.
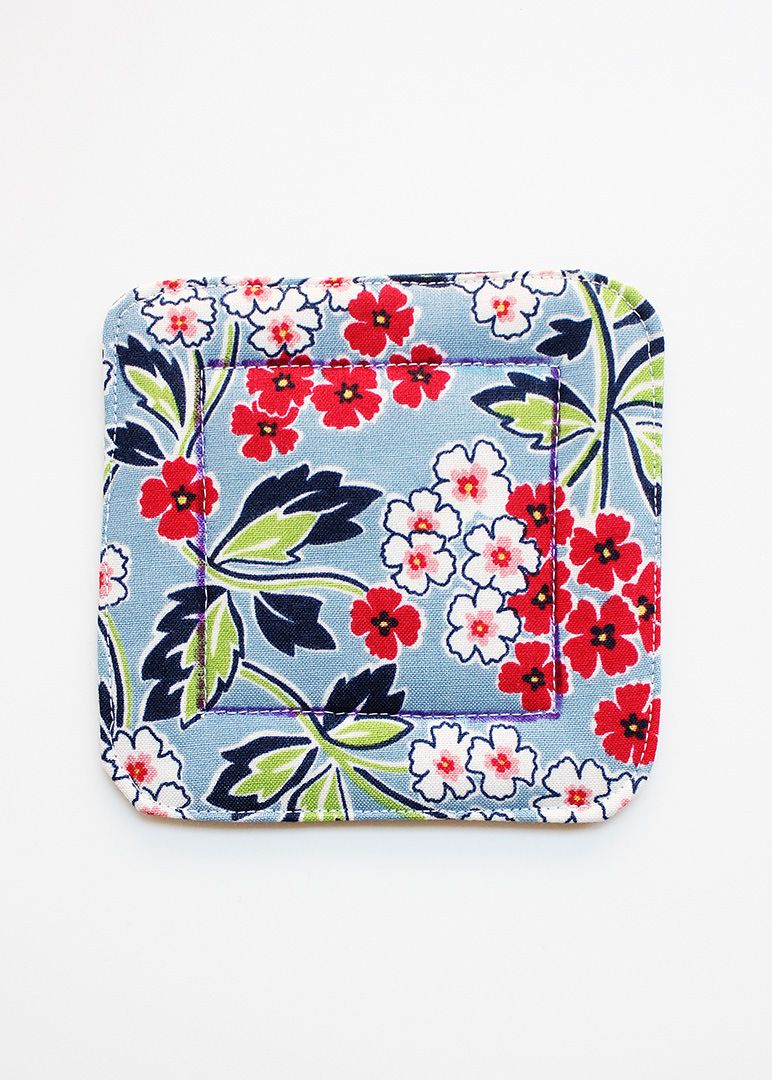
Topstitch along the tracing, as shown.
Repeat the preceding steps to create as many fabric coasters as you like. A full set of these can be made in about half an hour!
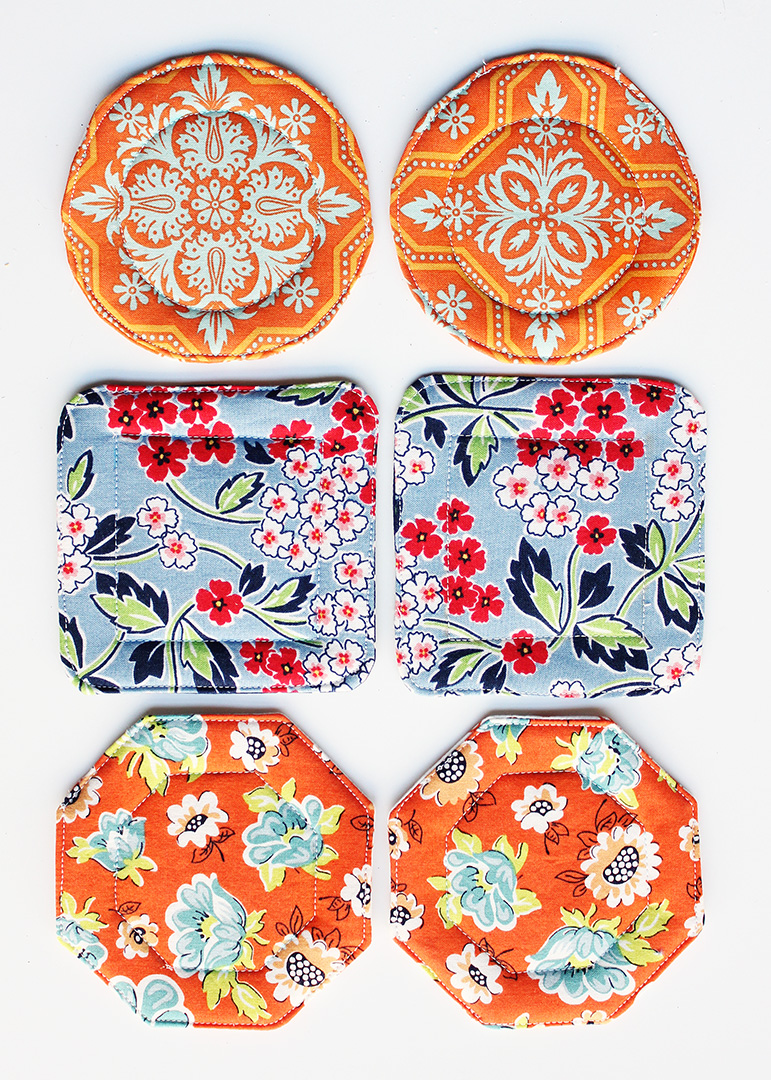
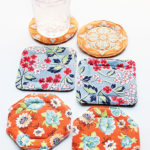
I love the tufted look the center topstitching gives to these fabric coasters. It really gives these such a professional, polished look.
I really can’t decide which style I like best!
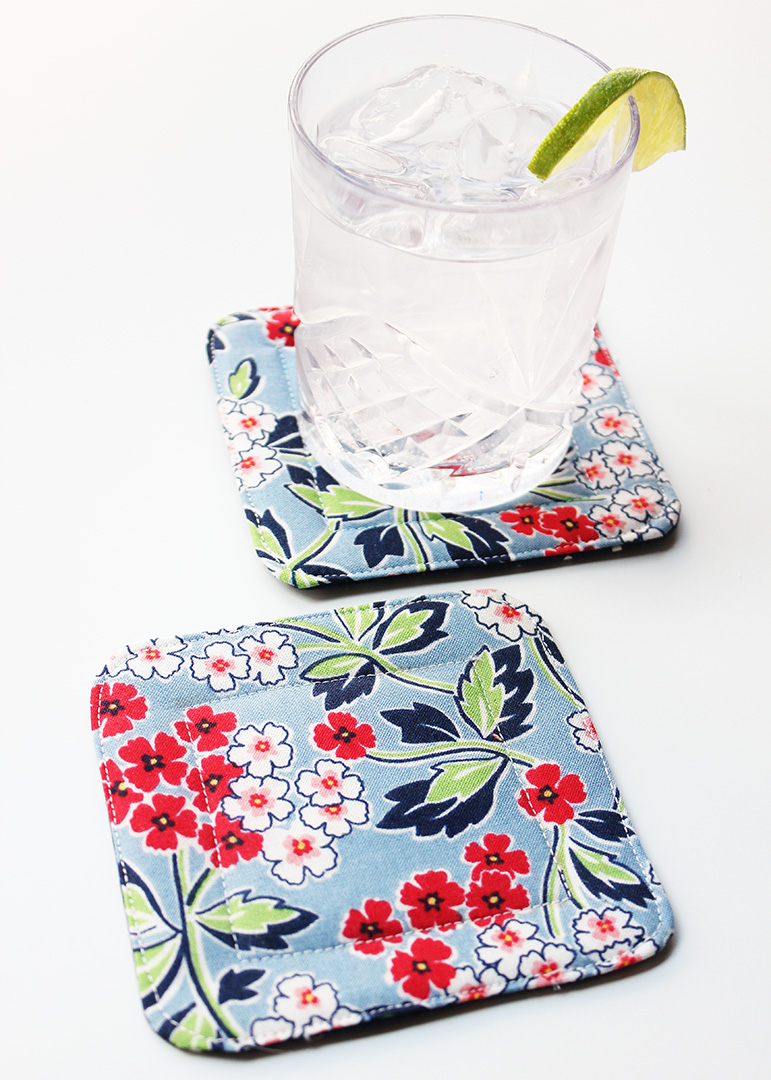
The squares…
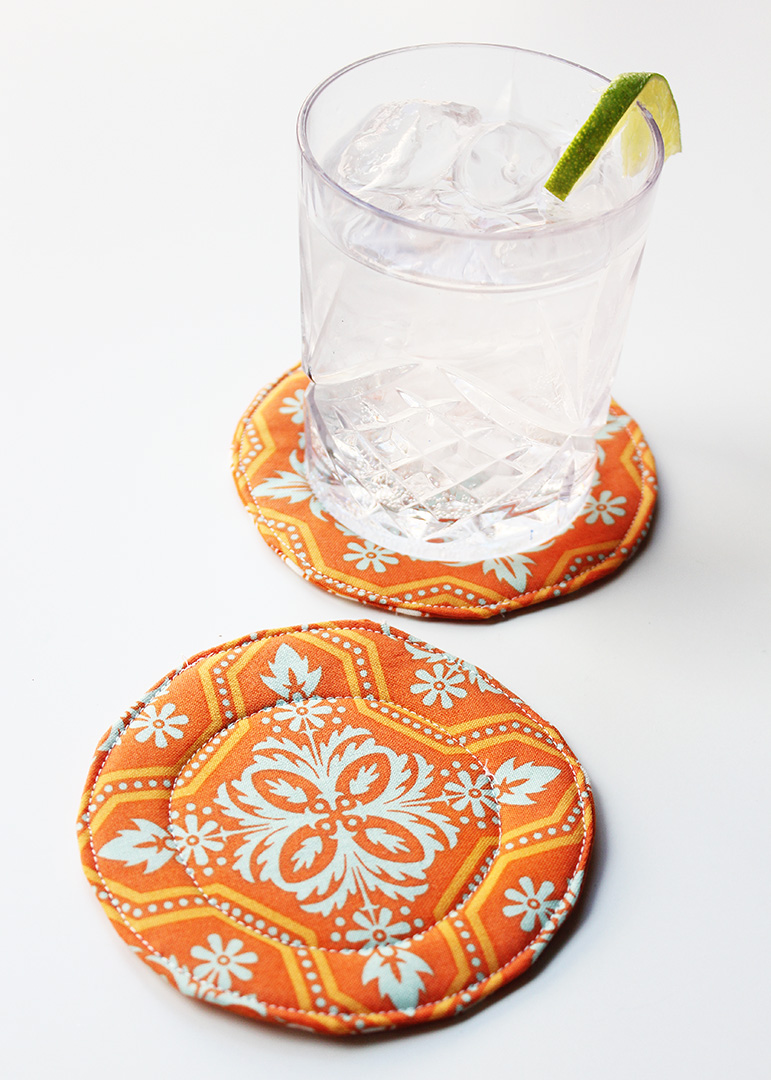
…the circles…
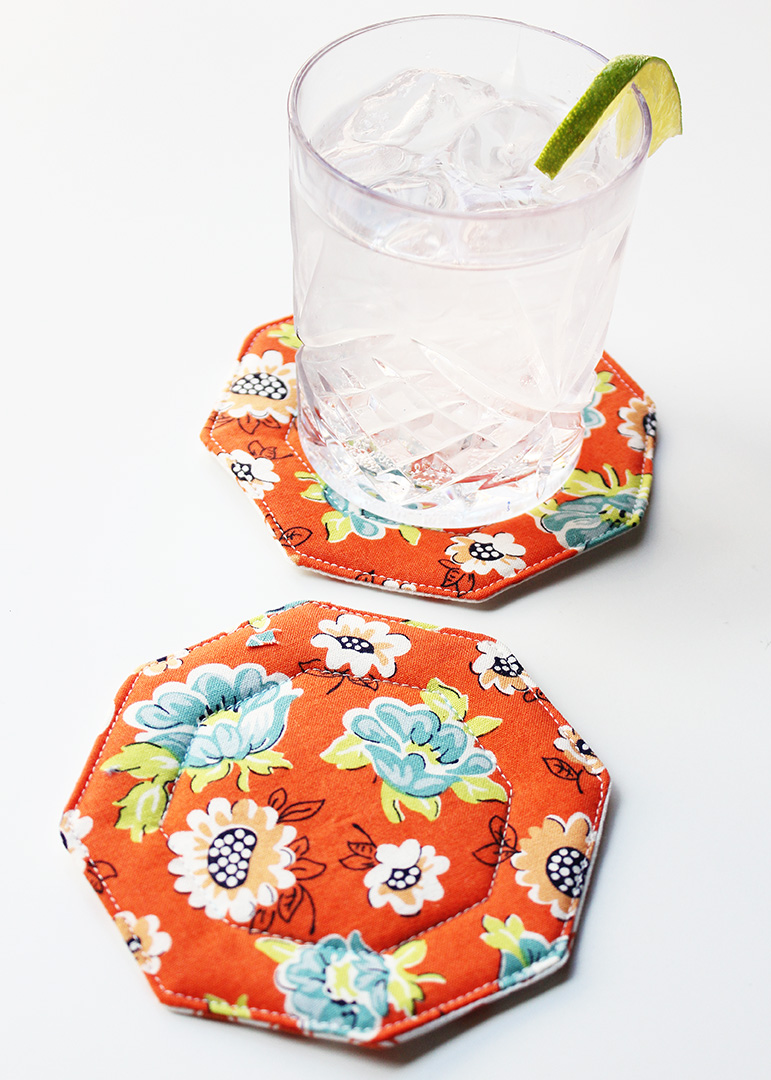
…or the geometric!
The good news is, each design is quick, easy, and requires just a tiny amount of fabric, so you can totally get away with make one (or a few!) of each!
Fabric Coaster Pattern Q&A
What is the best type of fabric to use to make these coasters? Quilting cotton is ideal for this project, since it is lightweight enough to make turning the coasters easier than heavier fabrics. This project is awesome for using up scraps of fabric left over from previous projects. Fat quarters work great, too!
Why are fleece pieces slightly smaller than the fabric pieces? This eliminated unnecessary bulk from the seams so that the coasters can lie flat more easily.
Can I use regular fleece instead of fusible fleece? You sure can. I like fusible fleece, since it prevents the fleece from shifting during sewing, but it also works to pin regular fleece to the back of the fabric pieces and sew the coasters as detailed above. Just make sure to remove the pins securing the fleece before turning the coaster right side out.
My fabric has a design I want to showcase at the center of my coaster. Any tips? In the case of fabric motifs you want to show off (like the fun designs I centered on my circle coasters), you will need to make what is called a “fussy cut.” In order to do that, pick which portion of the fabric design you want to showcase, and then precisely center the pattern piece over that section before cutting. When making fussy cuts, you can only cut out one piece at a time in order to be precise, so this does require a bit more time, but the end result really looks nice.
How many fabric coasters should I make for a set? When making these coasters to give as gifts, I like to make four coasters to give as a set. Stack the finished coasters and tie them together with a pretty ribbon (or even a strip of the same fabric they are made with) for a really nice presentation.
Fabric Coasters
Equipment
- Sewing Machine
- Point Turning Tool
- Washable marking pen
- Basic sewing tools (check out my must-have sewing tools here)
Materials
- Fabric Coaster Sewing Pattern download via the link in the project post
- Fabric in two patterns scraps and fat quarters are perfect
- Fusible fleece
- Coordinating thread
Instructions
- For each of the fabric coaster styles, cut the following pieces for each coaster you wish to make: 1 front fabric piece, 1 back fabric piece, 2 fusible fleece pieces.
- At your ironing board, center the fusible fleece pieces on the back side of the fabric pieces, making sure there is an even border around all sides of the fleece, as shown. Making sure the fleece stays in place, carefully flip over each piece so that the right side of the fabric is visible and the fleece layer is underneath. With an iron set to the wool setting, press the fabric side for about 10 seconds, until the fleece is bonded to the fabric.
- Lay one of the fused fabric/fleece pieces right side up on your work surface. Position the other fused piece face down on the first piece, so that all of the sides are precisely aligned. Pin.

- Using a 1/4" seam, stitch the pieces together, leaving a 1.5" opening on one of the sides for turning. Note: A 1/4" seam is used for the circle and geometric coasters, as well. For the circle fabric coasters, leave a 1.5" opening for turning. For the geometric fabric coasters, leave one of the straight sides unstitched for turning.
- For the square coasters, use shears to carefully make notches at each of the curved corners, as shown. For the circle coasters, make notches around the entire curved perimeter of the stitched pieces, leaving the unstitched portion of the seam (the opening you left for turning) without notches. (This will make it easier to tuck that unstitched seam into the coaster to finish later on.) For the geometric coasters, make a small notch at each of the corners.
- Turn the fabric coaster right side out, using a point turning tool to make the seam and corners nice and crisp. Tuck the unstitched edges into the opening and press everything flat. Edgestitch 1/8" from the edge of the entire outer perimeter of the pressed piece, stitching the opening closed as you go.
- Carefully center the Topstitch Tracing Template from the printed pattern onto the coaster and use the washable marking pen to trace around all sides of the template. Topstitch along the tracing.
- Repeat the preceding steps to create as many fabric coasters as you like. A full set of these can be made in about half an hour!
For more simple sewing ideas like this one, be sure to check out my 55+ Sewing Ideas for Beginners!
Having grown up in a home brimming with sewing notions and paintbrushes, Amy has a deep love for all things creative. On any given day, you’ll find her knee-deep in her latest creative endeavor, with projects ranging from sewing and crafts to home decor and kid-friendly ideas. Amy believes that everyone, regardless of skill level or experience, possesses the ability to create something beautiful, and Positively Splendid was born of her passion for helping others harness their innate creative potential.