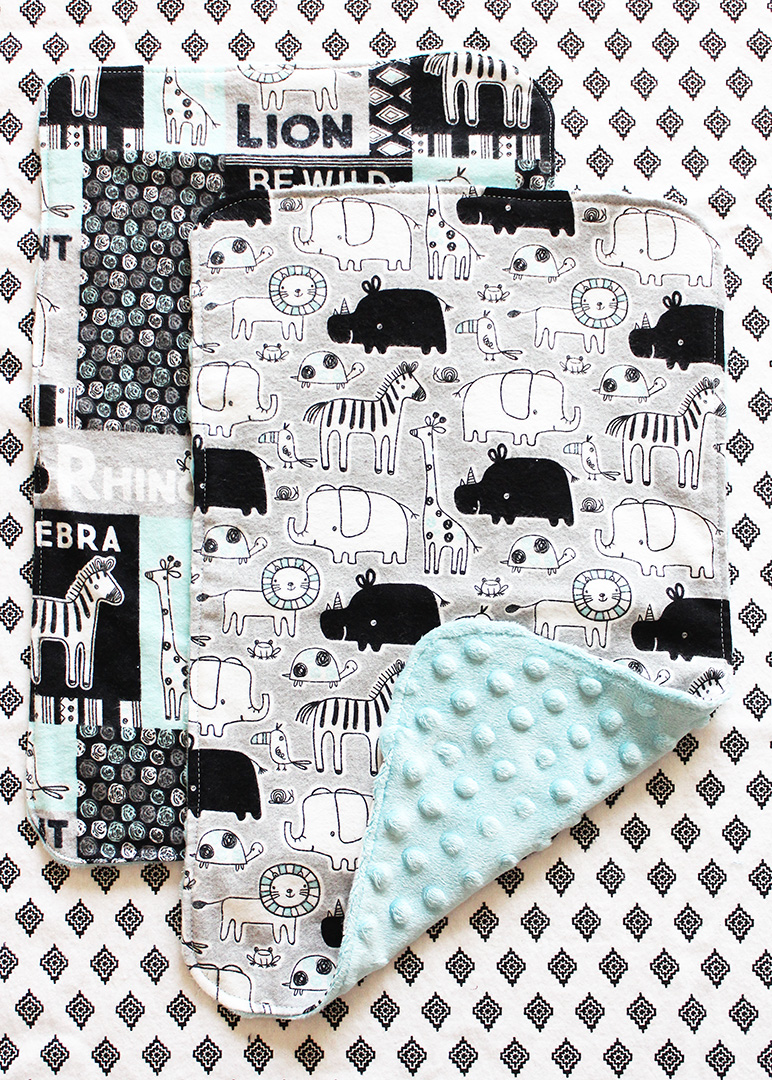
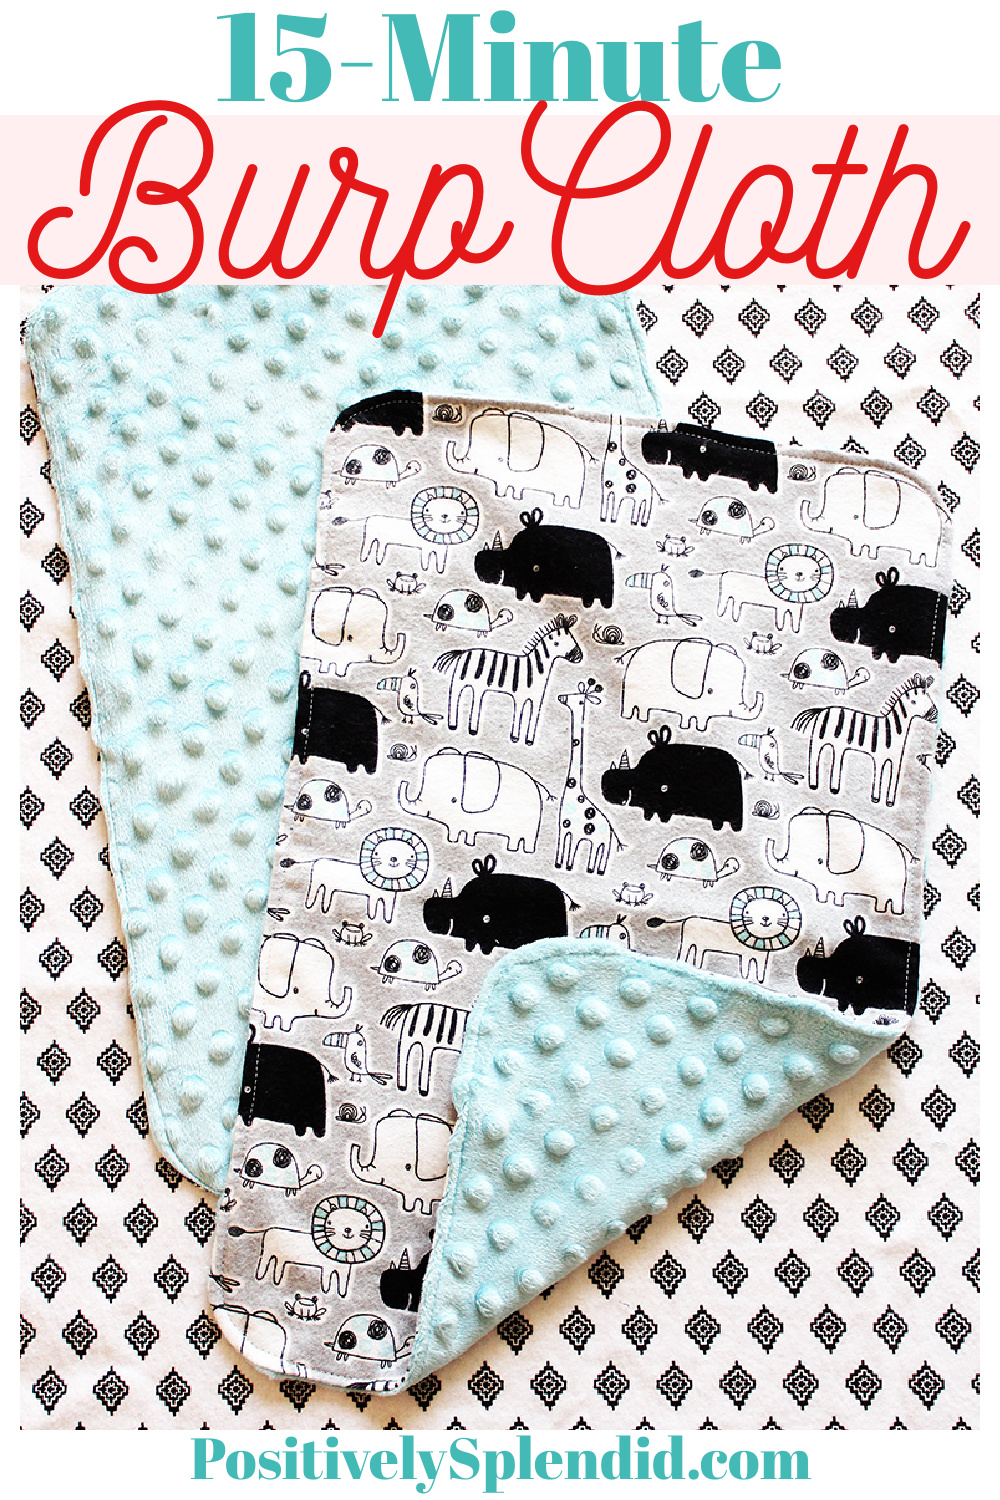
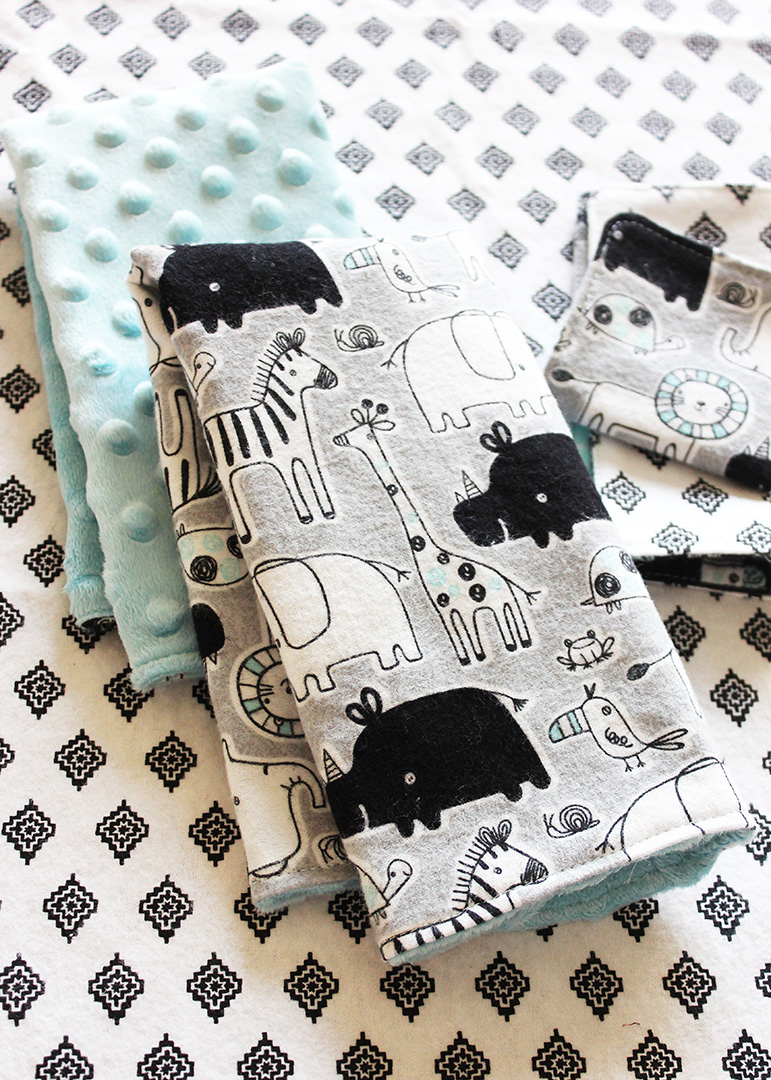
Burp cloths are some of the most functional baby items for any new parent, and it’s so easy to make them yourself with this 15-minute burp cloth pattern. Made with soft flannel and either minky or terry cloth, these DIY burp cloths are not only cute and soft, but they are super absorbent, too. Once you see how simple making burp cloths is, you’ll never buy them ready-made from the store again!
A printable PDF version of the instruction for this burp cloth pattern can be found below.
This post contains affiliate links.
For this baby burp cloth pattern, you will need…
Supplies:
- Flannel
- Minky or terry cloth
- Coordinating thread
- Burp Cloth Corner Template (if you want to round off the corners of your burp cloth like I did)
Equipment:
- Rotary cutter and mat
- Fabric marking pen (for rounded corners)
- Sewing machine
- Sewing shears
- Corner turning tool
- Iron
- Other basic sewing supplies (check out my list of essential sewing tools here)
Make Your Cuts
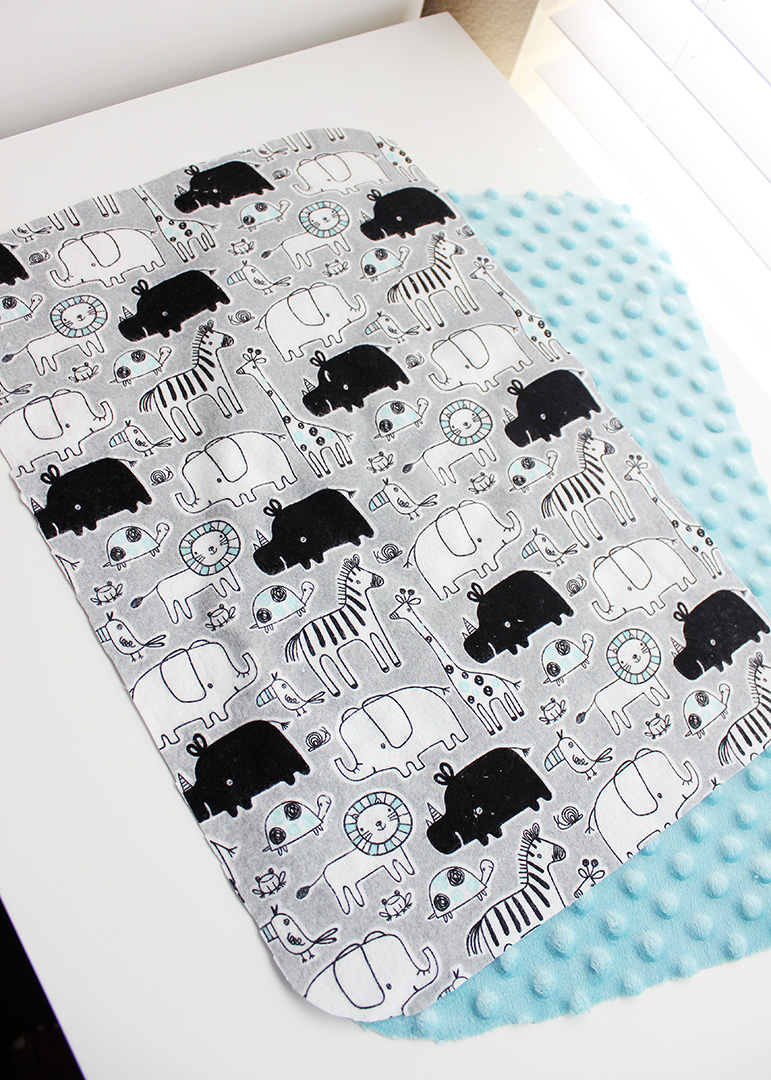
For each burp cloth, use a rotary cutter and mat to cut a front flannel piece and a back minky or terry cloth piece that each measure 12×18″.
It is entirely optional, but I like to round off the corners of my handmade burp cloths to prevent the corners from being too bulky. If you want to do the same, trace the corner template (linked above) onto each of the four corners of both the front and back burp cloth pieces using a fabric marking pen, and use shears to trim the corners to a curve.
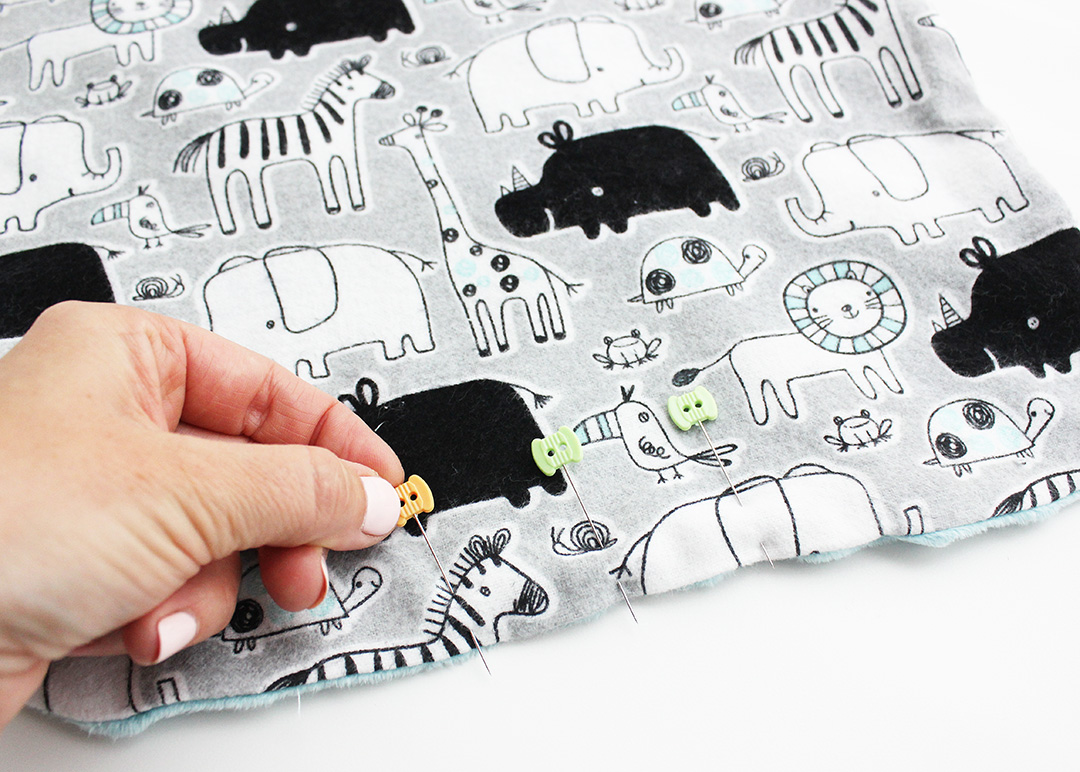
Pin and Sew
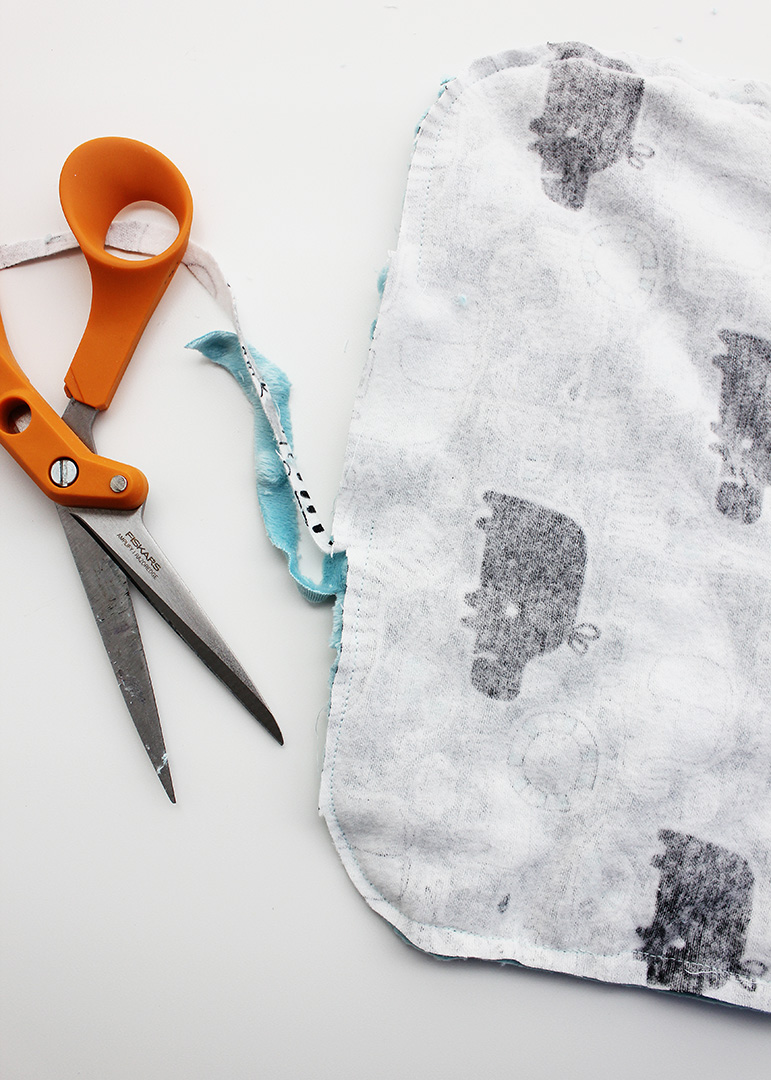
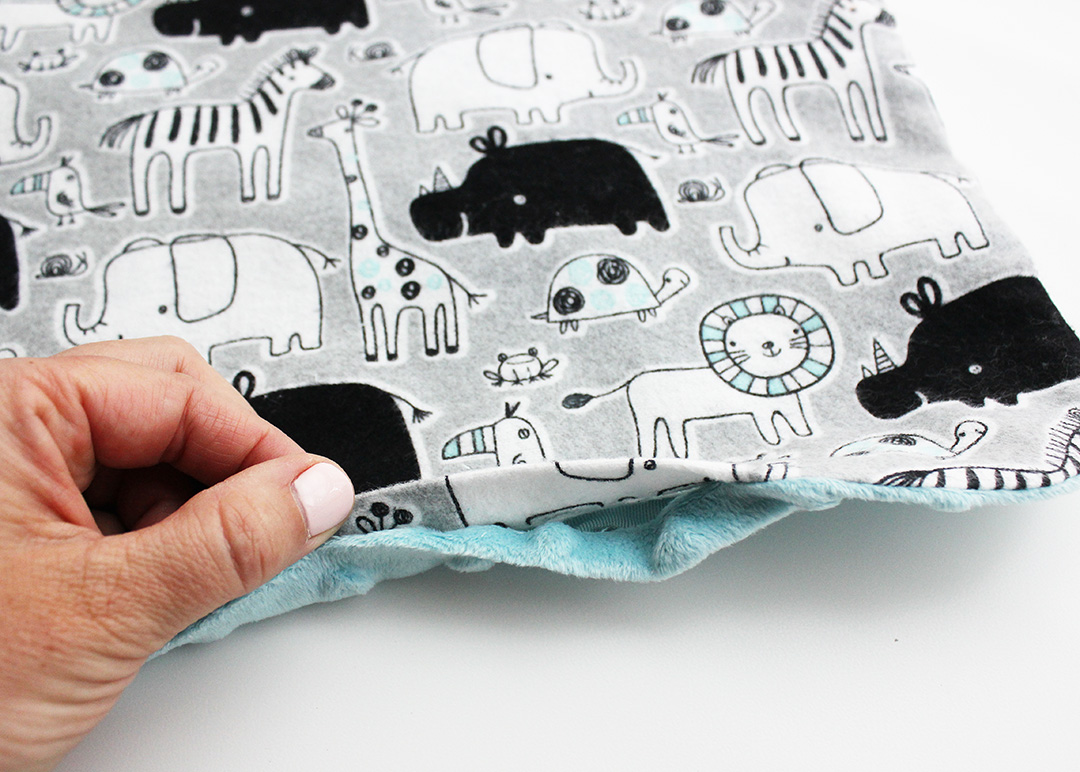
Place the two fabric pieces together, right sides facing, so that all of the edges/corners are precisely aligned. Pin. Using a 1/2″ seam allowance, stitch around the perimeter of the pinned pieces, leaving a 3″ opening for turning.
Trim the seam to 1/4″ to reduce bulk, leaving the unstitched opening untrimmed. (This will make it easier to press and stitch the opening shut in the next steps.)
Turn, Press and Finish
Turn the burp cloth right side out through the opening. Use a corner turning/seam creasing tool to make the seams and corners nice and crisp. Press the burp cloth flat, tucking the unstitched seam at the opening toward the inside, as shown. Pin the opening shut.
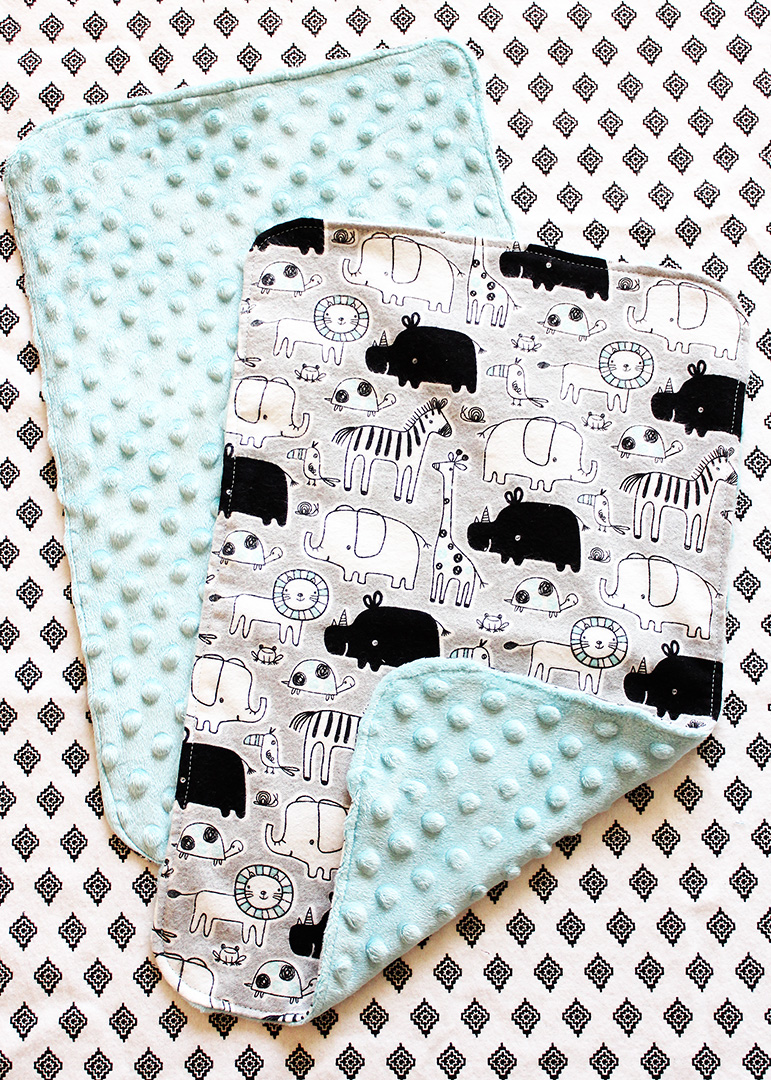
Topstitch about 1/8″ away from the edge around the perimeter of the burp cloth, closing the opening shut as you stitch. Your project is complete!
(I told you this burp cloth pattern was as simple as can be!)
Helpful Project Tips
Do I have to create rounded corners like you’ve done for your burp cloths? No, these burp cloths can be made with pointed corners, too. Before turning the piece right side out, snip the corners before turning to eliminate as much bulk as possible.
I would like to make burp cloths that are a bit larger/smaller than 12×18″. Can I use this pattern to do that? Absolutely! Cut the fabric pieces for your burp cloth to any desired size before following the instructions outlined above.
I don’t have minky on hand, or I don’t really like sewing with it. What else can I use? Instead of minky, you can also make these burp cloths backed with terry cloth, or even another layer of flannel. The same process can be followed no matter what types of fabric you opt to use.
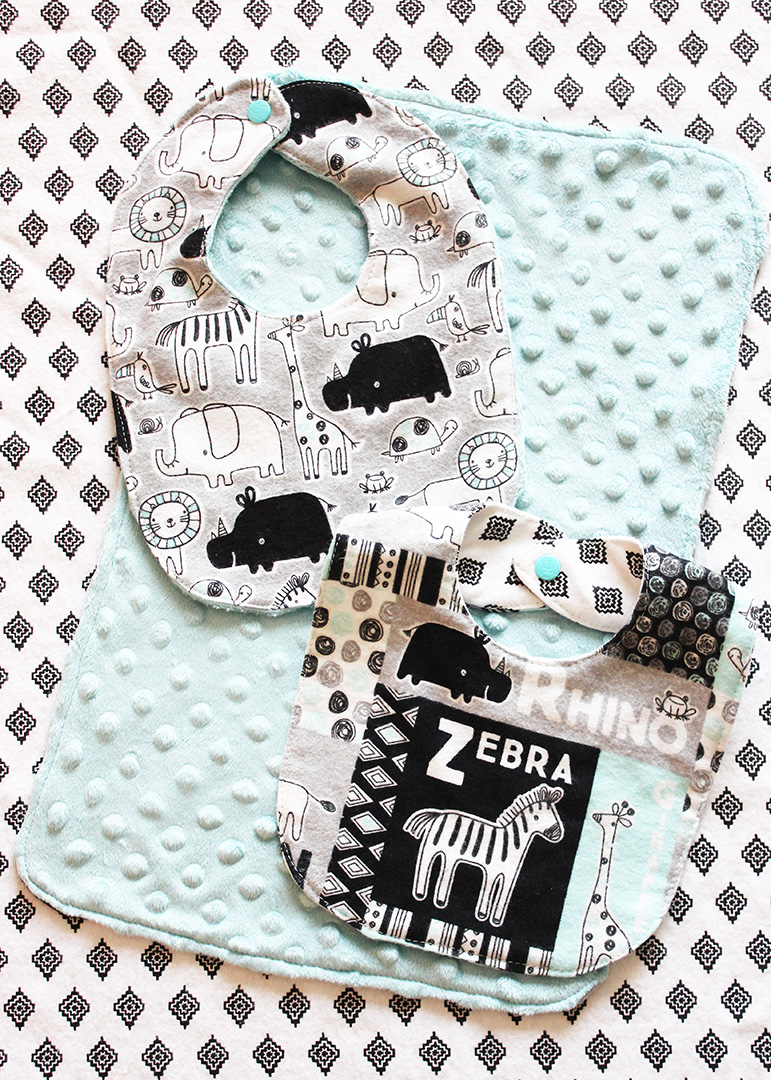
What can I make to give as a gift along with these burp cloths? Matching bibs made with my free baby bib pattern are the perfect thing to pair with a set of burp cloths to create a gift set. Throw in some other baby essentials like a receiving blanket, onesies, diapers, wipes, bottles, pacifiers, or other items. This will make a thoughtful gift any new parent will appreciate!
I would like to personalize my burp cloths with a name or other design. Any tips? It is so fun to add a personal touch to these burp cloths by incorporating a name, monogram, or any other design. Machine embroidery is a great way to add wording, and appliqued designs are perfect for other designs. (Be sure to check out my guide to basic applique!) Those design elements should be added to the front flannel piece before assembling the burp cloth as outlined above.
15-Minute Burp Cloth Pattern
Equipment
- Rotary cutter and mat
- Fabric marking pen (for rounded corners)
- Sewing Machine
- Sewing Shears
- Corner turning tool
- Iron
- Other basic sewing supplies (check out my list of essential sewing tools linked above)
Materials
- Flannel
- Minky or terry cloth
- Coordinating thread
- Burp Cloth Corner Template download above
Instructions
- For each burp cloth, use a rotary cutter and mat to cut a front flannel piece and a back minky or terry cloth piece that each measure 12x18".
- It is entirely optional, but I like to round off the corners of my handmade burp cloths to prevent the corners from being too bulky. If you want to do the same, trace the corner template (linked above) onto each of the four corners of both pieces using a fabric marking pen, and trim the corners to a curve.
- Place the two fabric pieces together, right sides facing, so that all of the edges/corners are precisely aligned. Pin. Using a 1/2" seam allowance, stitch around the perimeter of the pinned pieces, leaving a 3" opening for turning.
- Trim the seam to 1/4" to reduce bulk, leaving the unstitched opening untrimmed. (This will make it easier to press and stitch the opening shut in the next steps.)
- Turn the burp cloth right side out through the opening. Use a corner turning tool to make the seams and corners nice and crisp. Press the burp cloth flat, tucking the unstitched seam at the opening toward the inside, as shown. Pin the opening shut.
- Topstitch about 1/8" away from the edge around the perimeter of the burp cloth, closing the opening shut as you stitch. Your project is complete!
Having grown up in a home brimming with sewing notions and paintbrushes, Amy has a deep love for all things creative. On any given day, you’ll find her knee-deep in her latest creative endeavor, with projects ranging from sewing and crafts to home decor and kid-friendly ideas. Amy believes that everyone, regardless of skill level or experience, possesses the ability to create something beautiful, and Positively Splendid was born of her passion for helping others harness their innate creative potential.