Handmade Christmas ornaments are the very best way to personalize your tree with a custom touch! Today, I’m sharing a seriously clever tutorial for how to make printed canvas banner ornaments. Using freezer paper allows you to run fabric right through your computer printer, meaning you can personalize these beauties with any song lyric or message, or even a name or monogram! And with the help of Mod Podge Stiffy, the fabric becomes durable enough to display as an ornament on your tree. Continue reading for all of the details for how these fun little DIY Christmas ornaments come together.
This is a sponsored post written by me on behalf of Plaid. All opinions are entirely my own. This post contains affiliate links.


Supplies for Printed Canvas Banner Handmade Christmas Ornaments
- White canvas fabric
- Freezer paper
- Paper trimmer
- Iron
- Computer and printer
- Mod Podge Stiffy
- Fabric shears
- Wax or parchment paper
- Wood craft sticks
- FolkArt Brushed Metal
- Paint brushes
- Hot glue
- Ribbon
- Assorted embellishments
The key to these clever homemade Christmas ornaments is using freezer paper to print on fabric to enable you to create any design you like directly onto your canvas fabric. To do so, cut an 8.5×11″ piece of freezer paper using a paper trimmer or a ruler and scissors.
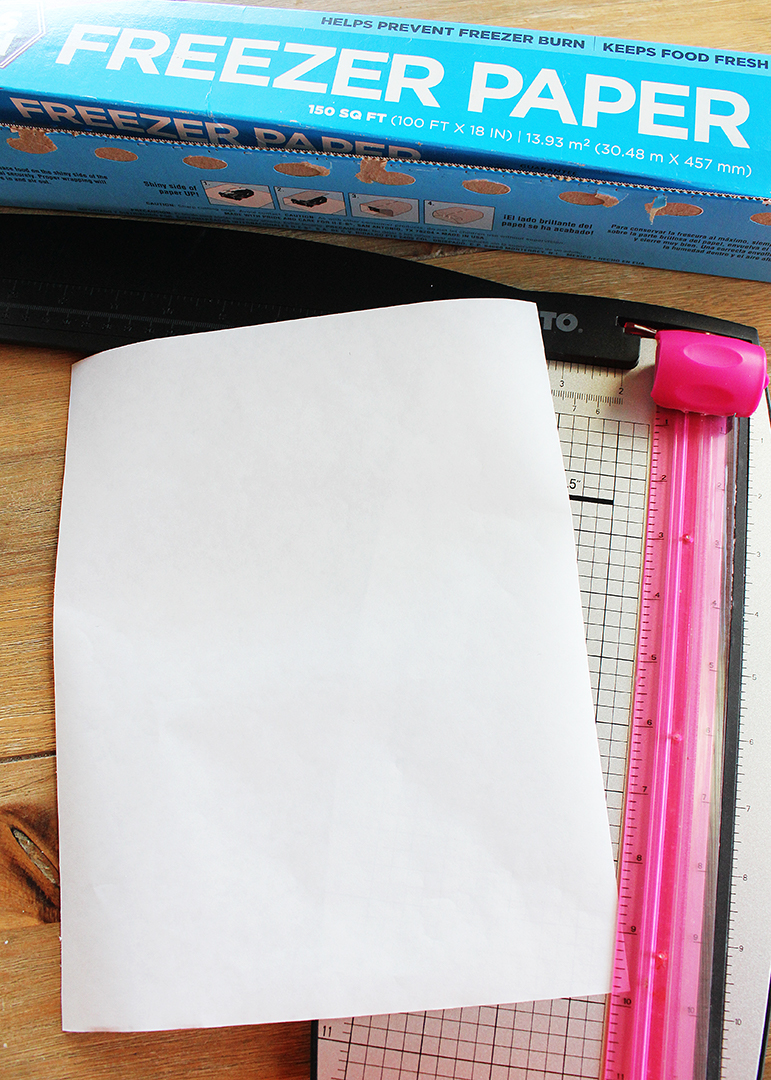
Place the trimmed freezer paper shiny side down onto the back side of the canvas fabric, and use an iron to affix the paper to the canvas. The heat from the iron will magically fuse the paper temporarily to the fabric–so cool! Trim the excess fabric away carefully all the way around the edge the freezer paper so that you are left with a stacked piece of canvas/freezer paper that is 8.5×11″. Pro Tip: It is important to be precise so that your piece will feed properly through your printer!
Place the piece into your printer paper tray fabric side down, or so that the piece will be fed through the printer so that the design will be printed on the fabric side of the stacked pieces. Use your favorite word processing software to create a wording design you like, and then print it onto the fabric just as you normally would print onto paper.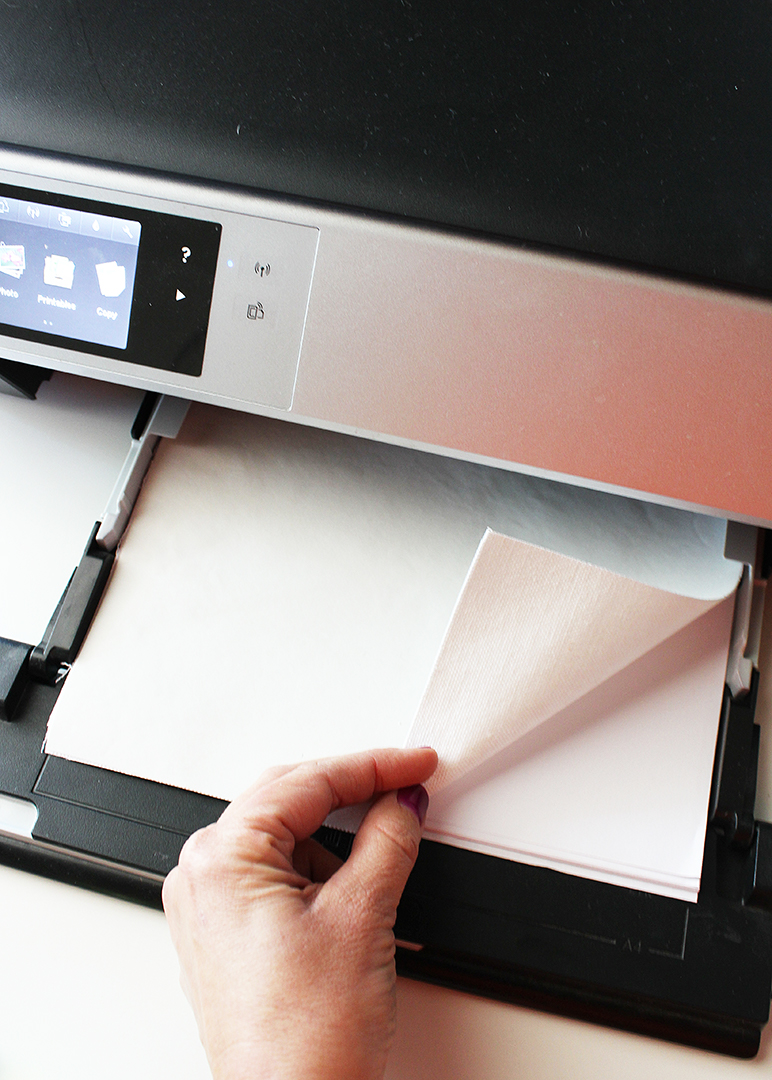
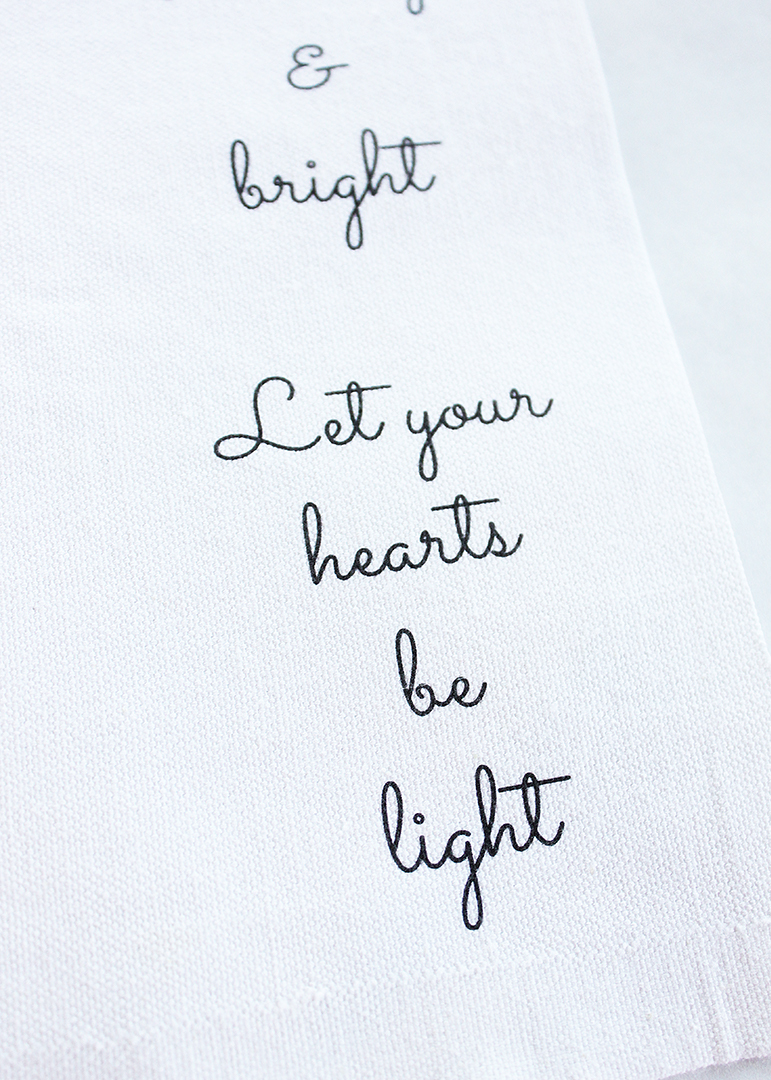
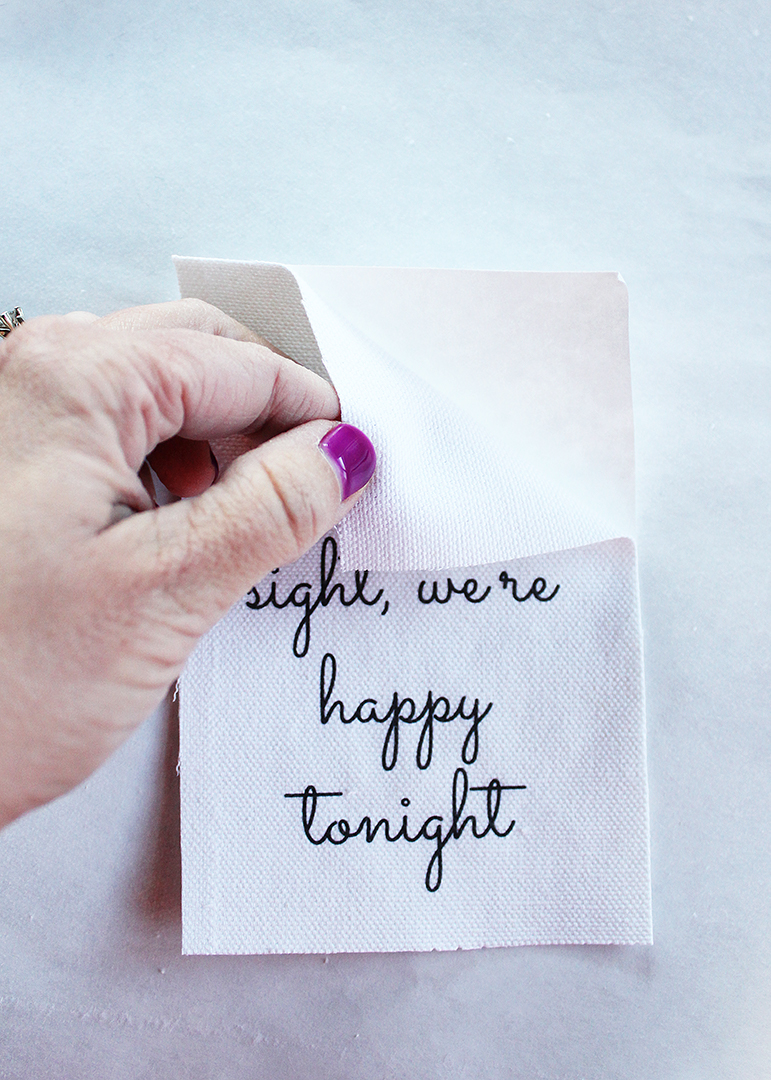
This is what my printed fabric looked like straight from the printer. How cool is that?
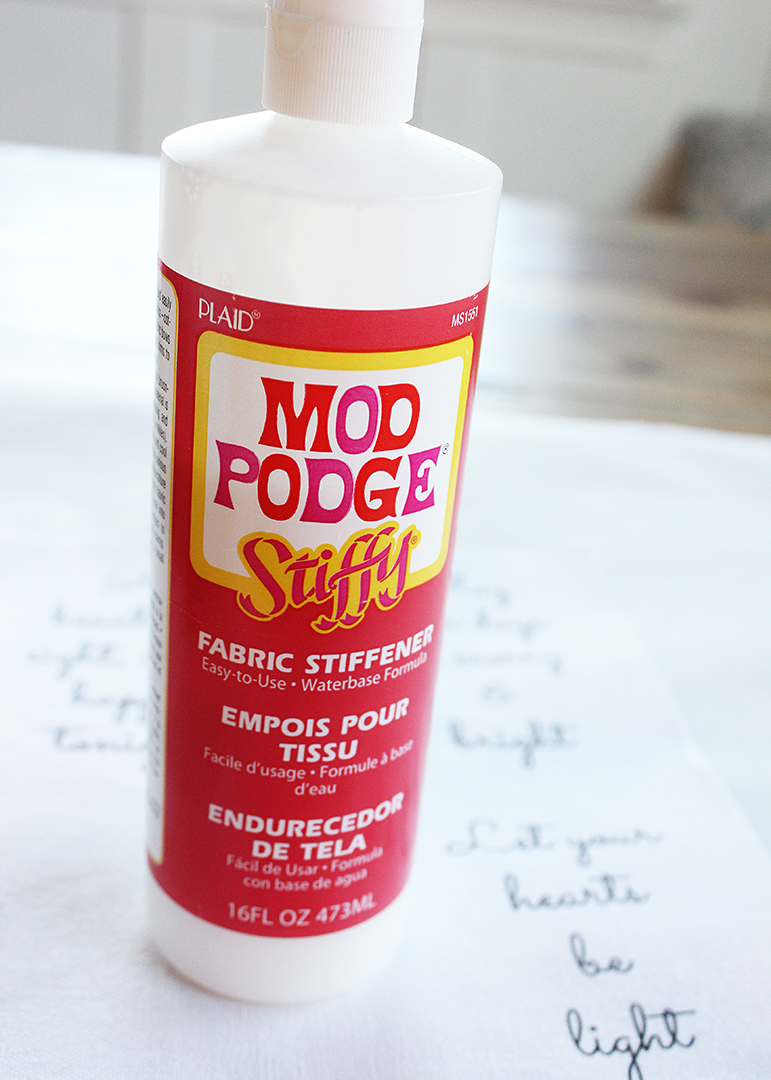
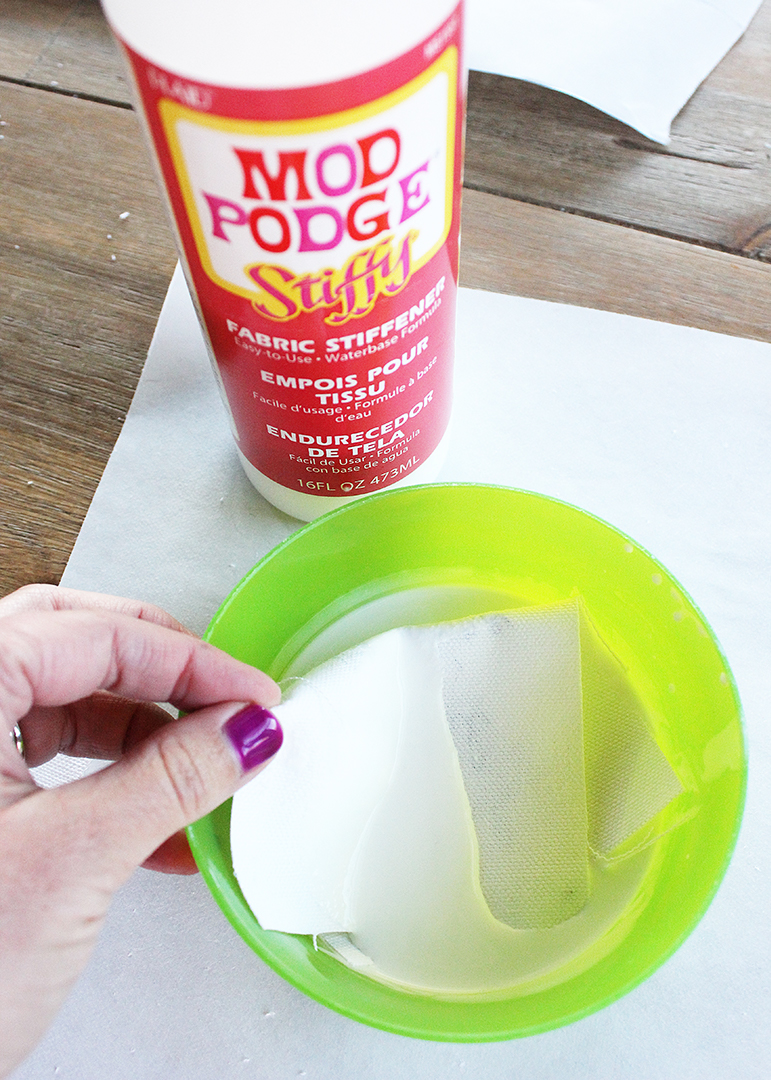
Now, you need to stiffen the printed fabric in order to make it able to be turned into handmade Christmas ornaments. The magic ingredient here is Mod Podge Stiffy, which is the perfect way to stiffen fabric for all sorts of decor projects (check out how I used it to make cool lace doily bowls). This Mod Podge formula is the original fabric stiffener, and it is not only great for fabric ornaments like these, but also for making unique fabric bows, flowers, and so much more. I really like the fact that it is water-based, which makes cleanup easy, and there is no mixing required. Straight out of the bottle, it is ready to go!
Use shears to trim your printed design to the desired length and width, and the remove the freezer paper backing.
Pour the Mod Podge stiffy into a bowl, and then generously saturate the fabric piece with the formula. Use your fingers to gently remove any excess formula (avoid wringing the fabric out, as this will cause wrinkles in your finished project). Helpful Tip: Touch the printed wording as little as possible during this process, as the contact can cause the ink to smudge. Lay the piece flat on a piece of wax or parchment paper to dry completely, preferably overnight.
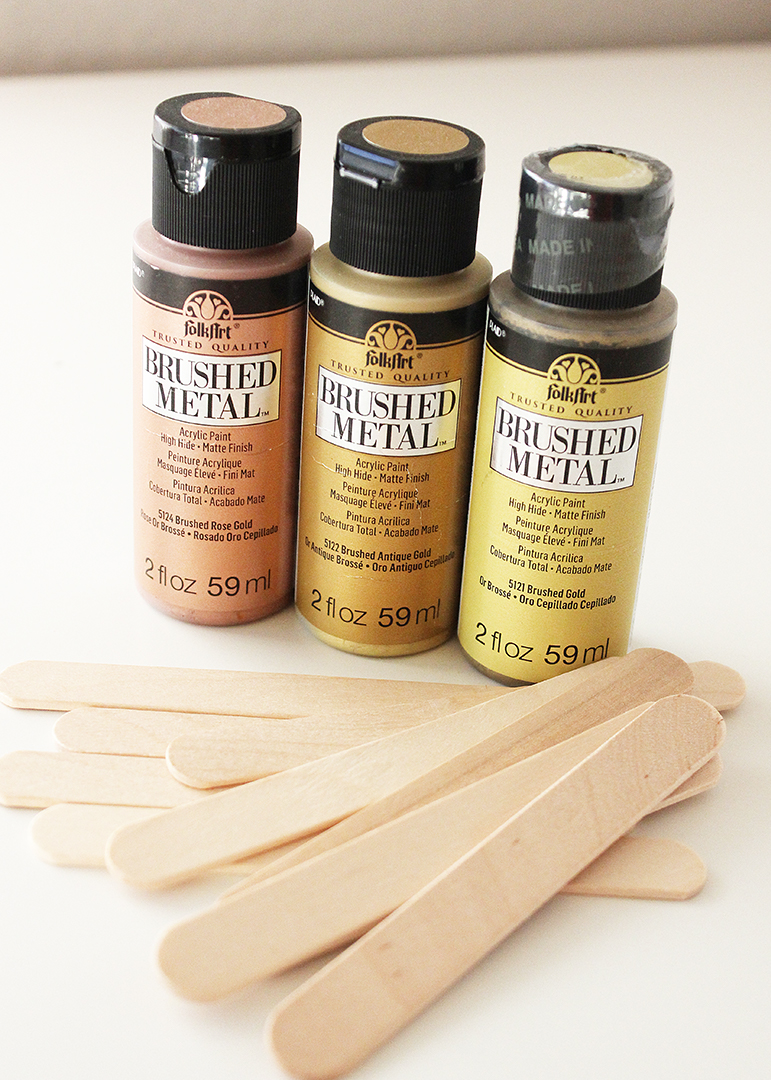
While the fabric dries, use the FolkArt Brushed Metal to paint four craft sticks for each ornament. You will only need to paint the top and sides of each stick. I absolutely love the FolkArt Brushed Metal! This paint dries to a shimmery, metallic finish, and it can be used on both indoor and outdoor projects. It’s water-based, too, which means it is so much safer and easier to work with than some other metallic paints out there. This stuff is awesome!
Set the painted sticks aside to dry completely.
When the fabric pieces and painted craft sticks are completely dry, it’s time to assemble the finished ornaments. Place one of the painted craft sticks face down on a work surface. Place the stiffened fabric piece face up on top of the craft stick, making sure the piece is centered before securing it into place with hot glue. Trim two 12″ pieces of ribbon, and use a dab of hot glue to secure one end of each on top of the fabric as shown. Hot glue another craft stick to the bottom edge of the fabric, making sure the painted side of the stick is facing downward.
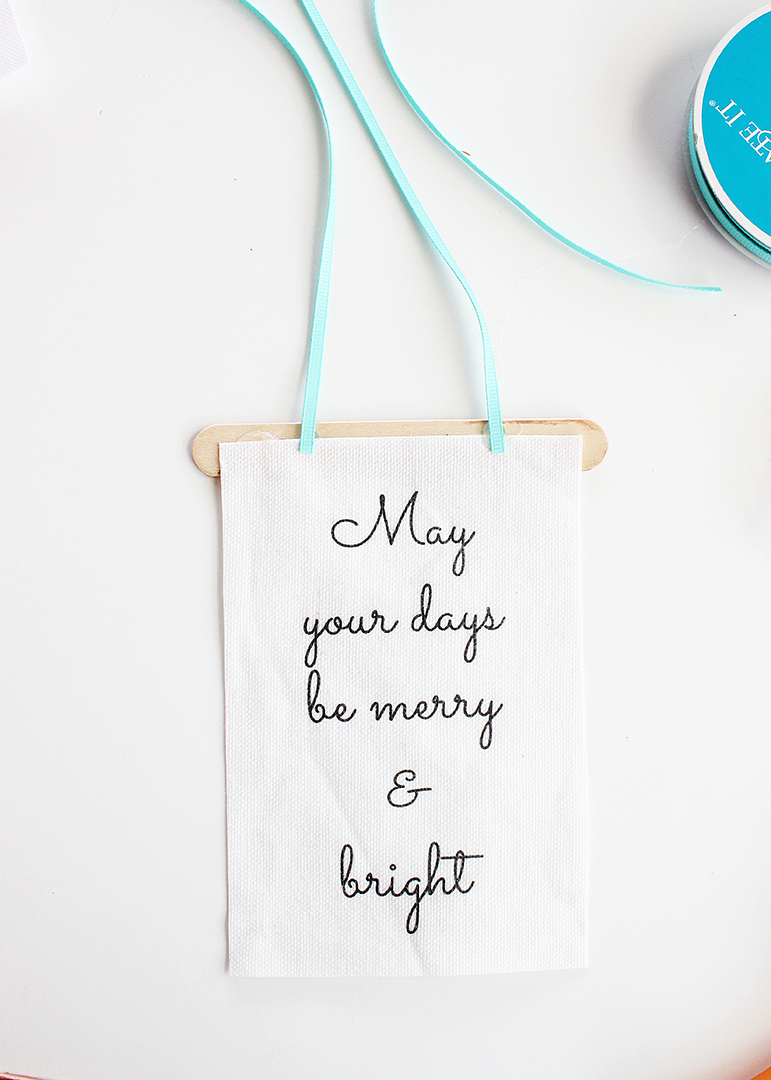
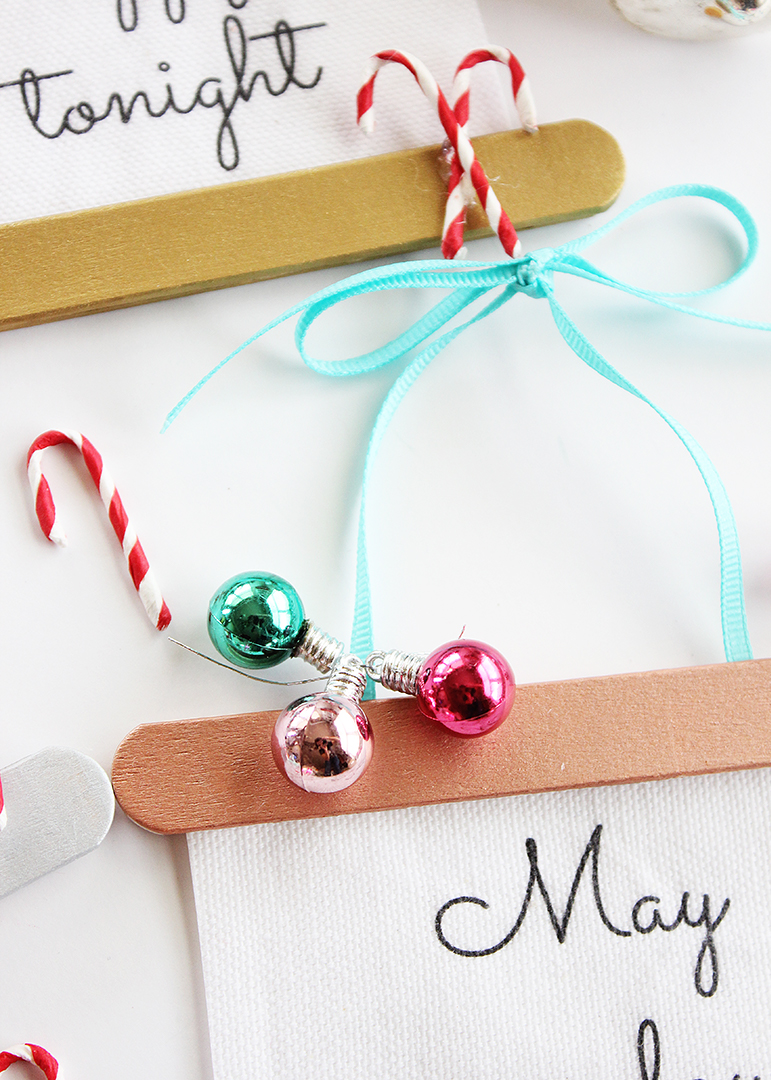
Use hot glue to secure the remaining two painted craft sticks painted side up on top of the first two craft sticks, sandwiching the fabric between the sticks. Tie the ribbon ends together into a bow to form the ornament hanger, and then finish with various embellishments as desired. I found some really adorable miniature ornaments and candy canes at Michaels that were perfect for this!

Your printed canvas banner handmade Christmas ornaments are ready to hang on your tree!
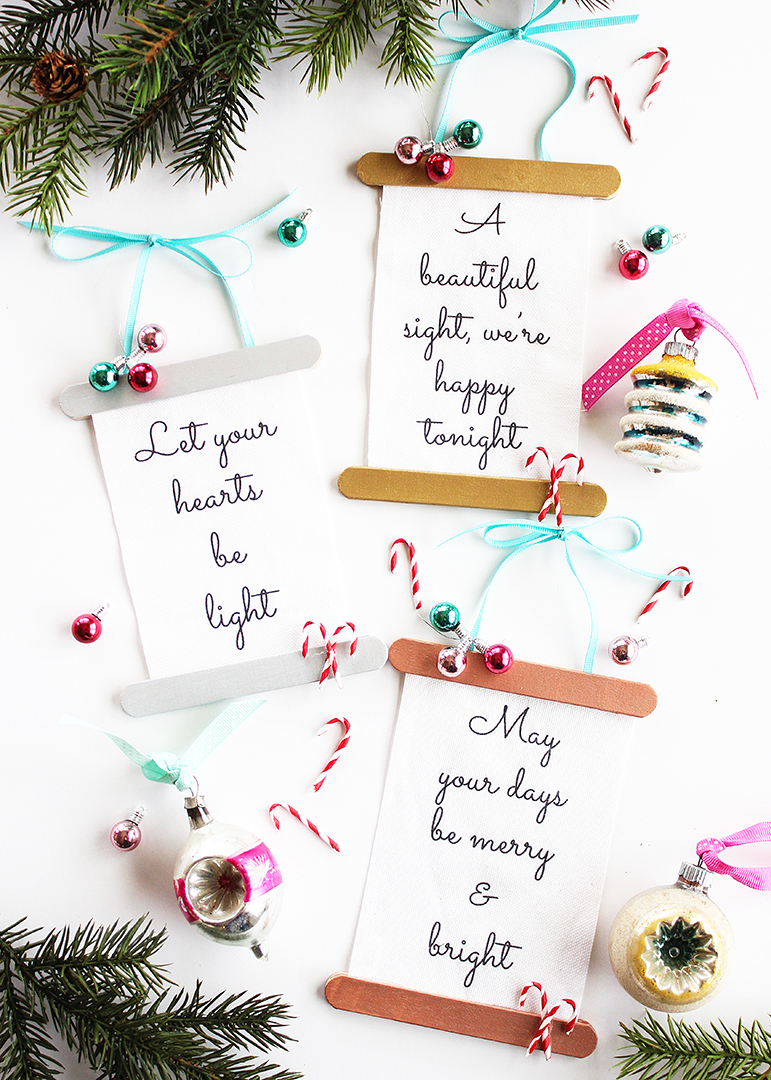
I love that these handmade Christmas ornaments can be customized countless ways by using different song lyrics or other holiday messages. These would make such a fun handmade gift idea for teachers and friends!


I created these ornaments as part of a fun Christmas ornament challenge with the Plaid Creators team. You really must stop by to visit each one of them to see their creations. They are all absolutely perfect for making to hang on your tree this year!
DON’T FORGET TO FOLLOW PLAID ON PINTEREST, FACEBOOK, INSTAGRAM AND YOUTUBE FOR PLENTY OF OTHER CREATIVE IDEAS TO KEEP YOU CRAFTING!
Having grown up in a home brimming with sewing notions and paintbrushes, Amy has a deep love for all things creative. On any given day, you’ll find her knee-deep in her latest creative endeavor, with projects ranging from sewing and crafts to home decor and kid-friendly ideas. Amy believes that everyone, regardless of skill level or experience, possesses the ability to create something beautiful, and Positively Splendid was born of her passion for helping others harness their innate creative potential.