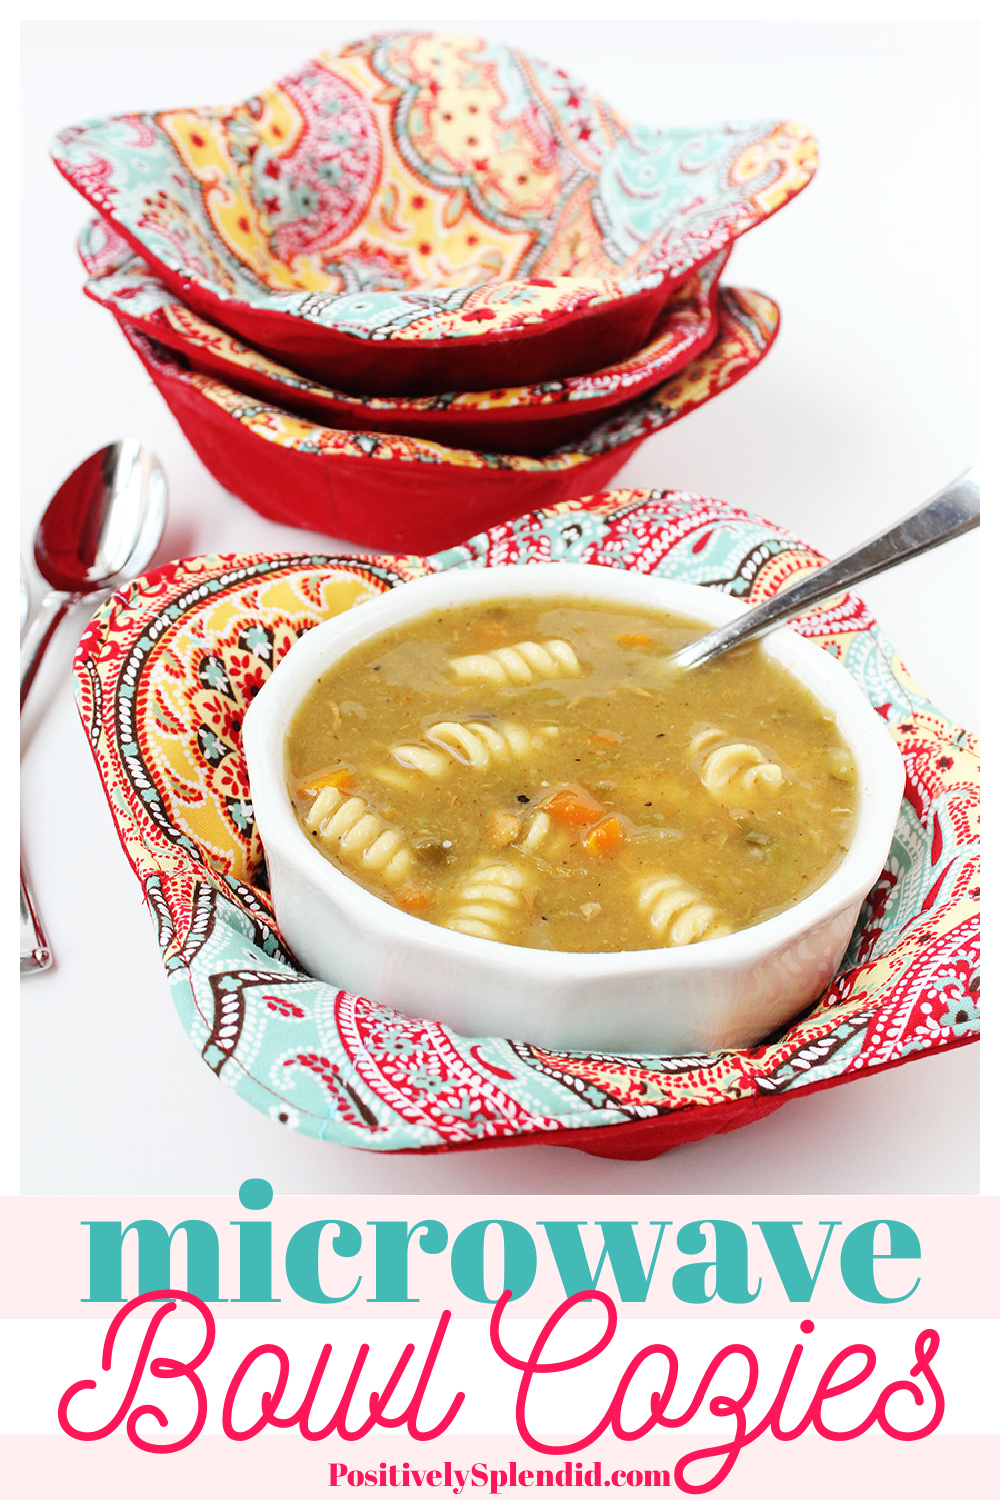
When the weather gets cooler, soups and stews are one of my favorite things to make, and I always love to have leftover soup to heat and enjoy the next day. These handy microwave bowl cozies make reheating soup in the microwave as easy as can be! Simply nestle a bowl of soup inside, pop in the microwave, and then remove the hot bowl without scalding your hands. This easy microwave bowl cozy pattern is also terrific for heating up oatmeal, ramen noodles, and so much more. Keep reading for the complete how-to.
This post contains affiliate links.
More Easy Sewing Projects to Try!
Helpful Tips Before You Begin
What type of fabric is best for making bowl cozies? 100% cotton quilting fabric is ideal for this project. Heavier weight cotton fabrics will make sewing through all of the layers too challenging. Fabrics that are not 100% cotton should not be heated in the microwave, so any cozies made with those fabrics should only be used for handling hot bowls and not heating.
IMPORTANT: Do not use metallic fabric or thread to make bowl cozies that will be used in the microwave!
What type of batting should I use? Pellon Wrap & Zap is best for this project, and it can be purchased by the yard, or in convenient pre-cut packages. Before using any other type of batting, ensure its fiber content is 100% cotton.
What should I do if I’m having a hard time stitching through all of the fabric layers? Stitching through all of the bowl cozy layers can be challenging. It is very important to use a large enough machine needle for the job (I recommend size 14). Increasing stitch length and using the wheel on your machine to turn the motor by hand can also help get over the thicker parts where the darts are located.
Now, let’s get sewing!
Scroll below for a downloadable PDF version of this tutorial.
Microwave Bowl Cozy Supplies
- 100% cotton fabric
- 100% cotton batting (I used Pellon Wrap & Zap)
- Thread
Equipment
- Basic sewing supplies: shears, machine, iron, etc. (See my list of must-have sewing tools here)
- Size 14 sewing machine needle
- Water soluble marking pen
- Clear ruler
How to Make a Microwave Bowl Cozy
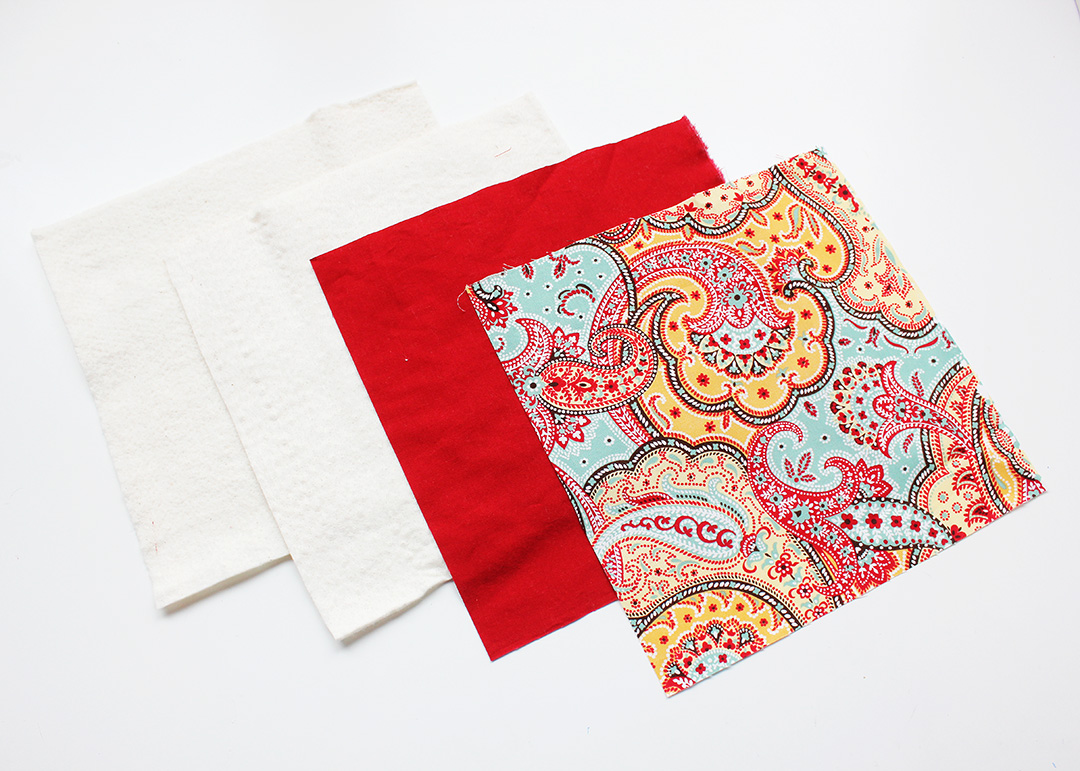
First things first: Make your cuts. For each bowl cozy, you will need:
- 2 x 10×10″ fabric pieces
- 2 x 10×10″ batting pieces
(See my note above for the types of fabric suitable for this project.)
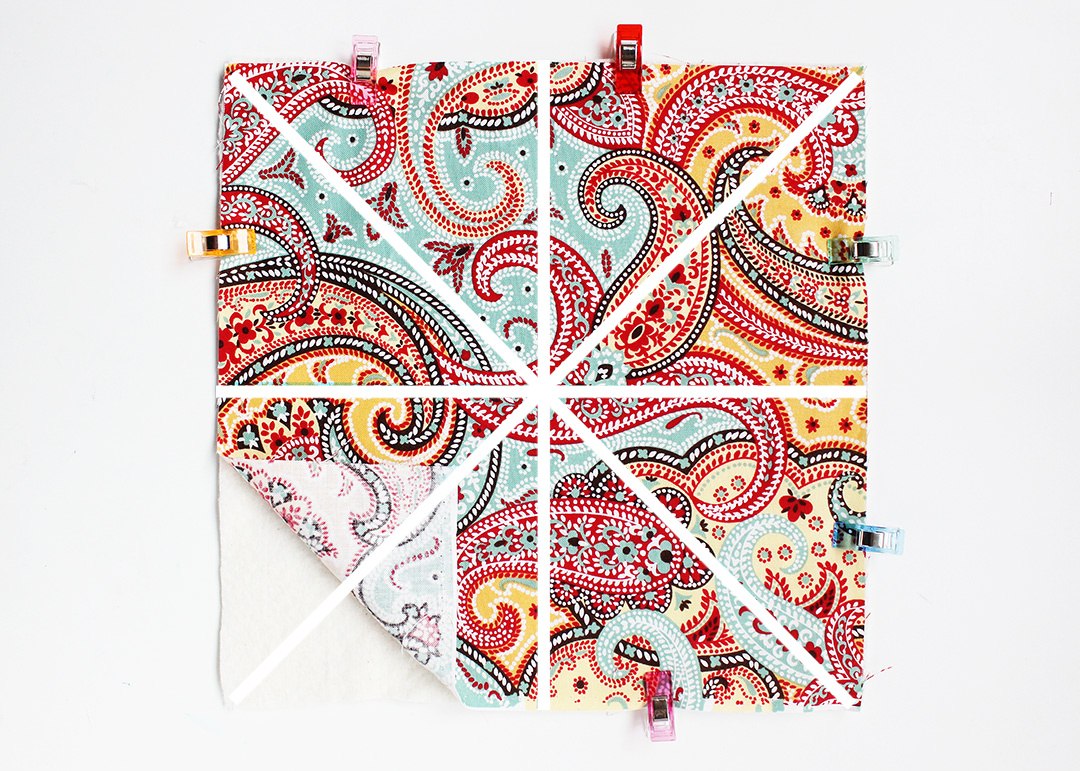
Use the marking pen and a clear ruler to draw four lines on each fabric piece:
- 1 line drawn vertically through the center of the piece
- 1 line drawn horizontally through the center of the piece
- 1 line connecting the top left corner with the bottom right corner
- 1 line connecting the bottom left corner with the top right corner
When you’ve drawn your lines, they should all meet precisely at the center of the piece, as seen in the diagram below. When the markings are made, place the fabric piece face down on one of the batting pieces, carefully aligning all corners and outer edges. Clip the pieces together. Stitch along each of the drawn lines, and then use a damp cloth to remove the marked lines. Repeat with the remaining fabric/batting pieces.
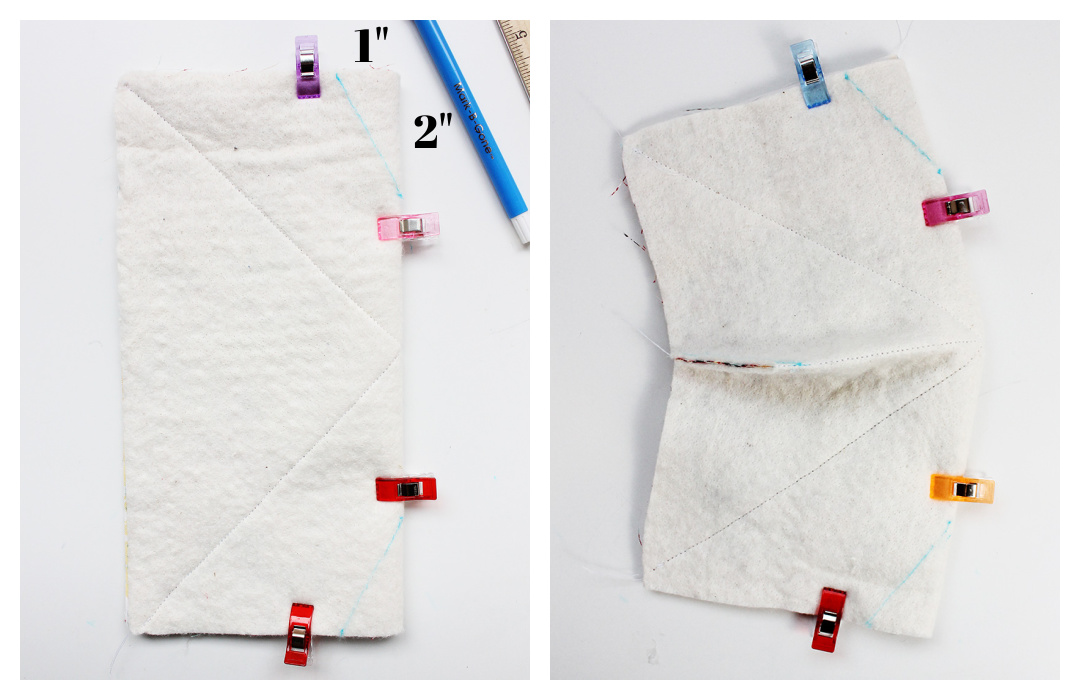
In order to give the bowl cozy dimension to wrap around a bowl, we will create darts at the center of all sides of the stitched pieces. To do so, fold one of the pieces in half along one of the stitched center lines so that the batting side is facing out. Using a ruler and the marking pen, measure on the top edge of the folded pieces 1″ from the center line of stitching and make a mark. Now, measure 2″ down from the top edge along the center line of stitching; mark. Connect these marks with a line, as shown below. Repeat these steps along the bottom edge of the piece. Stitch along these lines, and then trim the seam to 1/8″.
Next, fold the piece along the other center line of stitching. Measure and make marks and the stitch and trim in the way detailed above.
Fold the stitched pieces in half, making sure the two darts at the center of the front and back top edge are aligned. Use the corner template (available for download below) and the marking pen to round off each corner. Use shears to trim away the corner points.
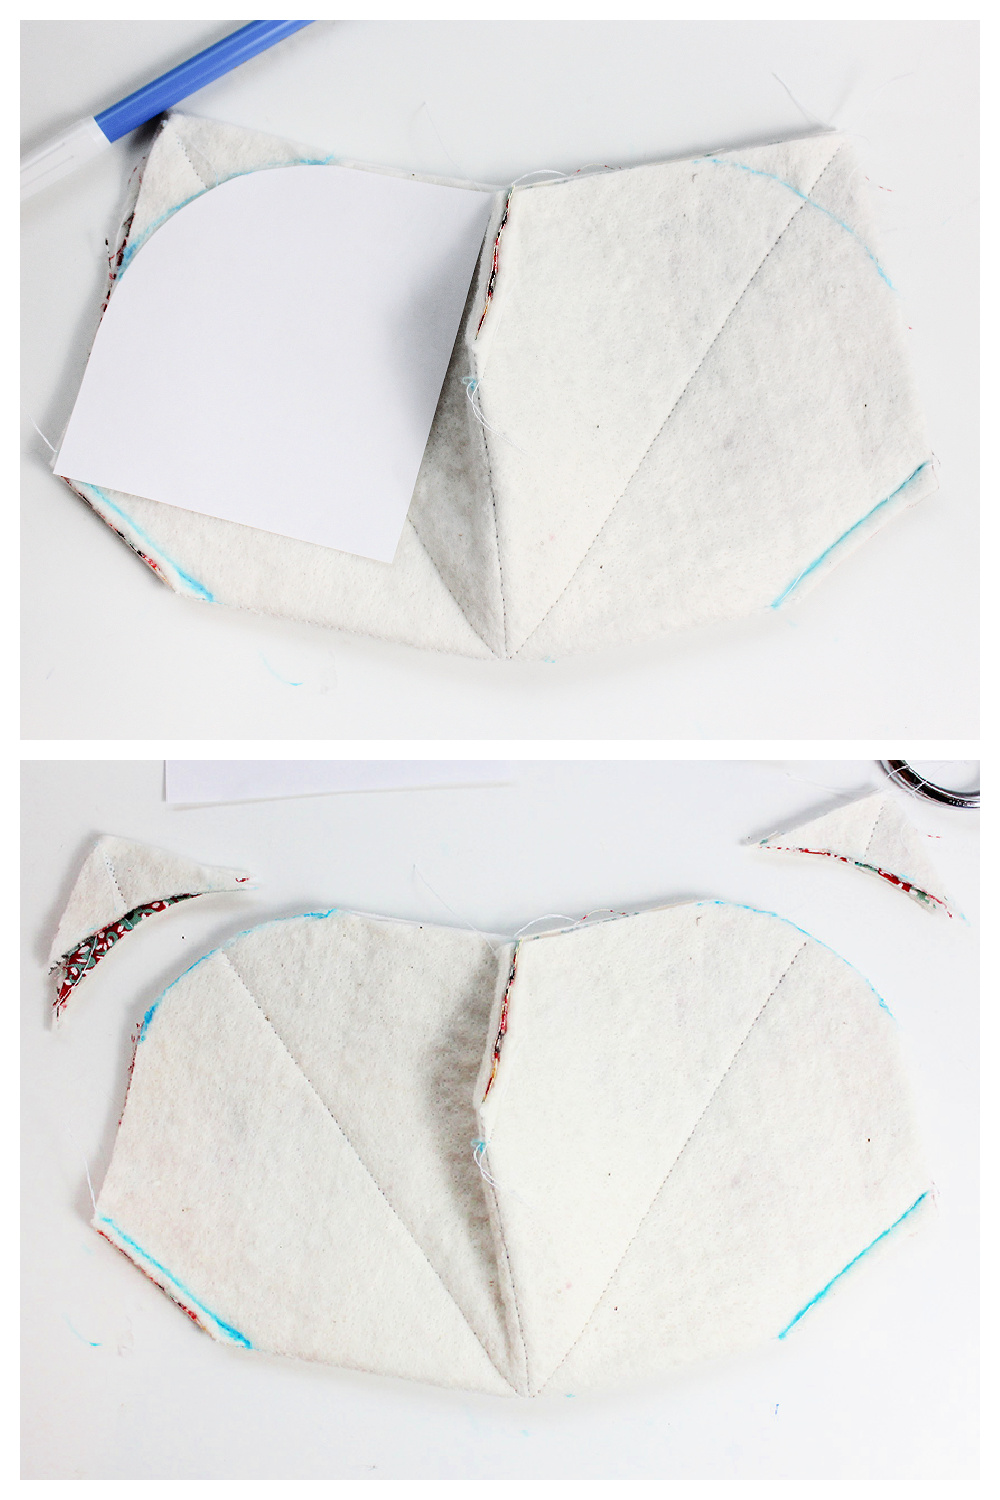
Repeat the previous steps to add darts to the other bowl cozy body piece.
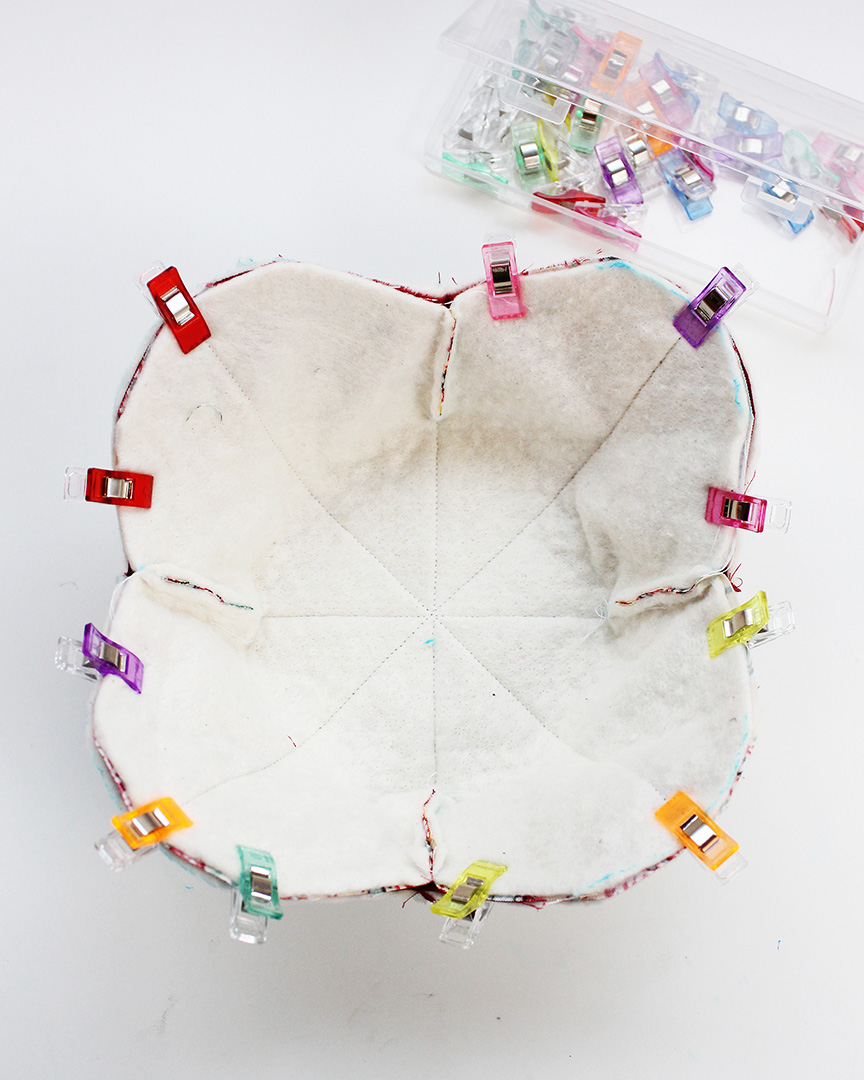
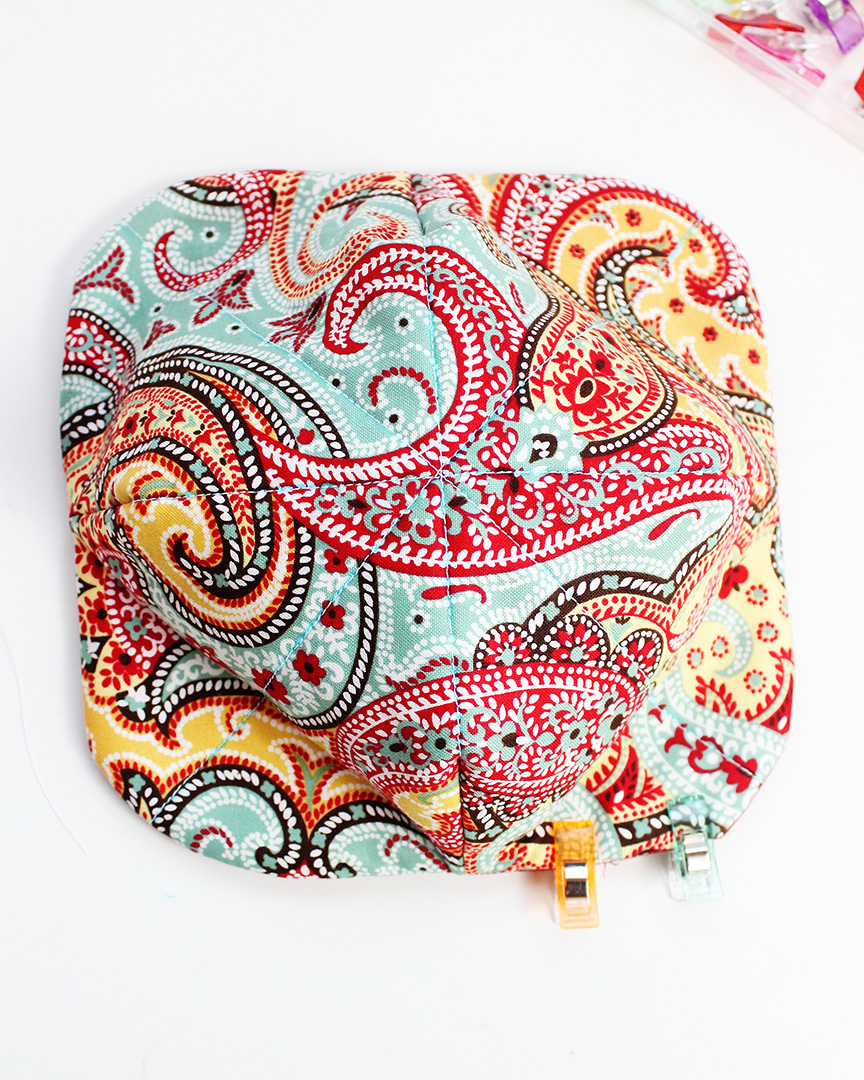
Place the prepared pieces together, right sides facing, so one piece is nestled inside the other, as shown. Make sure to align each of the side darts and the stitched lines of each of the pieces. Clip together.
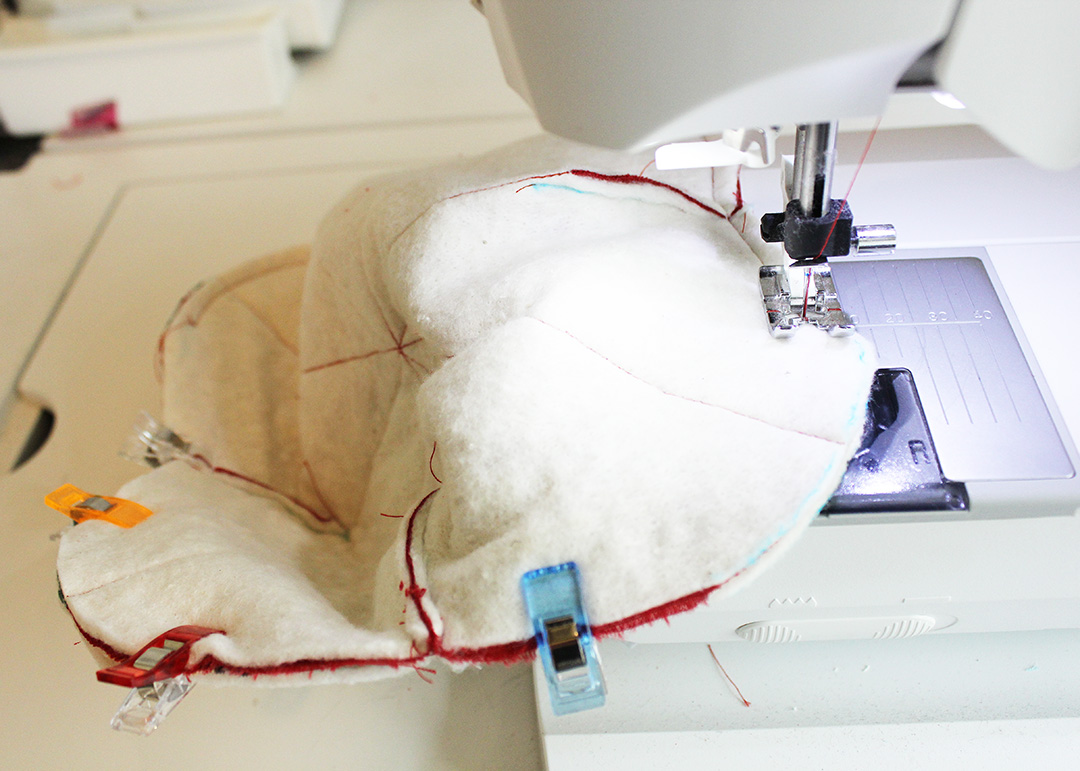
Using a 1/4″ seam, sew along the outer edge of the pieces, leaving a 2.5″ opening for closing. Leaving the opening seam untrimmed, trim the rest of the seam to 1/8″. Turn the piece right side out through the opening, using a seam creasing tool to ensure all of the edges are crisp.
Press the piece along the stitched outer seam, tucking the unstitched seam toward the inside of the piece. Clip the opening shut. Topstitch 1/8″ from the edge along the outer perimeter, closing the opening as you go.
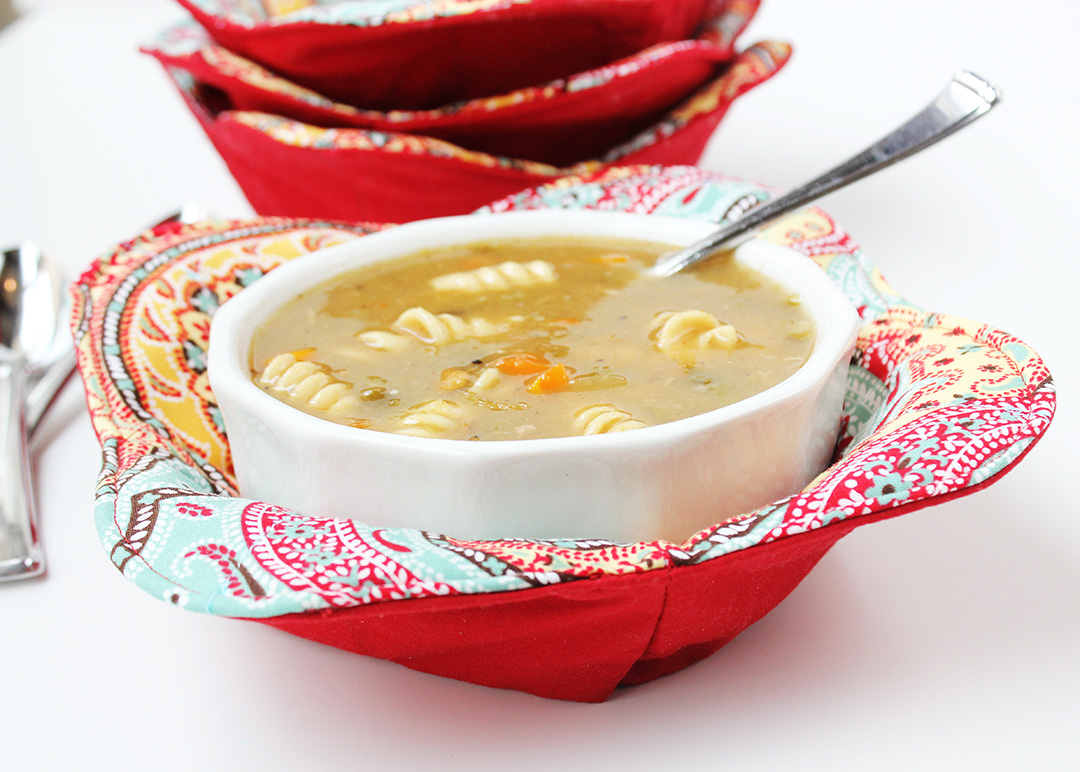
Your microwave bowl cozy is complete!
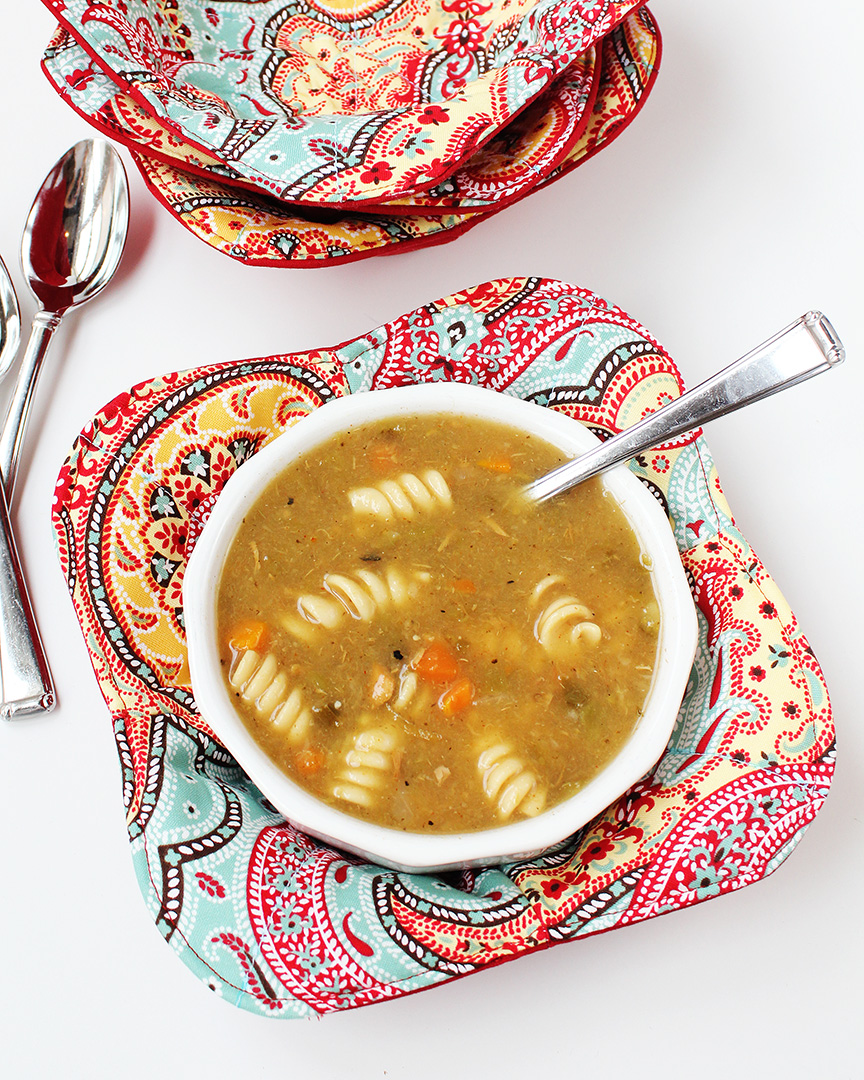
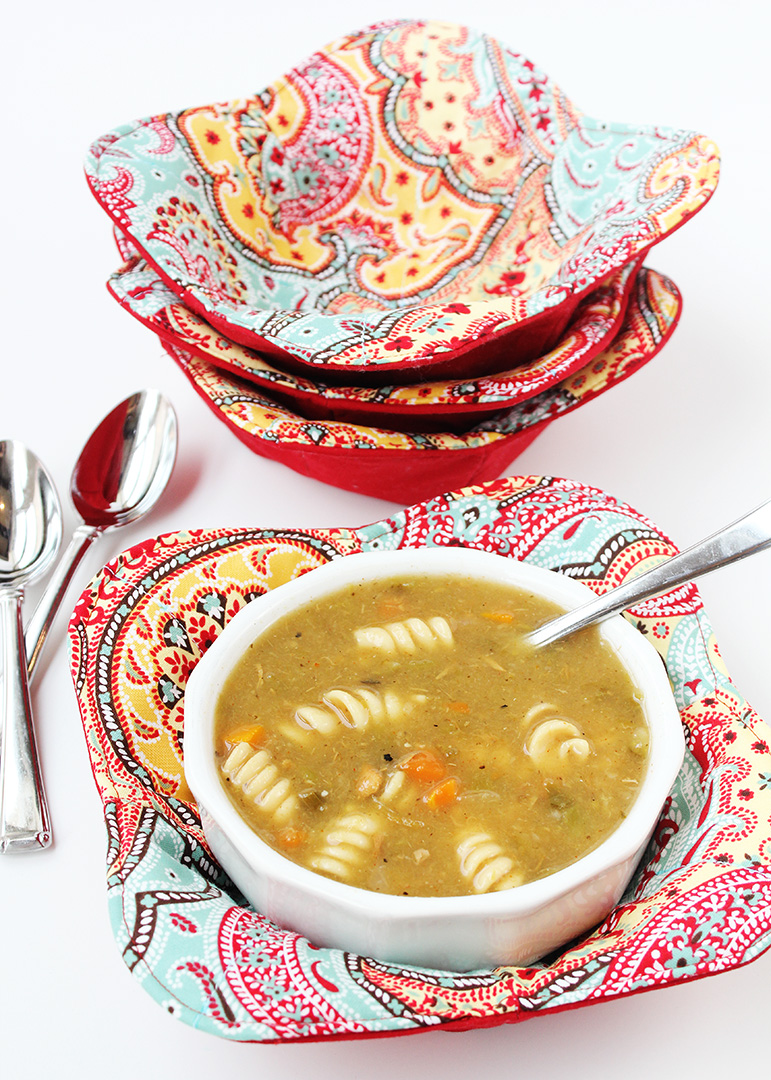
These bowl cozies are sized to fit a standard 6″ bowl with just a touch of room to spare. They are terrific protecting your hands while holding hot bowls of soup or stew while you kick back on the couch!
A set of these soup cozies makes a terrific handmade gift. Pair with a jarred soup mix for an extra special touch.
Click here for the microwave bowl cozy corner rounding template.
Microwave Bowl Cozy Pattern
Equipment
- Basic sewing supplies: shears, machine, iron, etc. (See my list of must-have sewing tools linked in the original post)
- Size 14 sewing machine needle
- Water soluble marking pen
- Clear ruler
Materials
- 100% cotton fabric
- 100% cotton batting I used Pellon Wrap & Zap
- Thread
Instructions
- Make your cuts. For each bowl cozy, you will need: 2 x 10x10" fabric pieces and 2 x 10x10" batting pieces.
- Use the marking pen and a clear ruler to draw four lines on each fabric piece: 1 line drawn vertically through the center of the piece; 1 line drawn horizontally through the center of the piece; 1 line connecting the top left corner with the bottom right corner; 1 line connecting the bottom left corner with the top right corner.
- When the markings are made, place the fabric piece face down on one of the batting pieces, carefully aligning all corners and outer edges. Clip the pieces together. Stitch along each of the drawn lines, and then use a damp cloth to remove the marked lines. Repeat with the remaining fabric/batting pieces.
- Fold one of the pieces in half along one of the stitched center lines so that the batting side is facing out. Using a ruler and the marking pen, measure on the top edge of the folded pieces 1" from the center line of stitching and make a mark. Now, measure 2" down from the top edge along the center line of stitching; mark. Connect these marks with a line, as shown below. Repeat these steps along the bottom edge of the piece. Stitch along these lines, and then trim the seam to 1/8".
- Next, fold the piece along the other center line of stitching. Measure and make marks and the stitch and trim in the way detailed in the previous step.
- Fold the stitched pieces in half, making sure the two darts at the center of the front and back top edge are aligned. Use the corner template (available for download in the project post) and the marking pen to round off each corner. Use shears to trim away the corner points.
- Repeat the previous steps to prepare the other bowl cozy body piece.
- Place the prepared pieces together, right sides facing, so one piece is nestled inside the other. Make sure to align each of the side darts and the stitched lines of each of the pieces. Clip together.
- Using a 1/4" seam, sew along the outer edge of the pieces, leaving a 2.5" opening for closing. Leaving the opening seam untrimmed, trim the rest of the seam to 1/8". Turn the piece right side out through the opening, using a seam creasing tool to ensure all of the edges are crisp.
- Press the piece along the stitched outer seam, tucking the unstitched seam toward the inside of the piece. Clip the opening shut. Topstitch 1/8" from the edge along the outer perimeter, closing the opening as you go.
Having grown up in a home brimming with sewing notions and paintbrushes, Amy has a deep love for all things creative. On any given day, you’ll find her knee-deep in her latest creative endeavor, with projects ranging from sewing and crafts to home decor and kid-friendly ideas. Amy believes that everyone, regardless of skill level or experience, possesses the ability to create something beautiful, and Positively Splendid was born of her passion for helping others harness their innate creative potential.