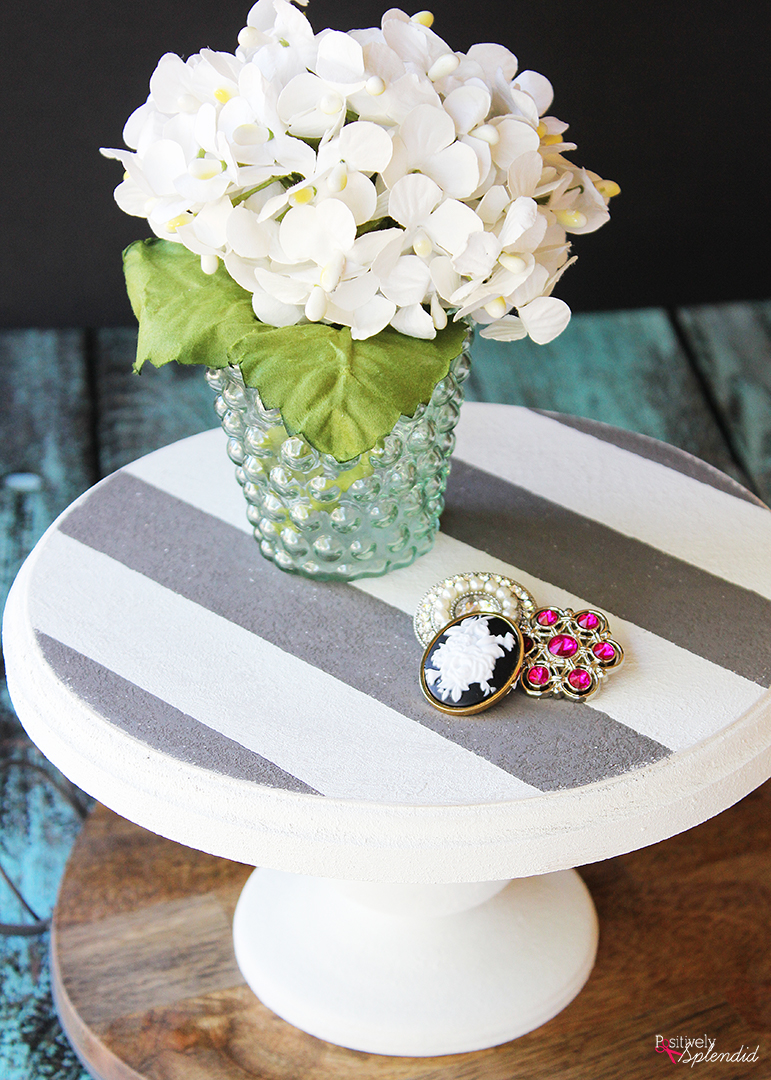
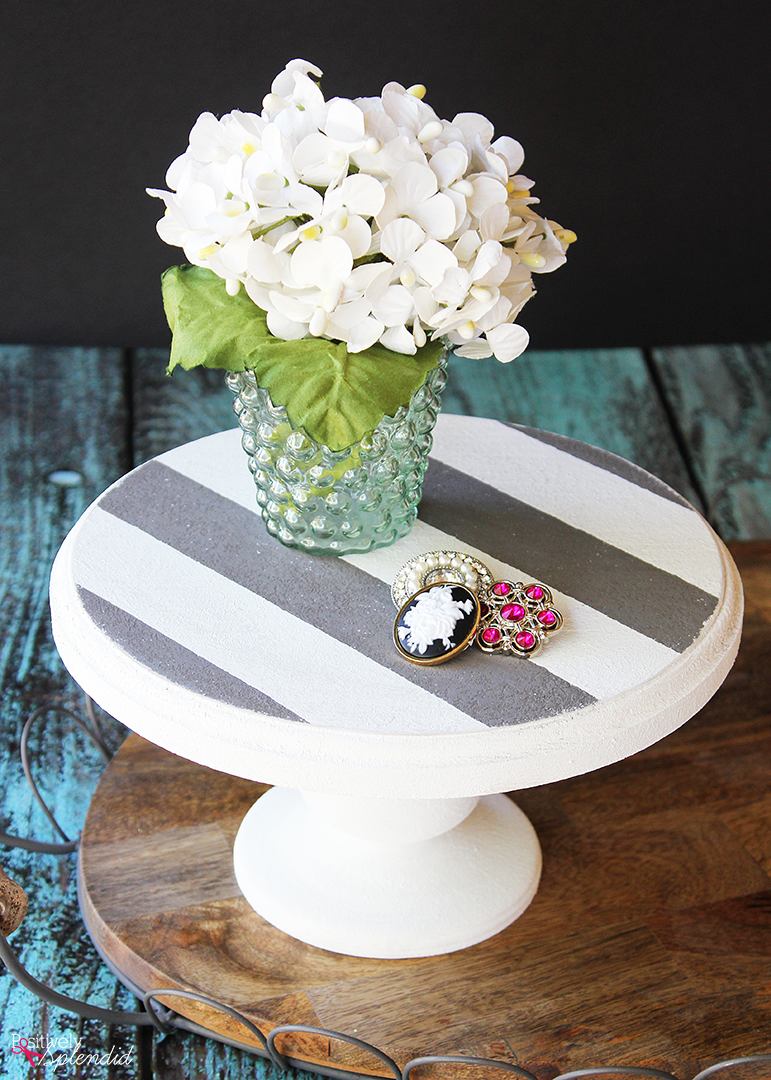
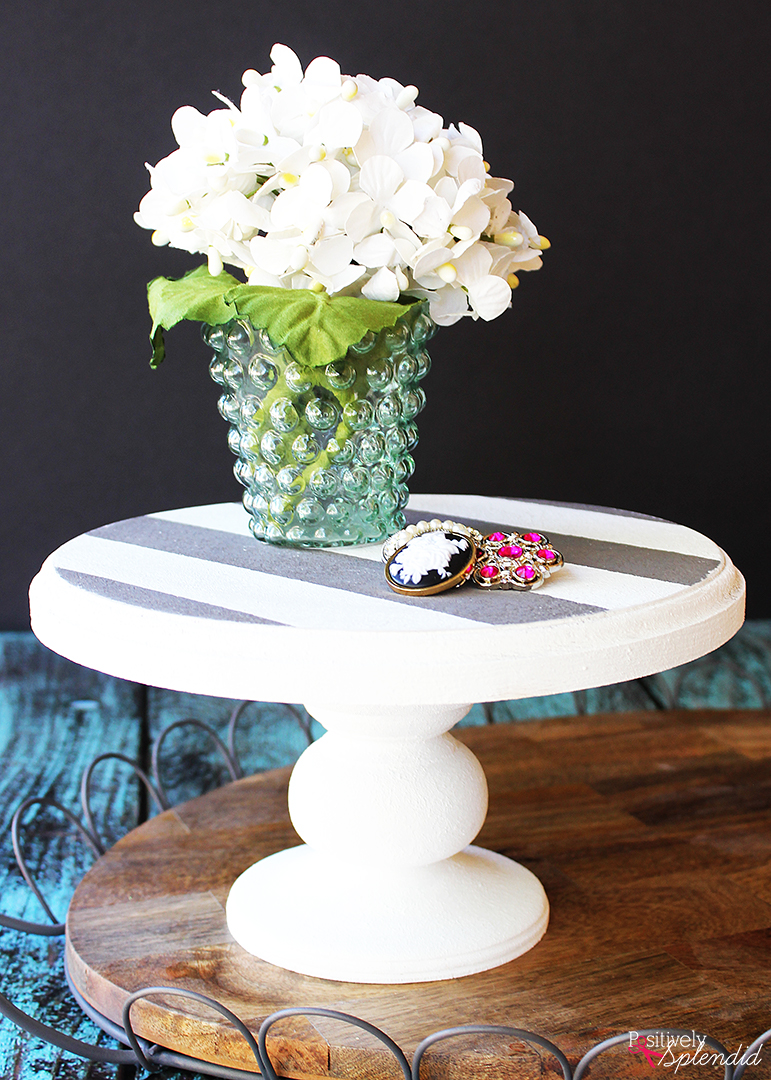
I love having pretty ways to display my favorite home decor items, and this DIY striped wood pedestal is one of my favorite recent projects to help me do just that! This project comes together so easily with the help of fabulous new FolkArt Coastal™ paint and just a few basic supplies. This rustic yet elegant wood pedestal is perfect for displaying anything from a pretty bud vase filled with flowers, to small knick-knacks or even jewelry, and it makes a wonderful gift for someone special! Continue reading for the full tutorial for how this project comes together.

I’ve partnered with Plaid and the Plaid Creators team to bring today’s post to you. I absolutely love the products featured here, and I am so excited to share them in an honest, unbiased way with my readers!
To make this DIY Striped Wood Pedestal, you will need…
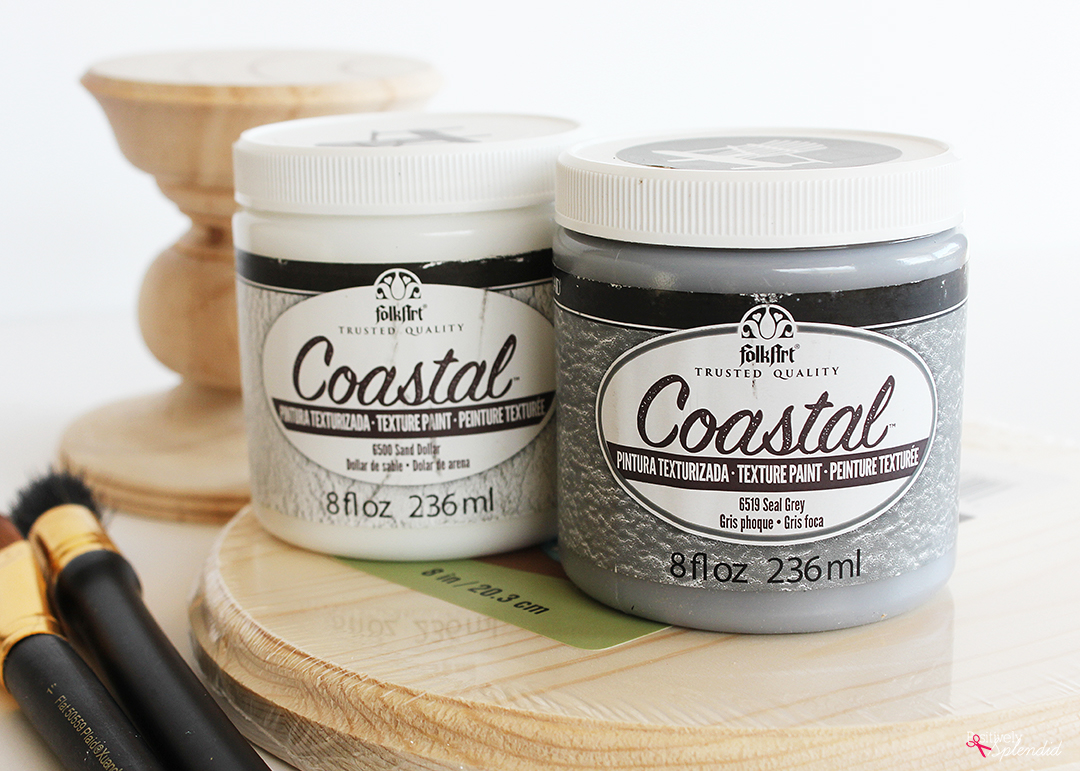
- Unfinished wood circle plaque
- Unfinished wood candlestick
- FolkArt Coastal Paint (There are 10 fantastic colors to choose from, but I’ve opted to use Sand Dollar and Seal Grey for this project)
- Paint brush
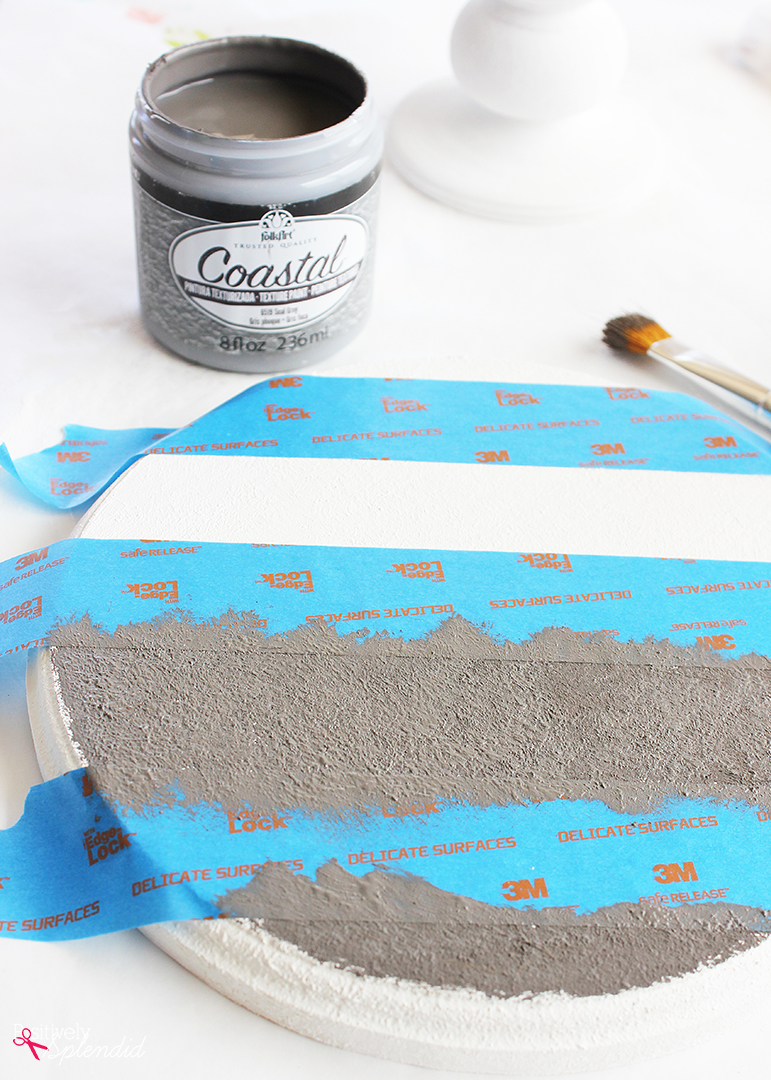
- Painter’s tape for delicate surfaces
- Heavy-duty adhesive (I like E-6000)
- Fine-grit sandpaper
- Lint-free cloth
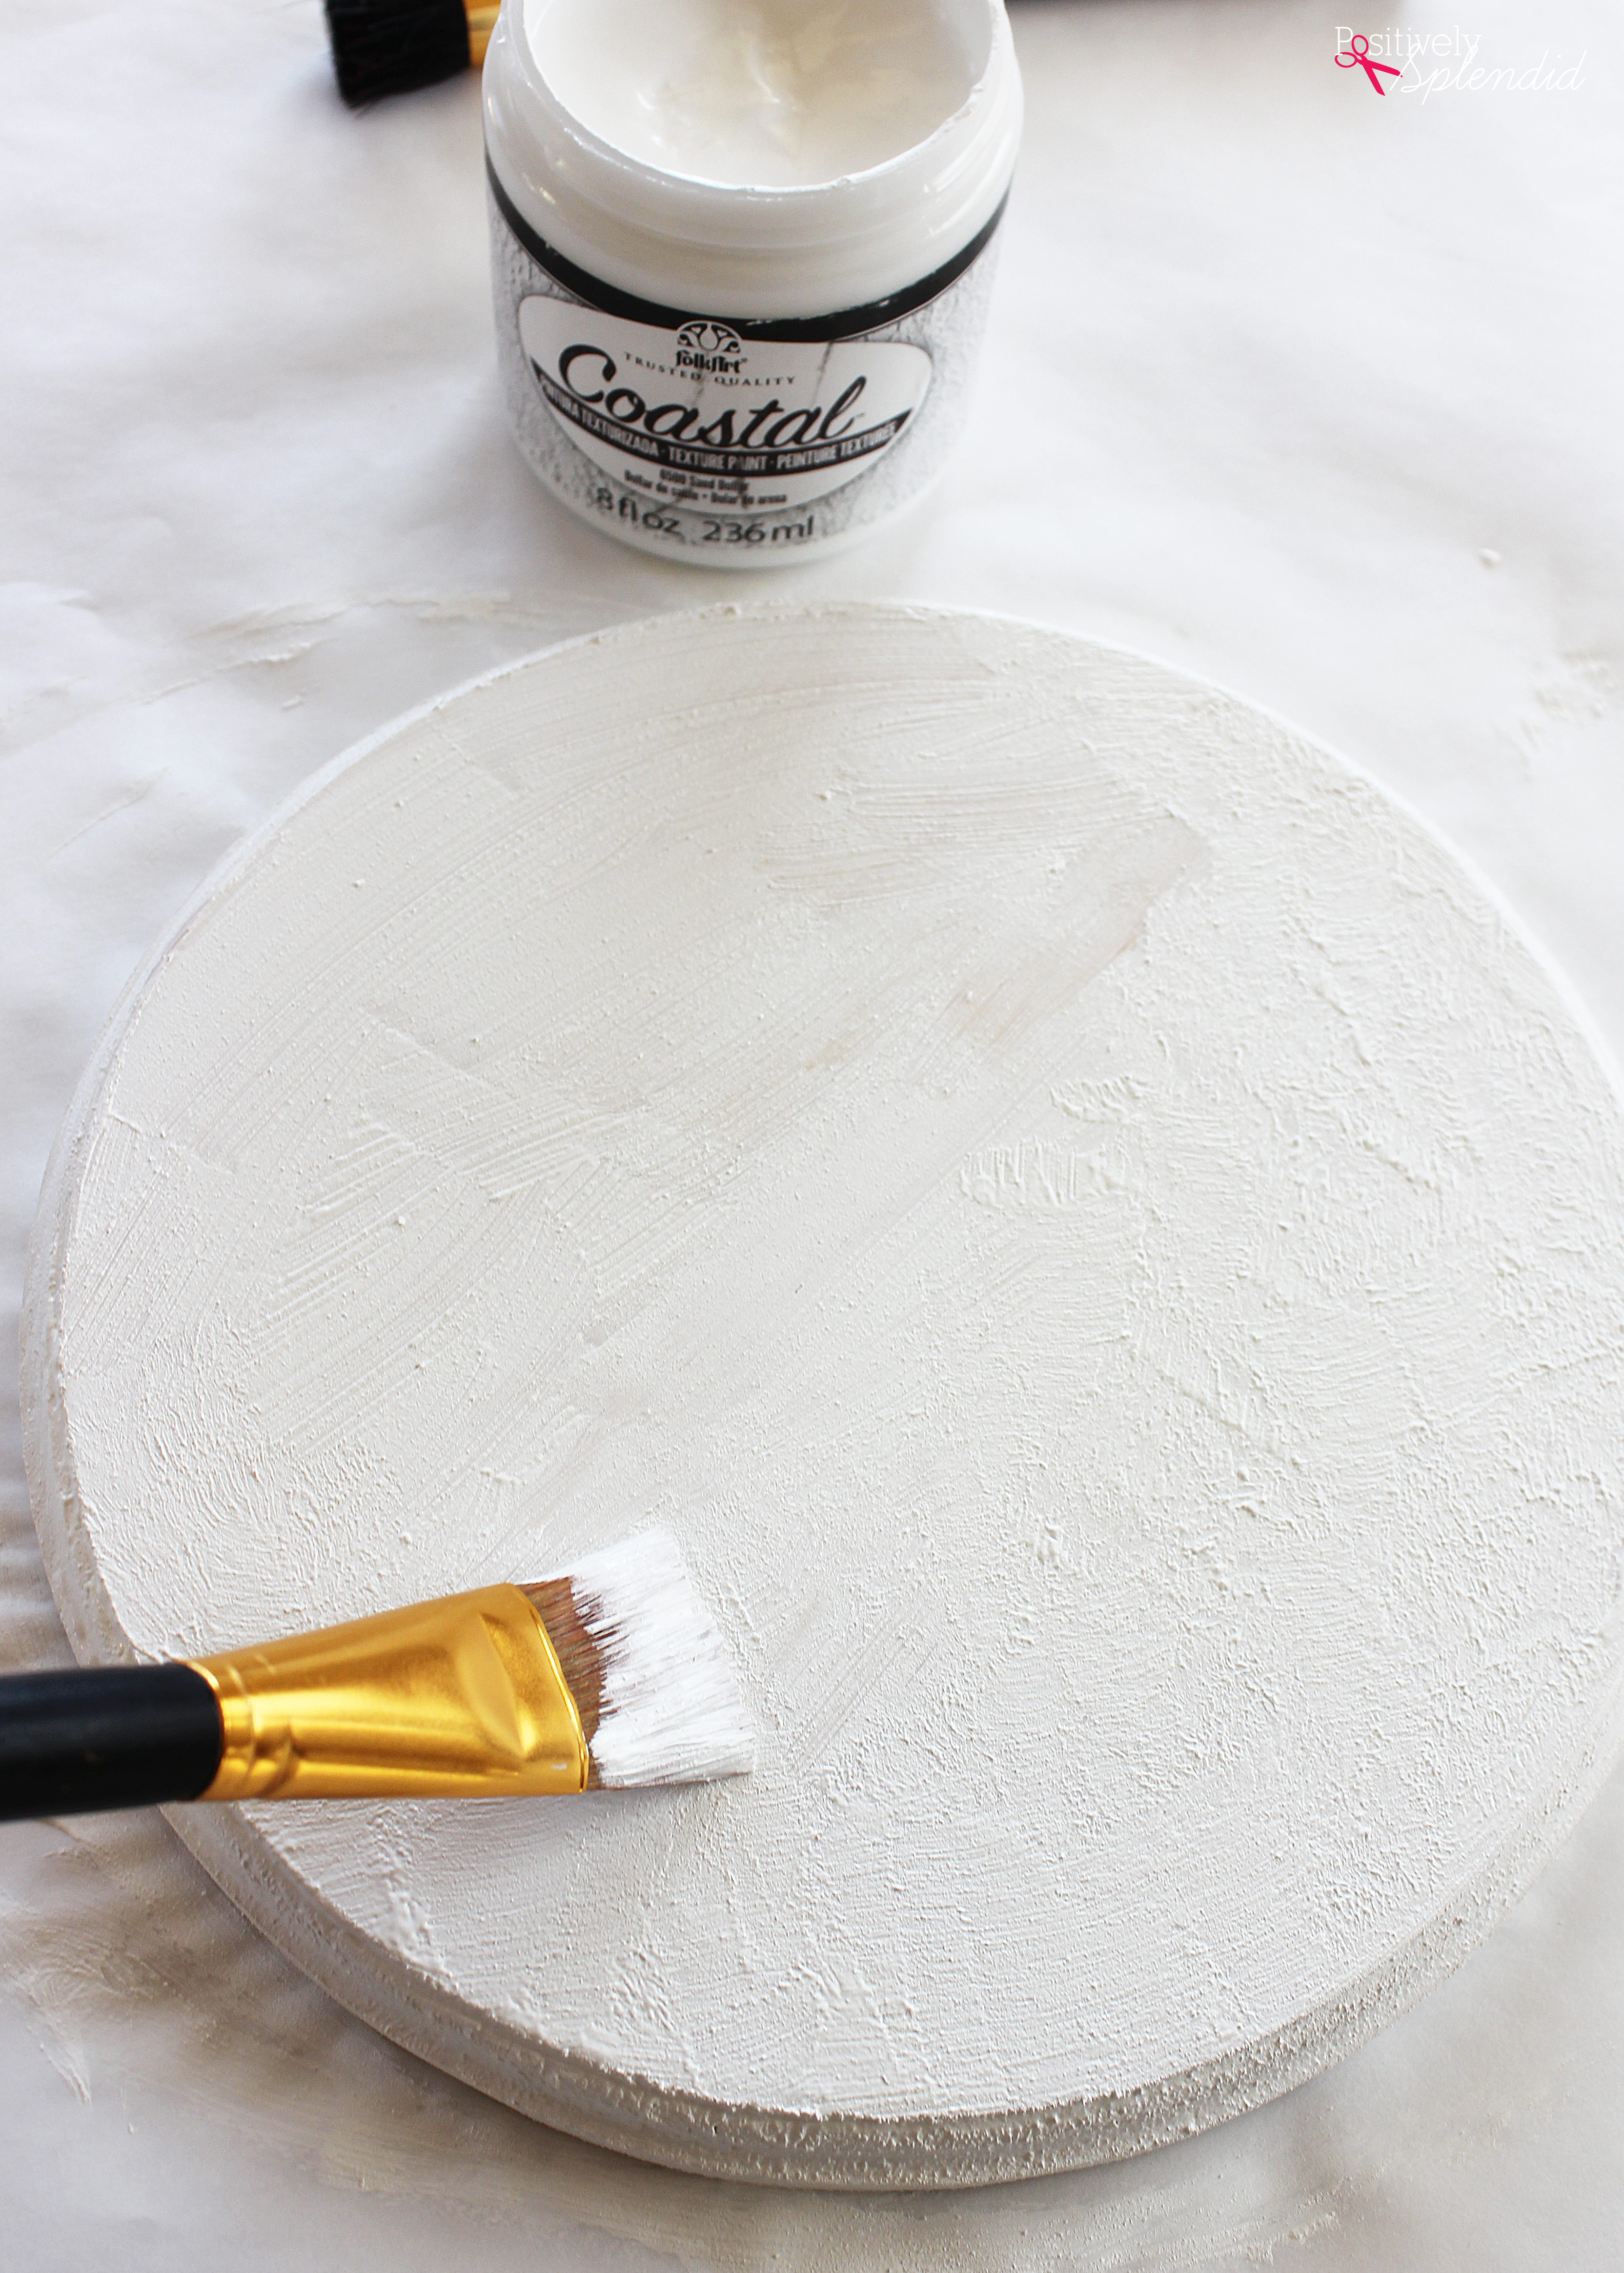
To begin, use a brush to paint the entire top surface of the wood plaque with the Sand Dollar FolkArt Coastal paint. This paint is seriously one of my favorite new products to come out in a very long time! It is pre-mixed, which makes it incredibly simple to use, and since it can be used indoors or outdoors, it is so versatile. I love that the finished result is a textured look like you would find in painted wood weathered beach furniture.
To create a nice textured finish on my project here, I used my brush to apply a generous coat of the paint before dabbing the brush in an up and down motion to create a stippled look. Another great thing about this paint is that numerous layers can be added to create as much or as little of the texture as you desire, and the dried paint can be sanded for an even more authentic “weather-by-the-coast” look. (And to make it even better, the paint is non-toxic and waterbased for easy cleanup, and it is made in the USA.)
Allow the top surface of the plaque to dry to the touch (about 1 hour) before painting the bottom surface in a similar fashion. Set the plaque aside to dry for 1 hour.
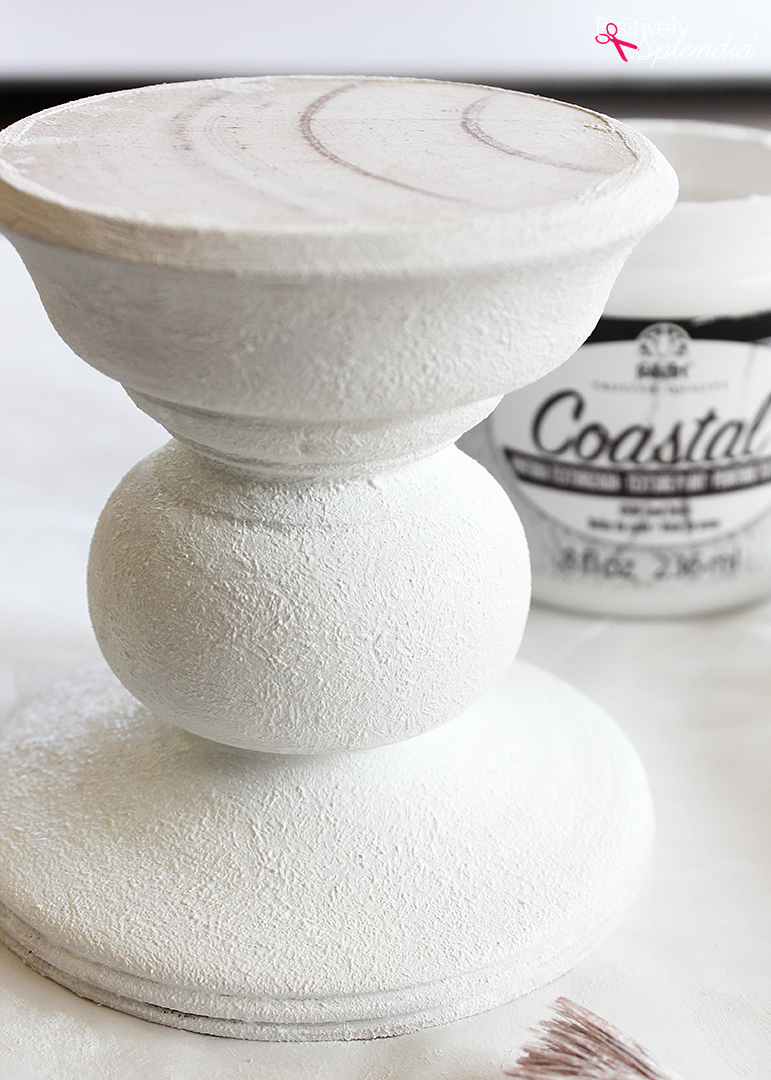
Paint the candlestick with the same technique. Set the candlestick aside to dry completely, at least 2 hours.
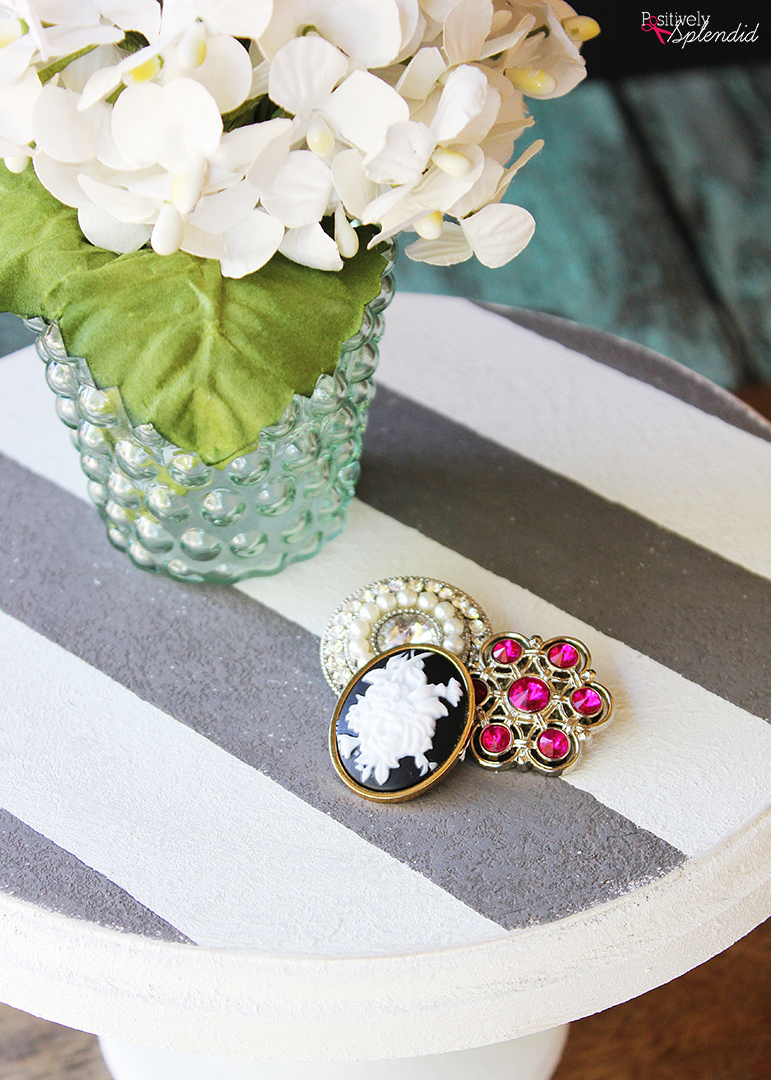
When both the top and bottom of the circle plaque are dry to the touch, apply three strips of the painter’s tape to the top of the circle piece to form stripes. Apply the Seal Grey FolkArt Coastal paint in between the taped lines, using the same dabbing technique to add texture as you go. Allow the paint to dry 1 hour before removing the painter’s tape, and then set the piece aside to dry completely, at least 2 hours.
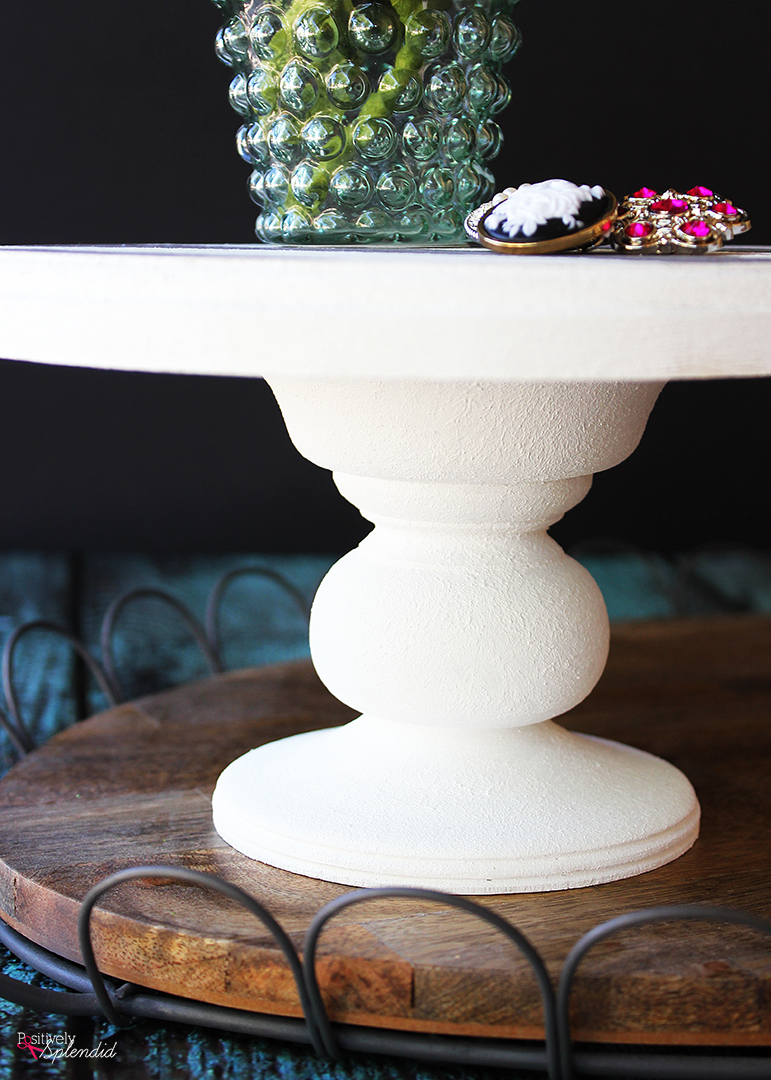
Use the heavy-duty adhesive to affix the circle plaque piece on top of the wood candlestick piece, making sure the plaque is precisely centered. When the adhesive is dry, use the sandpaper to gently sand away some of the paint on all sides of the finished pedestal for an authentic aged look, wiping away any dust with a slightly damp, lint-free cloth.
Your DIY Striped Wood Pedestal is complete!
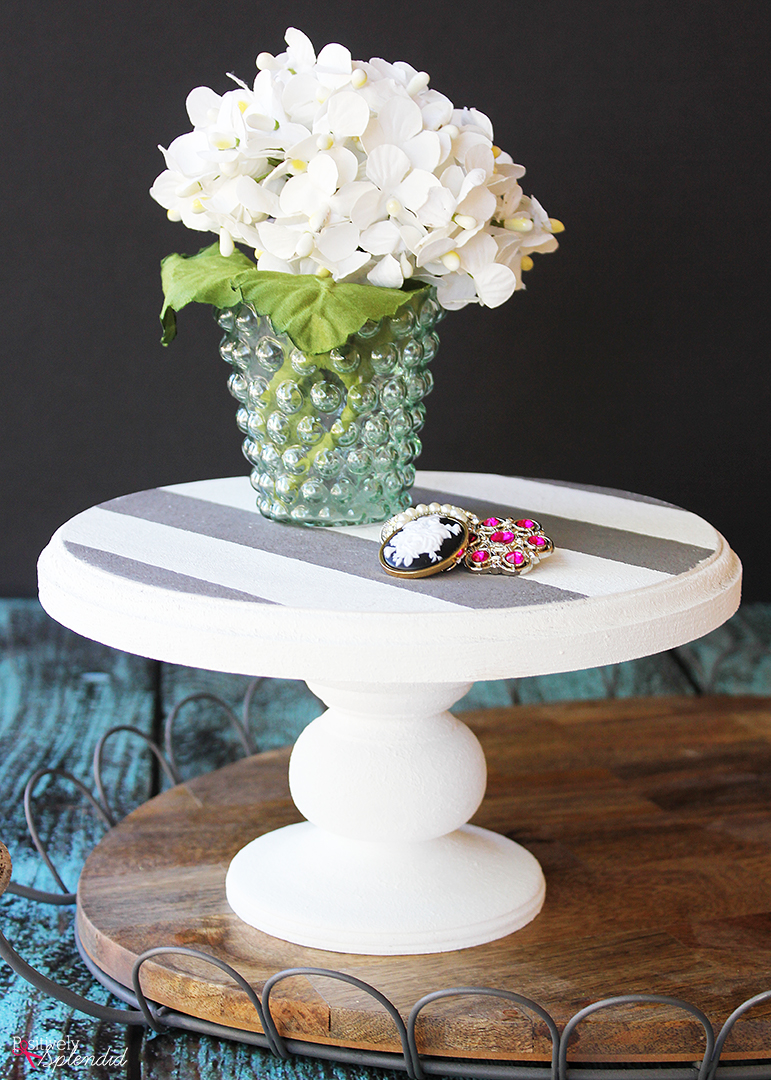
The textured surface of the piece really does give it so much character.
I love the idea of teaming up with a group of friends to make some of these to give as DIY Mother’s Day gifts!
In addition to the new FolkArt Coastal paint line, Plaid has also come out with some seriously cute Fairy Garden products that are so perfect for spring!

Be sure to check out all of the fabulous projects created by my fellow Plaid Creators using the FolkArt Coastal and Fairy Garden products. There are so many inspiring ideas here!
[inlinkz_linkup id=709296 mode=1]
Thanks so much for stopping in! Before you go, be sure to check out some of these other fun projects that also make great gifts!
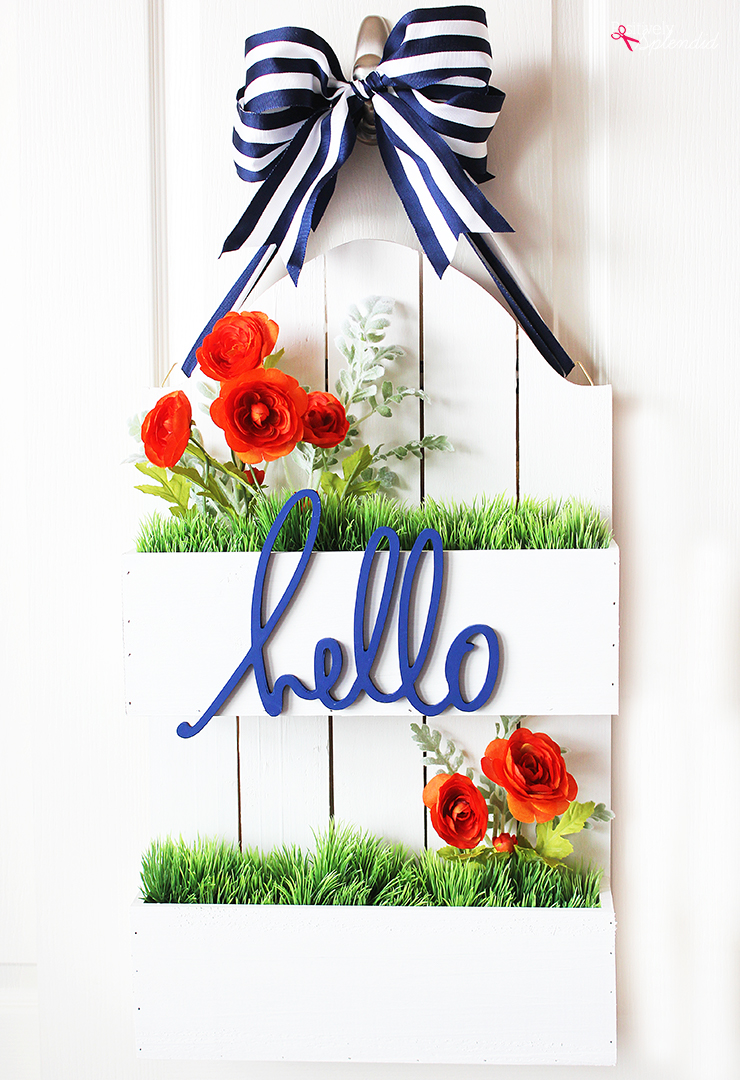
DIY Flowerbox Door Hanging
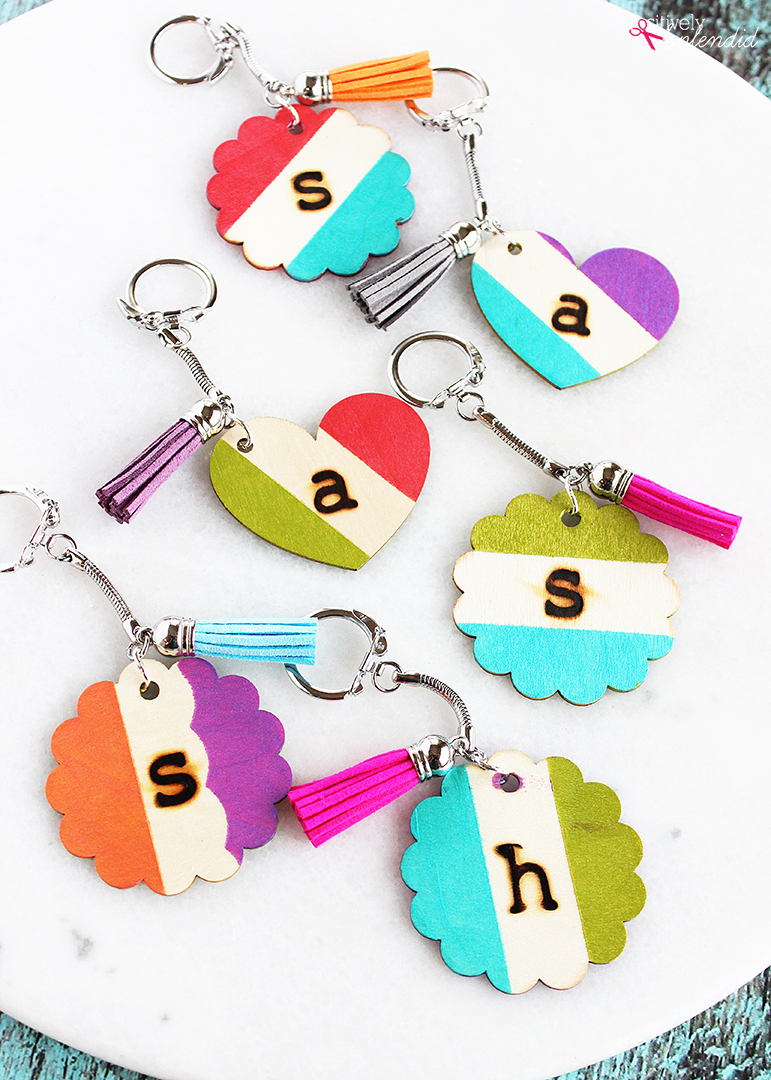
Monogrammed Wooden Keychains
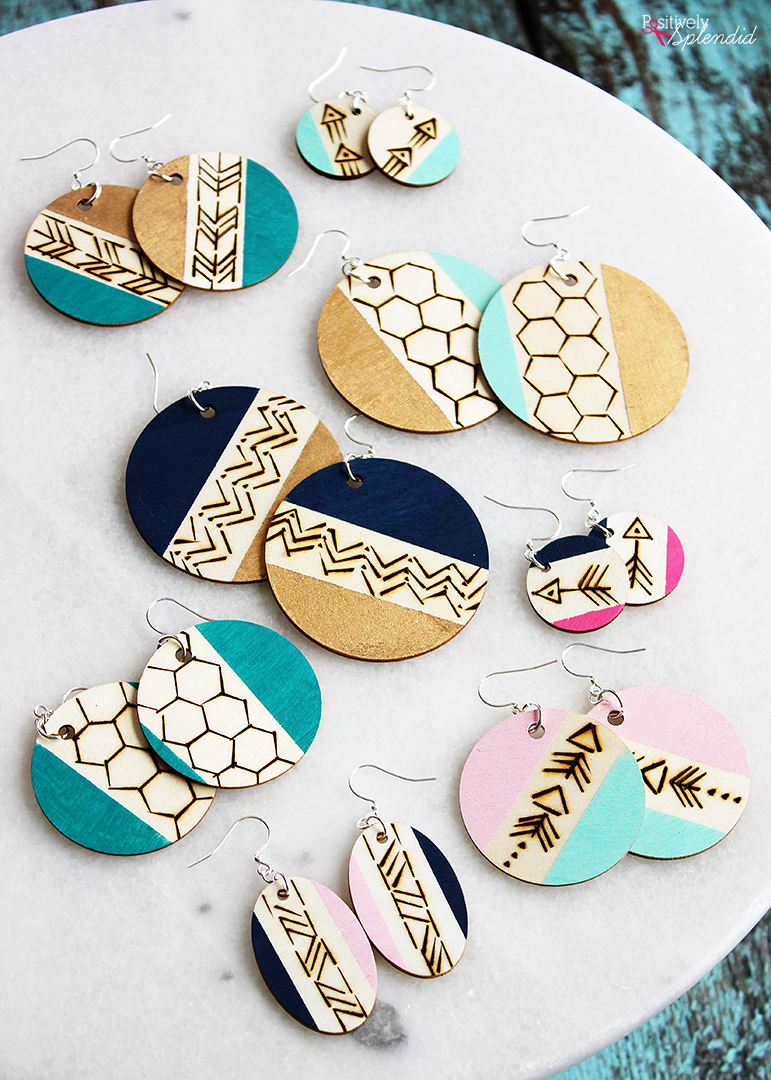
Woodburned Earrings
And for even more creative inspiration, check out Plaid on Facebook, Instagram and Pinterest!
Having grown up in a home brimming with sewing notions and paintbrushes, Amy has a deep love for all things creative. On any given day, you’ll find her knee-deep in her latest creative endeavor, with projects ranging from sewing and crafts to home decor and kid-friendly ideas. Amy believes that everyone, regardless of skill level or experience, possesses the ability to create something beautiful, and Positively Splendid was born of her passion for helping others harness their innate creative potential.
This adorable striped pedestal is dear to my heart as I look around my living room and see my vintage sofa re-covered in a chic, black damask look and ornate, antique pedestals I have painted white with statues and plants looking beautiful. My theme is shabby cottage/Paris so your gorgeous pedestal would certainly be a lovely addition to my table where i might put a vintage white jug filled with black silk roses, as my overall decor theme is black and white. I like nothing more than getting an old unloved piece of furniture and making it something special. The other day I was looking at a dresser I really liked. which never seemed to look good in white so out came the black paint and I would love to say it looked amazing but something was not quite right, so I decided to paint the drawers white as I had seen this done online and really liked it. My drawer handles were antique black metal so I was hoping for a good outcome. The result is a striking looking dresser that so many comment on and I too love the look! You can get a fabulous furniture look on a budget just by having a go!