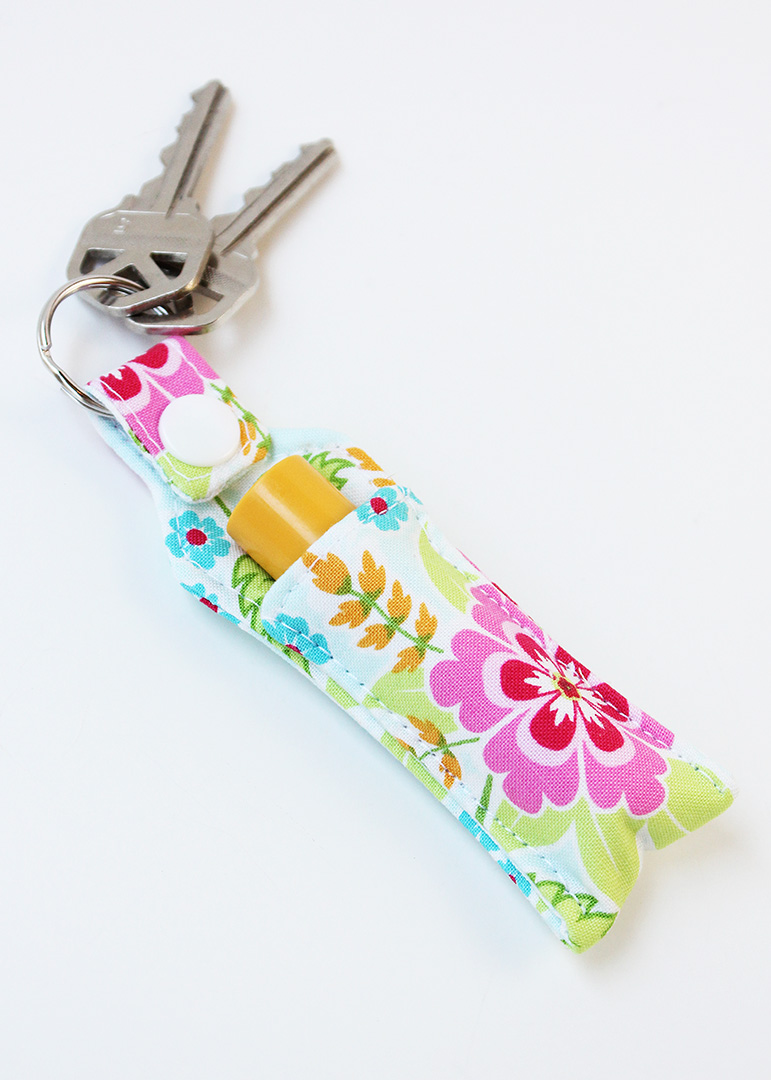
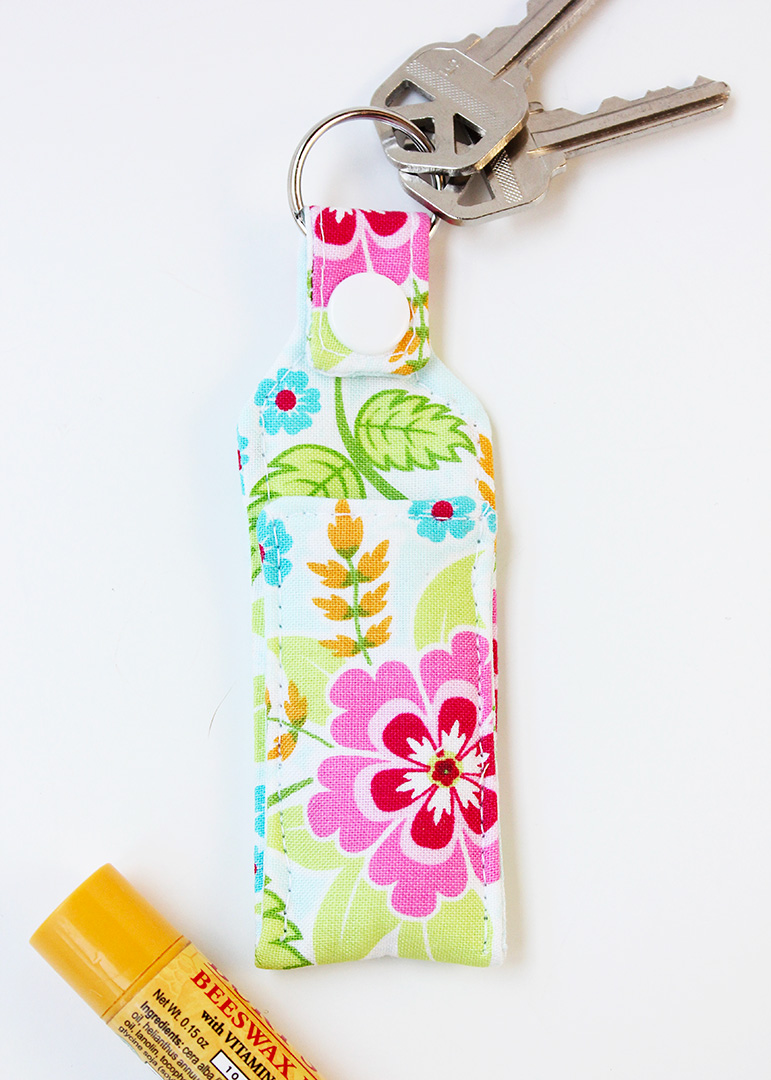
If you are a chapstick fanatic, you probably know it’s not always easy for her to keep up with all of the many tubes you have in your car, purse, backpack and more. This handy Chapstick Holder Keychain allows you to always have a tube of chapstick at your fingertips when you’re out and about. Because this project uses a minimal amount of fabric and requires 30 minutes or less to make, it is ideal for beginners!
This post contains affiliate links.
Even more easy sewing projects to try!
Project Tips
- How can I make sure the pattern is printed correctly? Make sure to adjust your printer settings to print at 100% scale. The square at the bottom right-hand side of the printed page should measure exactly 1”.
- What type of sewing machine needle should I use? Make sure to use a machine needle that is capable of sewing through the bulk of the fabric/fleece layers. I used a size 14 needle.
- What type of fabric is best for this chapstick holder keychain? This is a great project to use up scraps of quilting cotton or fat quarters.
- Do I have to use a snap on my chapstick holder? Instead of a snap, you can secure the split ring permanently into place by stitching the folded top flap into place.
How to Make a Chapstick Holder Keychain
A PDF version of these instructions is available below.
Supplies:
- Chapstick Holder Keychain Pattern (scroll below to download and print)
- Fabric scraps (see my note above for recommended materials)
- Fusible fleece
- Coordinating thread
- 1” split ring
- 1 size 15 plastic snap set
Tools:
- Sewing machine
- Basic sewing supplies (see my list of sewing essentials)
- Tube turning tool
- Washable marking pen
- Snap setting pliers
Let’s get sewing!
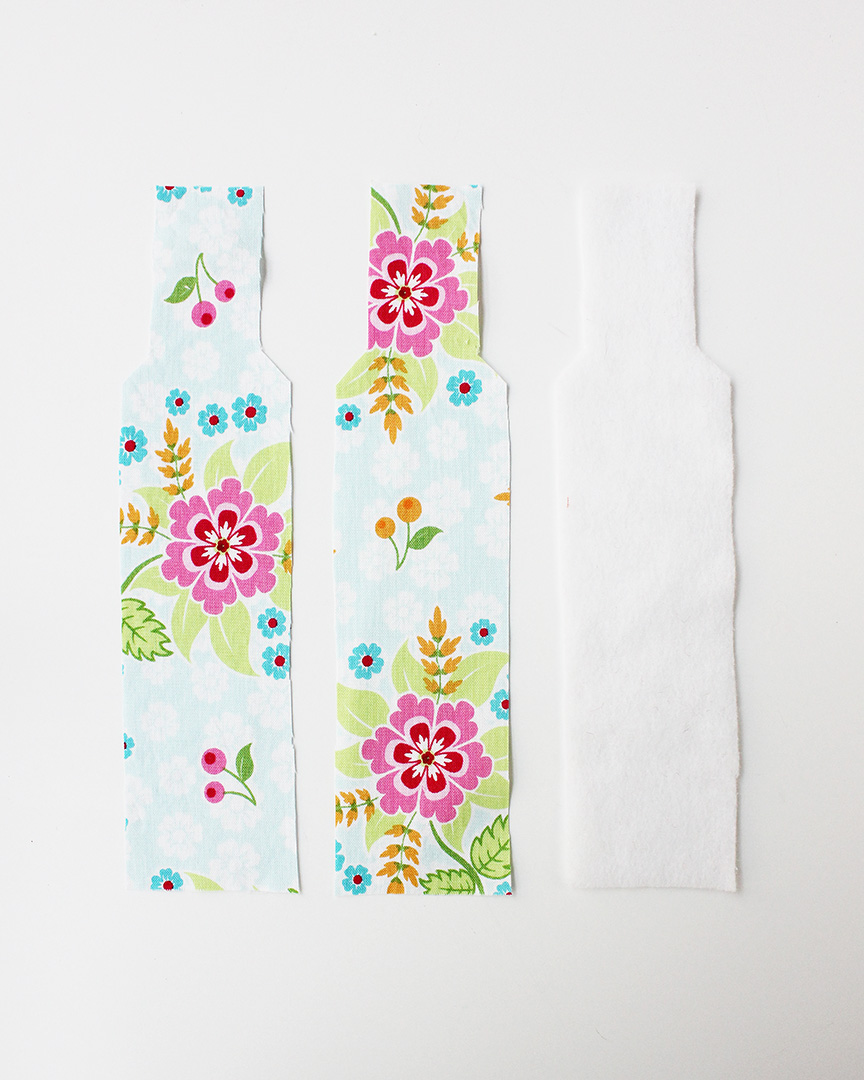
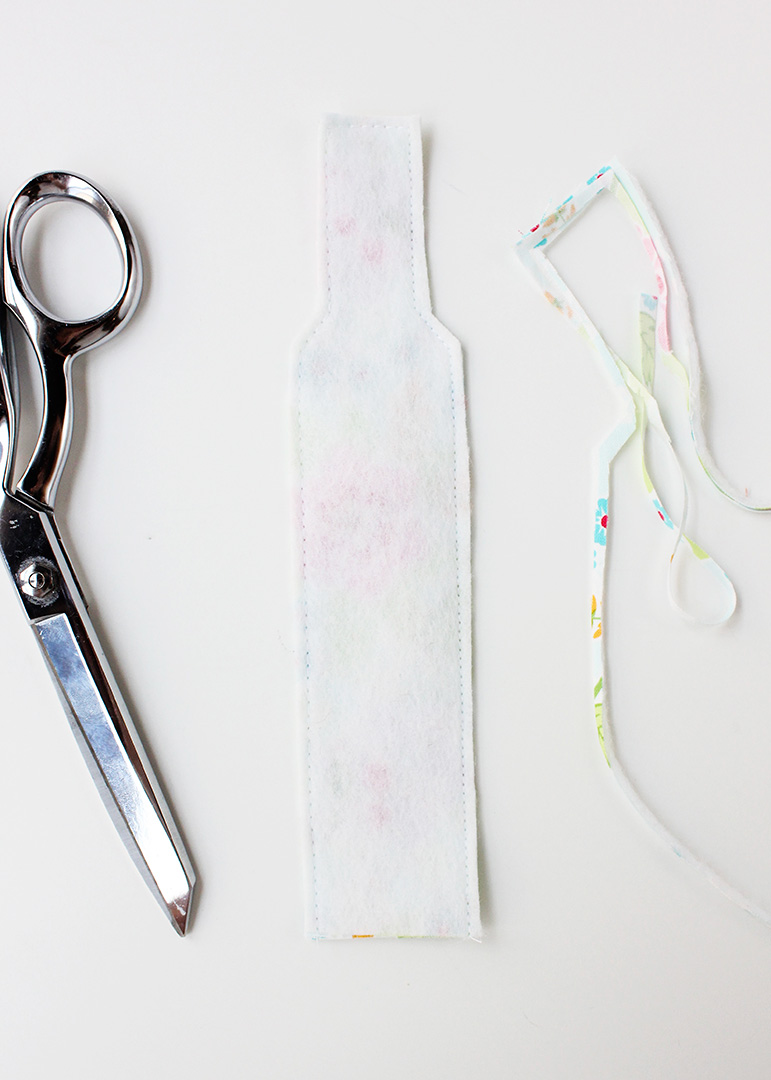
To begin, print out the pattern (available below) and use it to cut 2 fabric pieces and 1 fusible fleece piece.
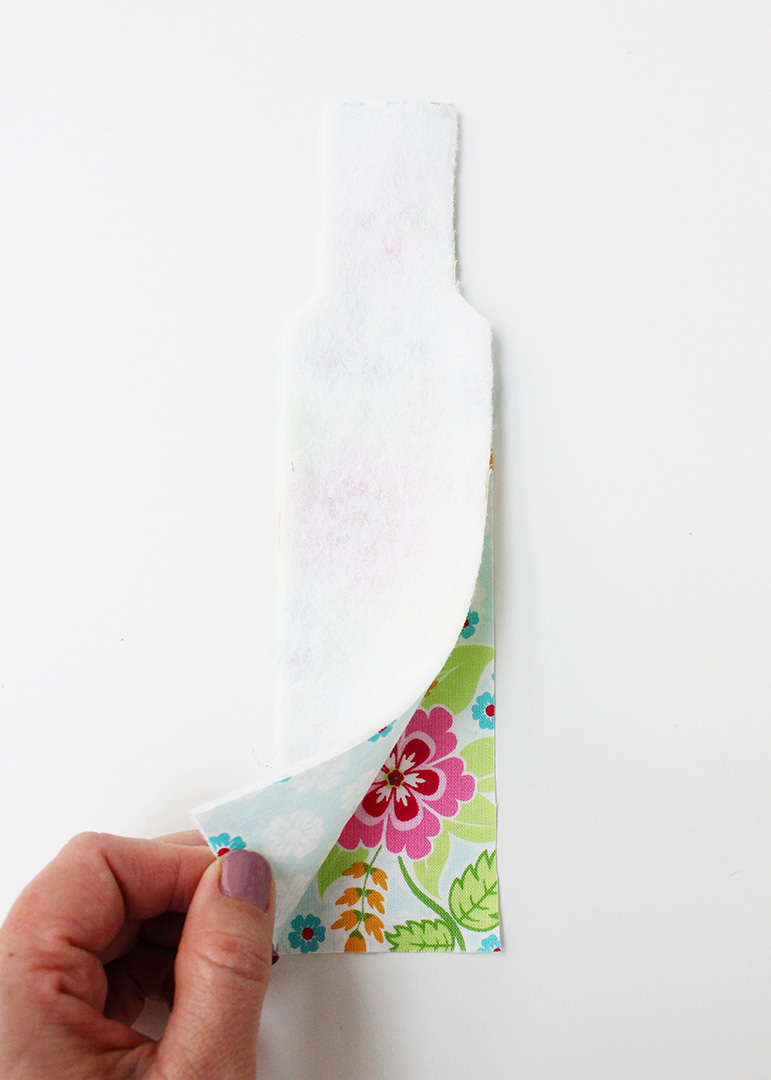
Fuse the fleece onto the wrong side of one of the fabric pieces by pressing with a dry iron on medium heat on the fabric side of the stacked pieces.
Place the fused fleece/fabric piece face down on the other fabric piece, so the right sides are facing and all edges are aligned. Pin/clip to secure.
Using a 1/4” seam allowance, stitch around the pieces, leaving the bottom edge unstitched, as shown. Trim the seam to 1/8”.
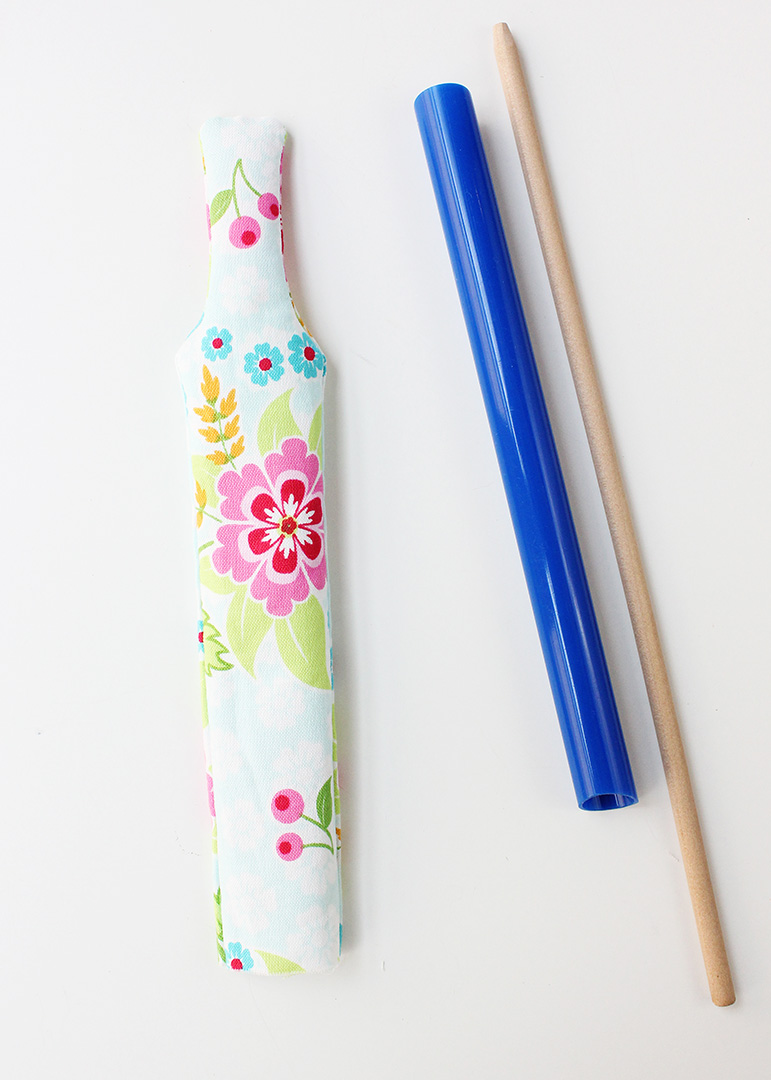
Use the tube turning tool to turn the piece right side out through the bottom opening. (You can complete this step without the tool, but it makes things much easier if you have it!)
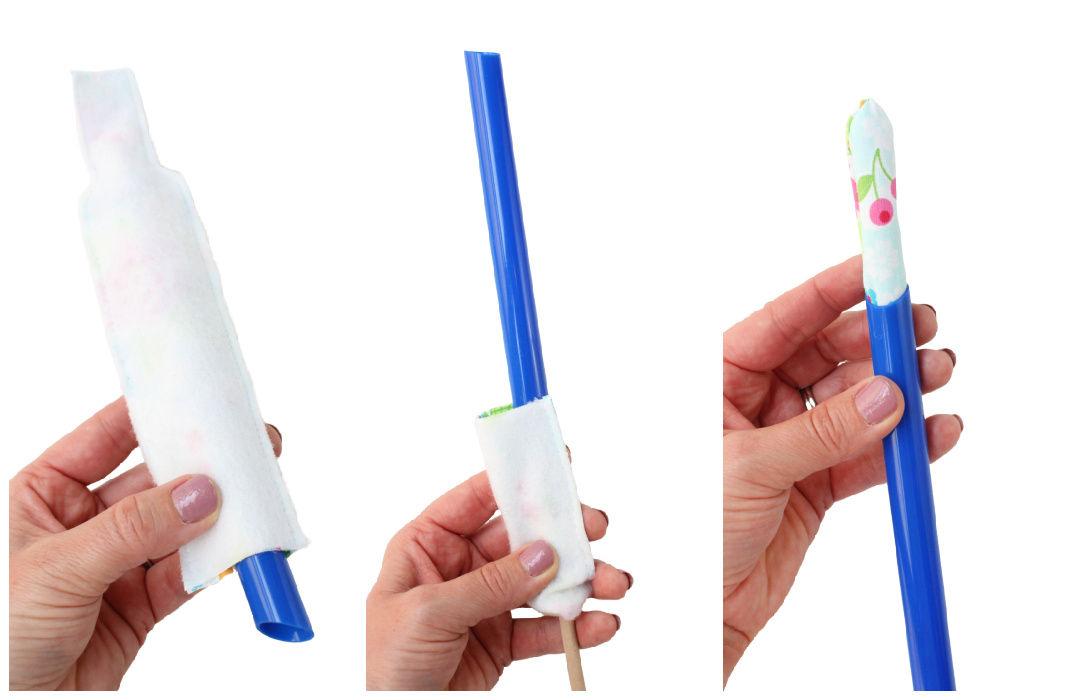
Make sure to completely turn out the corners and seams of the piece before pressing everything nice and flat.
Fold in the open bottom edges by 1/4”; press. Topstitch along this edge to close the opening.
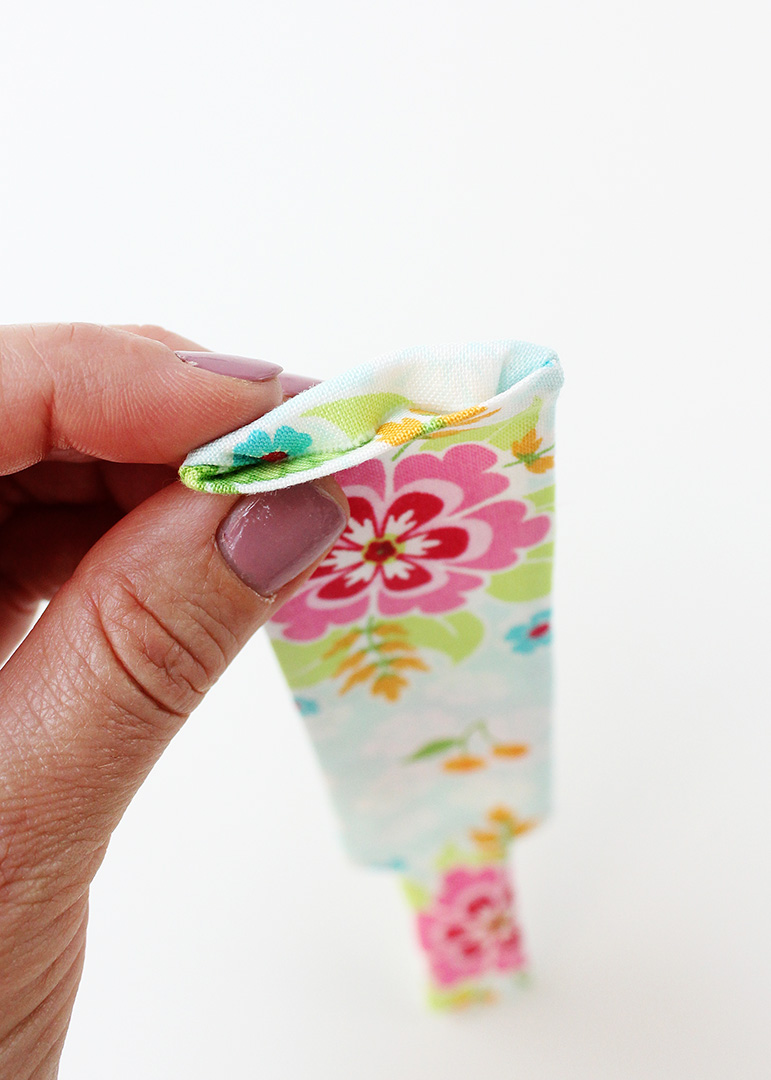
Fold the stitched edge up by 2.5” toward the top of the piece; press. Clip the folded pocket into place.
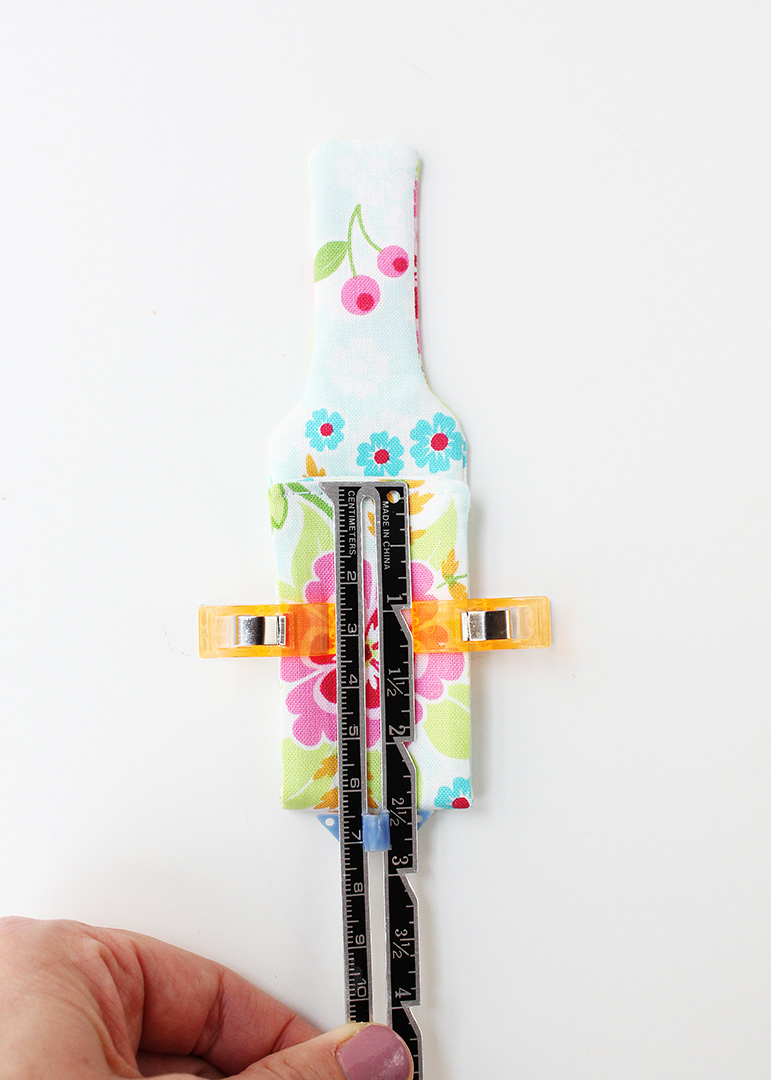
Starting on the bottom left corner of the piece and working your way around the top flap and back around to the bottom right corner, topstitch to anchor the pocket into place.
Helpful tip: Increase your stitch length to make sewing through all of the layers easier.
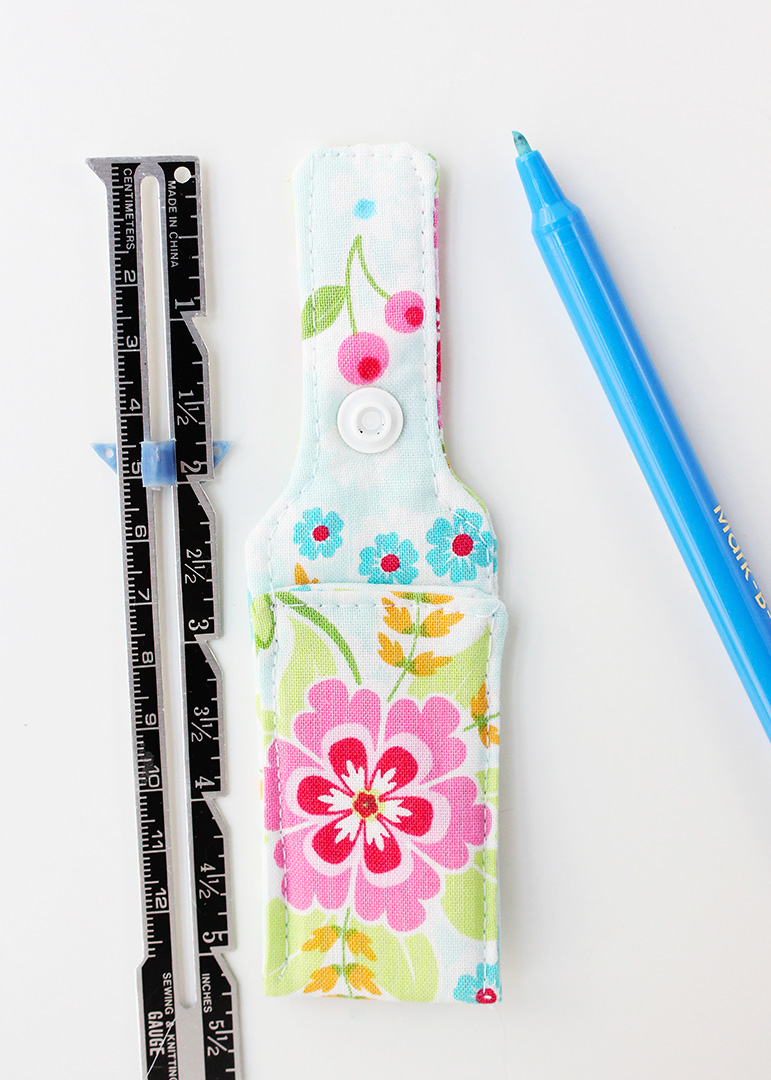
On the top flap, measure down from the top center edge and make 2 marks with the marking pen:
- 1 mark 3/8” down from the edge
- 1 mark 1 3/4” down from the edge
Set the snap stud at the 3/8” mark with the stud of the snap on the front side and the cap on the back side. Set the snap socket at the 1 3/4” mark with the socket of the snap on the front side and the cap on the back side.
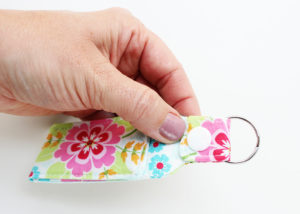
Slip the jump ring over the top flap, and use the snap to secure it into place.
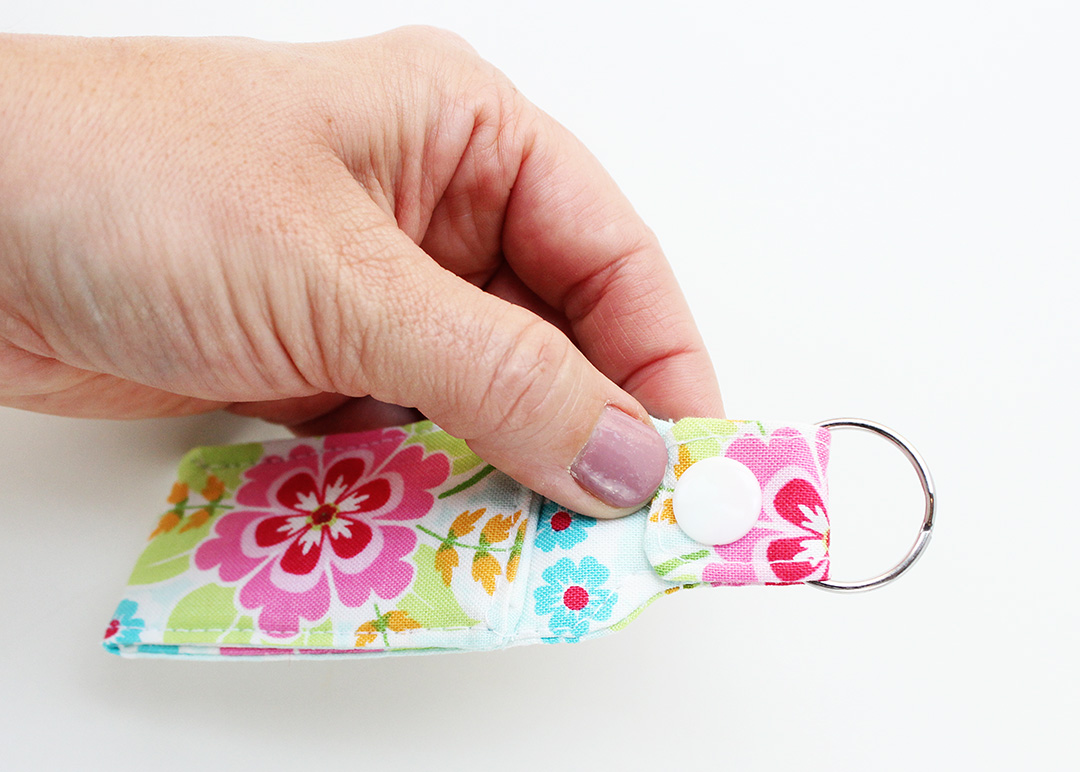
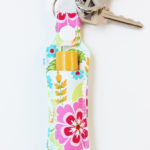
Your Chapstick Holder Keychain is ready to use!
This pocket is just the right side for a standard tube of chapstick, and it is secure enough to prevent the tube from slipping out.
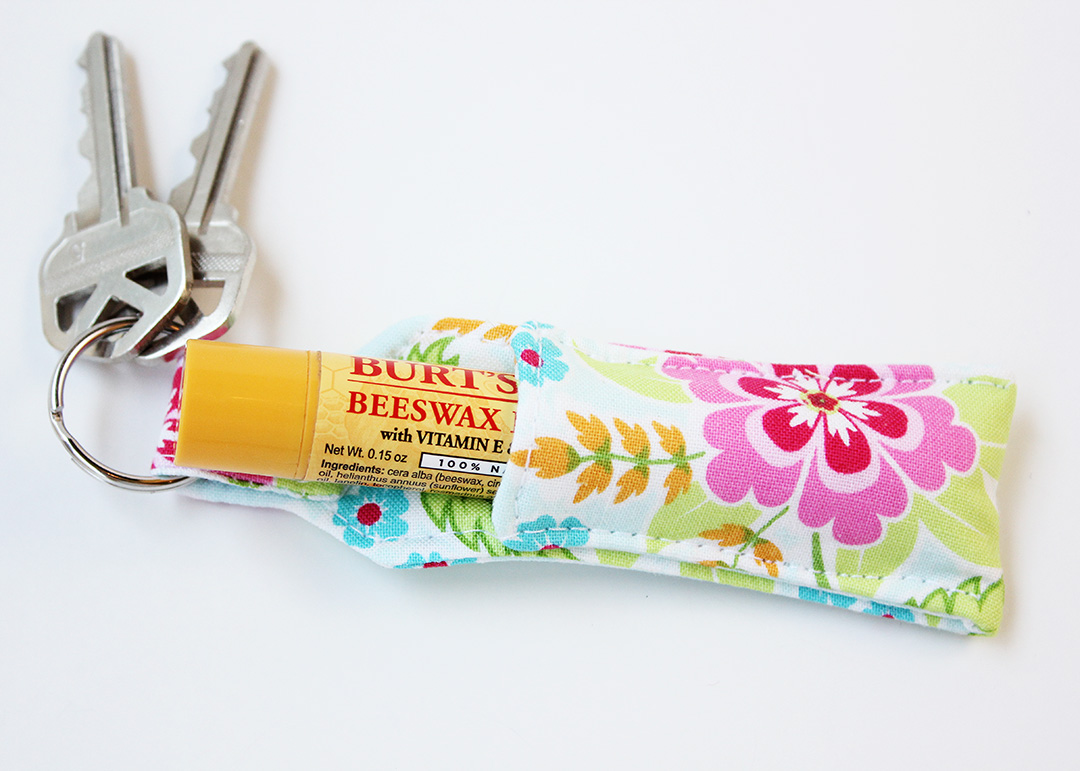
With the snap closure, you can easily move the chapstick holder to another set of keys, or attach it to a purse or backpack. So handy!
To download the Chapstick Holder Keychain Pattern for FREE, click here
Chapstick Holder Keychain
Equipment
- Sewing Machine
- Basic sewing supplies
- Tube turning tool
- Washable marking pen
- Snap setting pliers
Materials
- Chapstick Holder Keychain Pattern linked in original post
- Fabric scraps
- Fusible fleece
- Coordinating thread
- 1” split ring
- 1 size 15 plastic snap set
Instructions
- To begin, print out the pattern (available in the original post) and use it to cut 2 fabric pieces and 1 fusible fleece piece.

- Place the fused fleece/fabric piece face down on the other fabric piece, so the right sides are facing and all edges are aligned. Pin/clip to secure. Using a 1/4” seam allowance, stitch around the pieces, leaving the bottom edge unstitched. Trim the seam to 1/8”.
- Use the tube turning tool to turn the piece right side out through the bottom opening. (You can complete this step without the tool, but it makes things much easier if you have it!) Make sure to completely turn out the corners and seams of the piece before pressing everything nice and flat.

- Fold in the open bottom edges by 1/4”; press. Topstitch along this edge to close the opening.
- Fold the stitched edge up by 2.5” toward the top of the piece; press. Clip the folded pocket into place.

- Starting on the bottom left corner of the piece and working your way around the top flap and back around to the bottom right corner, topstitch to anchor the pocket into place. Increase your stitch length to make sewing through all of the layers easier.
- On the top flap, measure down from the top center edge and make 2 marks with the marking pen: 1 mark 3/8” down from the edge and 1 mark 1 3/4” down from the edge.

- Set the snap stud at the 3/8” mark with the stud of the snap on the front side and the cap on the back side. Set the snap socket at the 1 3/4” mark with the socket of the snap on the front side and the cap on the back side.
- Slip the jump ring over the top flap, and use the snap to secure it into place.
Having grown up in a home brimming with sewing notions and paintbrushes, Amy has a deep love for all things creative. On any given day, you’ll find her knee-deep in her latest creative endeavor, with projects ranging from sewing and crafts to home decor and kid-friendly ideas. Amy believes that everyone, regardless of skill level or experience, possesses the ability to create something beautiful, and Positively Splendid was born of her passion for helping others harness their innate creative potential.