Positively Splendid {Crafts, Sewing, Recipes and Home Decor}
Handcrafted. Splendidly.
More Halloween Ideas
More Fall Ideas
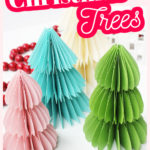
More Christmas Ideas
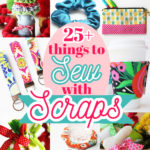
More Sewing Project Ideas
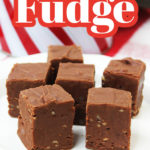
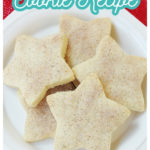
More Dessert Recipes